What’s in This Guide
→ Telescope price tiers at a glance
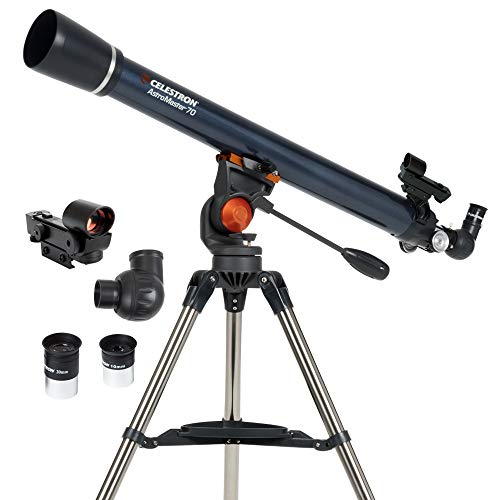
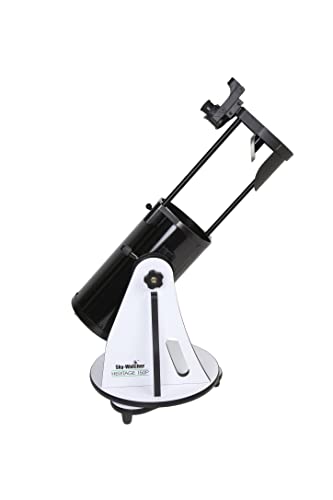
→ Under $200 — what’s real vs. junk
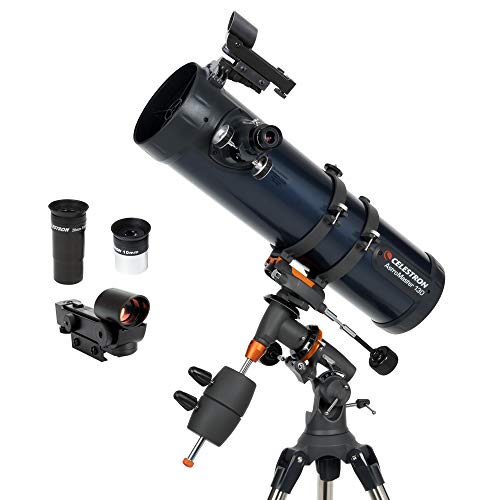
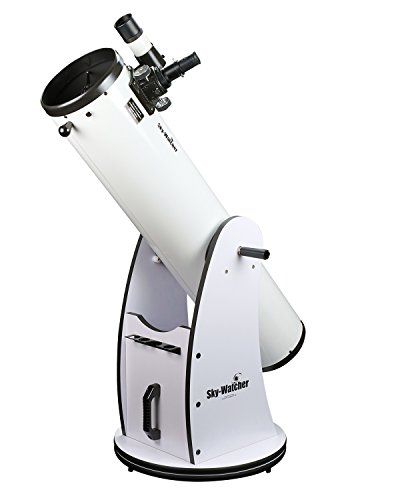
→ $100–$300 — the best value range
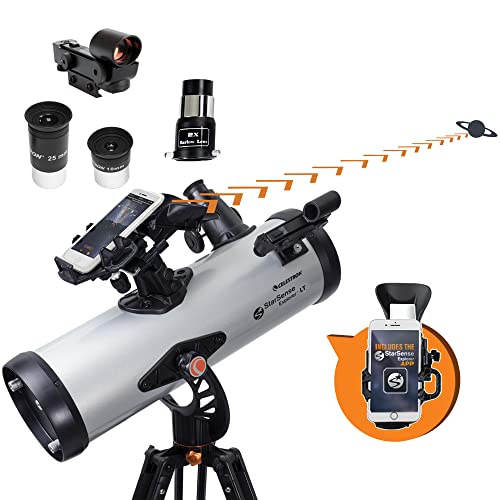
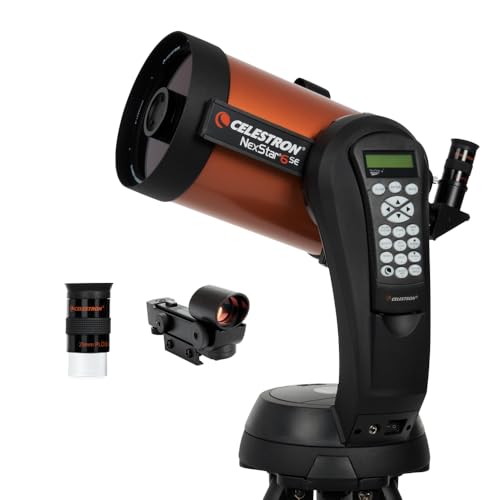
→ $300–$700 — GoTo telescopes
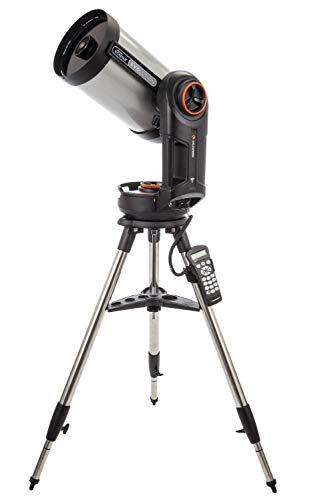
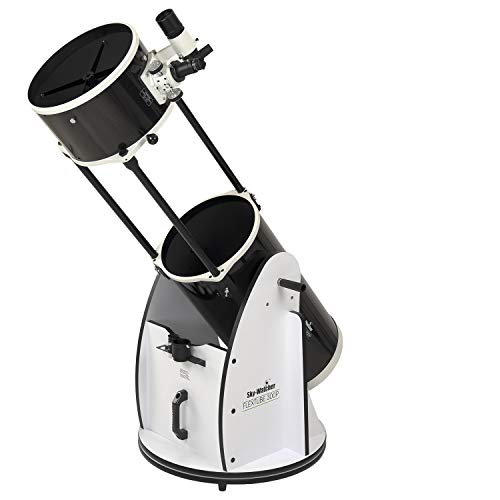
→ $700–$1,500 — serious amateur tier
→ $1,500+ — advanced instruments
→ Telescope type vs. price: what you get
→ Total cost of ownership (hidden extras)
→ What makes telescopes more expensive?
→ Buying used: how to save 30–50%
→ 5 expensive mistakes new buyers make
→ FAQ — 8 questions answered honestly