Jupiter Observing Guide 2026: Best Telescopes, Eyepieces & Viewing Tips | Telescope Advisor
Telescope Advisor Logo Telescope Advisor
Jupiter with the Great Red Spot — what you can see through a telescope

Planet Observing Guide · Jupiter

Jupiter Observing Guide 2026: Best Telescopes, Eyepieces & Viewing Tips

Jupiter is one of the most rewarding celestial objects to observe through a telescope. Even a modest 70mm refractor reveals its four Galilean moons and two dark equatorial belts. A larger telescope shows the Great Red Spot, intricate cloud structures, and moon shadows transiting the planet's disk. This guide covers everything you need to observe Jupiter at its best in 2026 — the equipment, timing, and techniques that reveal the most detail.

Best monthsJuly–October 2026
Best time of nightPre-dawn (Jul–Sep)
Min. telescope70mm refractor
Key featureCloud bands + 4 moons
By Telescope Advisor Editorial Team Published: Updated: Editorial Standards

What Jupiter Looks Like Through a Telescope

Through even a small telescope, Jupiter is unmistakable. At 50x magnification, it appears as a bright cream-coloured disk distinctly larger and more detailed than any star. Two dark equatorial belts straddle a brighter equatorial zone. Four tiny points of light arranged in a straight line across the planet are its largest moons: Io, Europa, Ganymede, and Callisto. The view changes visibly from night to night as the moons orbit.

At 100x with a 90mm or larger telescope, the image becomes richer. The equatorial belts reveal fine structure: waves, loops, and bright spots. The polar regions appear darker, sometimes showing a blue-grey colour. The Great Red Spot, when visible, appears as a pale salmon-coloured oval in the South Equatorial Belt. Jupiter's 9.9-hour rotation means features move visibly across the disk in a single hour of observation. A question many first-time observers ask is "why does it not look like NASA photos?" — the answer is that NASA's Juno images are processed composites from orbit, not what the eye sees. What you will see is still spectacular: a crisp, detailed planet with distinct markings and colour. For a full comparison of telescopes for planetary viewing, see our best telescope for viewing planets guide.

Best Time to View Jupiter in 2026

In mid-2026, Jupiter is a morning object, rising in the early hours and best observed before dawn. By July, it rises around 03:00 local time and is well-placed from 04:00 onwards. Jupiter rises two minutes earlier each night, so by August it is higher before dawn. The pre-dawn hours offer stable atmospheric conditions because the ground has cooled, reducing the heat shimmer that blurs planetary detail. Through autumn, Jupiter rises earlier, becoming an evening object by November. This gradual improvement continues toward Jupiter's 2027 opposition, when it will be at its closest to Earth and visible all night. The best time to observe any planet is when it transits (reaches its highest point), ideally above 30 degrees altitude. For a full calendar of astronomical events, see our 2026 astronomy events calendar.

Best Telescope & Eyepiece for Jupiter

A 70mm refractor on a stable mount, like the Celestron AstroMaster 70AZ, is the minimum for enjoying Jupiter. At 80x you see both equatorial belts and all four moons. A 6mm eyepiece (150x) reveals more detail on steady nights. For the best Jupiter views, an 8-inch Dobsonian or SCT (like the NexStar 8SE) at 200-250x shows intricate band structure, the Great Red Spot clearly, and moon shadows transiting the planet.

Editor's Pick — Best Telescope for Jupiter
Celestron NexStar 8SE

Celestron NexStar 8SE

8-inch apertureGoTo mountPlanetary detail

The NexStar 8SE resolves Jupiter in stunning detail. The Great Red Spot is clearly defined, equatorial belts show intricate wave structure, and the GoTo mount tracks Jupiter automatically. At 200x, the planet fills the eyepiece field. See our NexStar 8SE review for full details.

Check Price on Amazon

Affiliate link.

Celestron AstroMaster 70AZ

Celestron AstroMaster 70AZ

At under $130, the AstroMaster 70AZ shows both equatorial belts and all four moons clearly. An affordable entry into Jupiter observing. Read our full review.

Check Price on Amazon

Affiliate link.

Jupiter's Galilean Moons

Jupiter's four large moons are visible in any telescope. Io (closest), Europa, Ganymede (largest), and Callisto orbit Jupiter in periods from 1.8 to 16.7 days. Their positions change noticeably within a single evening. The most dramatic events are transits — when a moon passes in front of Jupiter casting a shadow on the cloud tops. Io's shadow is the easiest to see as a crisp black dot. Europa's shadow is smaller and paler. Ganymede's shadow is larger but lower contrast. Moon shadows are visible through any telescope at 100x+ when the geometry is right. Use Stellarium or JupiterMoons apps to predict transit times for your location.

Observing the Great Red Spot

The Great Red Spot is a storm larger than Earth that has been observed since the 17th century. In 2026 it is visible in telescopes of 90mm+ aperture. It appears as a pale salmon oval in the South Equatorial Belt. The GRS rotates across Jupiter every ~10 hours. Use the Sky & Telescope GRS transit calculator to predict visibility from your location. A medium-blue filter (Wratten #80A) increases contrast. Through 200mm telescopes, subtle details inside the GRS become visible on good nights.

Photographing Jupiter

The standard technique is planetary lucky imaging: record 60-90 seconds of video at 30-60 fps, then stack the sharpest frames using free software (PIPP, Autostakkert, Registax). A 2x or 3x Barlow increases effective magnification. A dedicated planetary camera like ZWO ASI120MC gives excellent results, but a DSLR in video mode also works. A 200mm telescope with a 2x Barlow and a 5mm eyepiece projection setup can produce stunning images showing the GRS, belts, and moon shadows. For more on equipment, see our astrophotography telescope guide.

Jupiter Observing Table: July–December 2026

The following table shows Jupiter's approximate rising time, transit time, altitude at transit, and visibility window for each month from July through December 2026. All times are approximate and given for mid-latitude northern hemisphere observers (45°N). Use a planetarium app like Stellarium or SkySafari to calculate precise times for your exact location.

MonthRises (local)Transit (local)Transit AltitudeBest Viewing Window
July 2026~03:00~07:30~25°Pre-dawn, 04:00–06:00
August 2026~01:00~05:30~30°Pre-dawn, 03:00–06:00
September 2026~23:00~03:30~35°Late night to dawn, 00:00–05:00
October 2026~21:00~01:30~40°Evening to pre-dawn, 22:00–04:00
November 2026~19:00~23:30~45°Evening to midnight, 19:30–00:00
December 2026~17:00~21:30~50°Early evening, 18:00–22:00

As the months progress, Jupiter's altitude increases significantly, making December the best month for convenient evening observing. By December, Jupiter is well above the horizon by nightfall and can be observed in comfortable evening hours rather than pre-dawn. The planet's angular diameter also increases as Earth approaches Jupiter in its orbit, reaching approximately 44 arcseconds by December compared to 36 arcseconds in July. This means December offers both the most convenient viewing hours and the largest apparent disk size. For a full calendar of all 2026 astronomical events, see our 2026 astronomy events calendar.

Eyepiece Selection Guide for Jupiter Observing

Choosing the right eyepiece is critical for getting the best views of Jupiter. The planet's small apparent size (30-45 arcseconds depending on the time of year) requires sufficient magnification to reveal detail, but too much magnification produces a dim, blurry image ruined by atmospheric turbulence. Here is a practical guide to matching eyepieces to your telescope for Jupiter observing:

Low power (40-80x): Use a 25mm or 32mm eyepiece for initial location and framing. At this magnification, Jupiter appears small but with both equatorial belts visible. The four moons are clearly separated from the planet. This is also the best magnification for observing lunar eclipses of Jupiter's moons (when a moon passes behind the planet and re-emerges). Recommended for beginners and for finding the planet before switching to higher power.

Medium power (100-150x): A 10mm or 12mm eyepiece (or a 25mm with a 2x Barlow) provides the sweet spot for most observers. The equatorial belts show fine structure, the Great Red Spot becomes visible if present, and subtle colour differences between the belts and zones are apparent. On nights of average atmospheric seeing, this is the highest usable magnification. The 100-150x range is where Jupiter transforms from a bright disk with bands into a planet with distinct atmospheric features.

High power (180-250x): A 5mm or 6mm eyepiece (or a 10mm with a 2x Barlow) is for nights of excellent atmospheric stability. At these magnifications, the Great Red Spot reveals internal structure, small white ovals and barges (dark features in the North Equatorial Belt) become visible, and the polar regions show subtle blue-grey shading. Moon shadows transiting the planet appear as crisp black dots. However, this power is only usable on perhaps 30% of nights — if the image appears boiling or shimmering, drop to medium power.

Your eyepiece collection should include at least one from each category. A 25mm Plössl (50x in an 8-inch SCT), a 12mm Plössl (105x), and a 6mm Plössl (210x) cover all bases. For better eye relief and wider fields, consider the Celestron X-Cel LX series (9mm and 12mm) or the Explore Scientific 82° series. A quality 2x Barlow lens effectively doubles your eyepiece collection. For a comprehensive review of the best eyepieces for planetary observing, see our best telescope eyepieces guide.

Best Filters for Observing Jupiter

Colour filters are an underappreciated tool for planetary observing. Threaded into the barrel of your eyepiece, a quality filter enhances contrast on specific features by selectively blocking certain wavelengths of light. For Jupiter, a small set of filters can dramatically improve what you see:

Wratten #80A (Medium Blue): This is the single most useful filter for Jupiter. It increases contrast on the Great Red Spot, making it appear darker and more defined against the surrounding cloud bands. The blue filter also enhances the visibility of festoons (dark, loop-like features) in the equatorial belts and brings out the blue-grey shading in the polar regions. Use with a 6-10mm eyepiece at 150-200x for best effect.

Wratten #11 (Yellow-Green): This filter improves contrast in the equatorial belts and zones, making the boundary between the belts and brighter zones more distinct. It is excellent for observing the subtle wave patterns that sometimes develop in the North Equatorial Belt. The yellow-green filter also reduces atmospheric chromatic aberration in refractors, producing a sharper overall image.

Wratten #25 (Red): A deep red filter dramatically increases contrast on the blue-white features in Jupiter's atmosphere, including white ovals and disturbances in the South Equatorial Belt. It also darkens the planet's limb (edge), making the disk appear more three-dimensional. The red filter requires a larger aperture (150mm+) and steady seeing to work well, as it significantly reduces the amount of light reaching the eye.

A set of three filters (#80A, #11, #25) in 1.25-inch format costs approximately $30-60 and fits any standard eyepiece. For the best results, experiment with each filter on different nights — the same filter can produce strikingly different results depending on atmospheric conditions and which features are visible on Jupiter's disk at the time. For more on accessories that improve your observing experience, see our telescope accessories for beginners guide.

How to Sketch Jupiter: A Practical Guide

Sketching Jupiter at the eyepiece is one of the most rewarding astronomical activities you can do. It trains your eye to see finer detail, creates a permanent record of what you observed, and requires no special equipment beyond a pencil, eraser, and a sketch blank. Many professional astronomers, including Giovanni Cassini and Percival Lowell, began their careers by sketching the planets. Here is a simple step-by-step method for sketching Jupiter:

Step 1 — Prepare your blank: Before observing, print or draw a set of Jupiter blank templates — circles approximately 4-5cm in diameter representing the planet's disk. Leave room for notes on the side. The Association of Lunar and Planetary Observers (ALPO) provides free Jupiter sketching templates on their website. You will need multiple blanks if you sketch over several hours to record Jupiter's rotation.

Step 2 — Observe systematically: Using a 6-10mm eyepiece (150-200x), spend at least 5 minutes at the eyepiece before starting to draw. Jupiter's rapid rotation means features move visibly across the disk in 30-40 minutes, so note the precise time (UTC) when you begin. Look at the planet in a systematic order: first the equatorial belts (north and south), then the equatorial zone between them, then the polar regions, then the Great Red Spot region if visible, and finally any moon shadows or transits.

Step 3 — Draw the belts first: Lightly sketch the equatorial belts as smooth bands across the disk. Use a soft (2B) pencil for darker features and an H pencil for fainter ones. The South Equatorial Belt (SEB) is typically the darkest and most prominent. Note where it appears thicker, thinner, or has irregularities. The North Equatorial Belt (NEB) is usually somewhat paler. The zones (brighter bands between the belts) can be left as white paper.

Step 4 — Add fine detail: Once the main belts are in place, add any fine structure you can see: rifts (lighter gaps within the belts), festoons (dark, curved wisps extending from the belts into the zones), ovals (white or dark oval features), and the Great Red Spot (a pale salmon-coloured feature in the SEB). Use short, quick pencil strokes rather than trying to draw continuous lines — this better represents the turbulent, gaseous nature of Jupiter's atmosphere.

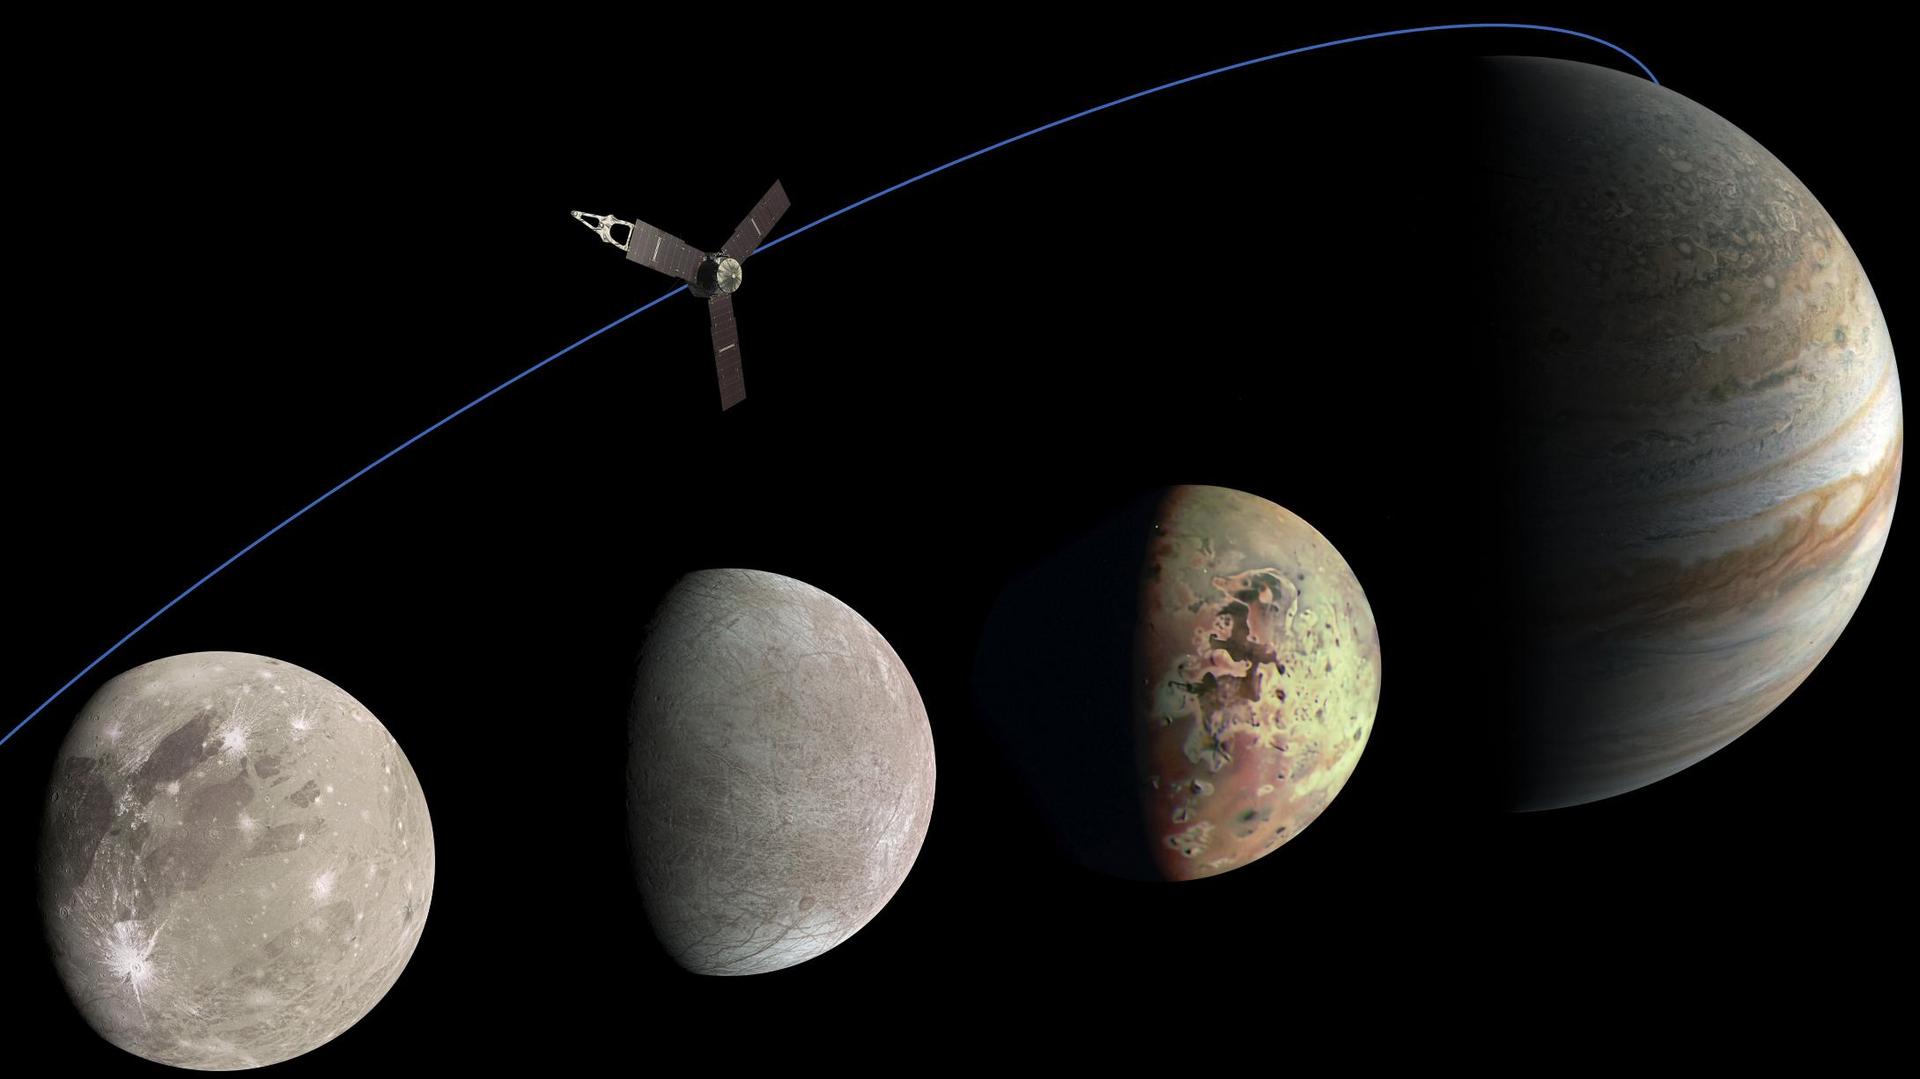
Step 5 — Note the moons: Below the sketch, mark the positions of Io, Europa, Ganymede, and Callisto relative to the planet. Use a diagram showing the planet as a circle and the moons as small dots along a horizontal line, with distances to scale. Note which moon is which (check with Stellarium afterwards). Include the time and date for each sketch. Over successive nights, your sketches will reveal how the moons' positions change and how the Great Red Spot drifts in longitude (System II rotation).

Common Jupiter Observer Mistakes (and How to Avoid Them)

Even experienced observers make mistakes when observing Jupiter. Here are the most common ones we see, along with simple fixes that will dramatically improve your views:

Mistake 1: Observing too early after sunset. The most common error is setting up and looking at Jupiter as soon as it rises. Jupiter is only worthwhile when it is above 30 degrees altitude, because you are looking through less turbulent atmosphere. The rule of thumb is to wait until Jupiter has been above the horizon for at least two hours before serious observing. Below 30 degrees, the image will be watery and indistinct regardless of your telescope quality.

Mistake 2: Using too much magnification. "If 200x is good, 400x must be better" — this is the second most common mistake. On most nights, the atmosphere limits usable magnification to 150-200x regardless of aperture. Using a 2.5mm eyepiece on a night of poor seeing produces a large, blurry, dim image that shows less detail than a crisp 150x view. Learn to recognise the atmospheric conditions: if stars are twinkling violently, keep the magnification moderate.

Mistake 3: Not allowing the telescope to cool down. An SCT or Maksutov that has been stored indoors needs 30-60 minutes to reach ambient outdoor temperature. Setting up and immediately observing at high power will produce a constantly shifting, poor image due to internal tube currents. The fix is simple: set up your telescope 60-90 minutes before you plan to observe seriously. For SCTs, placing a fan near the back of the tube (or using the built-in cooling fan on models like the EdgeHD) accelerates the process significantly.

Mistake 4: Ignoring collimation. Newtonian reflectors and SCTs need their optics aligned (collimated) for the best planetary views. Even a slightly miscollimated telescope loses significant contrast on Jupiter's delicate band structure. Before each observing session, check collimation with a Cheshire eyepiece (for Newtonians) or a star test (for SCTs). A quick collimation check takes 2 minutes and can make the difference between a good view and a spectacular one.

Mistake 5: Forgetting to check the Great Red Spot transit time. The Great Red Spot is only visible for about 90 minutes before and after it crosses Jupiter's central meridian. If you observe at random times, you may look for the GRS when it is on the far side of the planet. Always check the GRS transit prediction for your date and time before going outside. The Sky & Telescope GRS calculator and the JupiterMoons app both provide accurate predictions. Planning your observing session around a GRS transit transforms Jupiter from "belts and bands" into a dynamic, changing world with a distinct personality.

FAQ — Jupiter Observing

What magnification shows Jupiter's bands?

80-100x shows both main belts. 150-200x reveals fine structure. 250x+ on good nights shows intricate detail.

Can I see the Great Red Spot with a small telescope?

90mm can show it in good conditions. 200mm+ shows it consistently with colour.

When is Jupiter best in 2026?

July-October pre-dawn. Improves through the year, becoming an evening object by November.

What is the best telescope for Jupiter on a budget?

The AstroMaster 70AZ shows belts and moons under $130. For $500-600, a 6-inch Dobsonian or NexStar 6SE reveals far more detail.

How do I photograph Jupiter with my DSLR?

Use a T-ring adapter for prime-focus photography. Record 60s video at 30fps. Stack best frames with Autostakkert or Registax.