Fast 3-Minute Diagnosis
This guide assumes you can already acquire a target in the eyepiece but the image lacks sharpness. If your issue is a completely blank field, use our dedicated "can't see anything" setup guide first, then return here for blur-specific fixes.
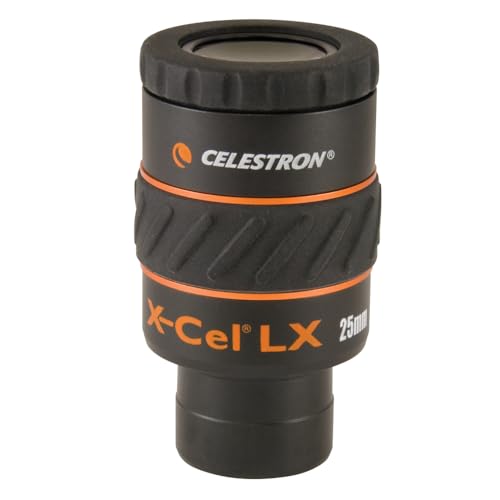
- Switch to your longest focal length eyepiece (usually 25mm).
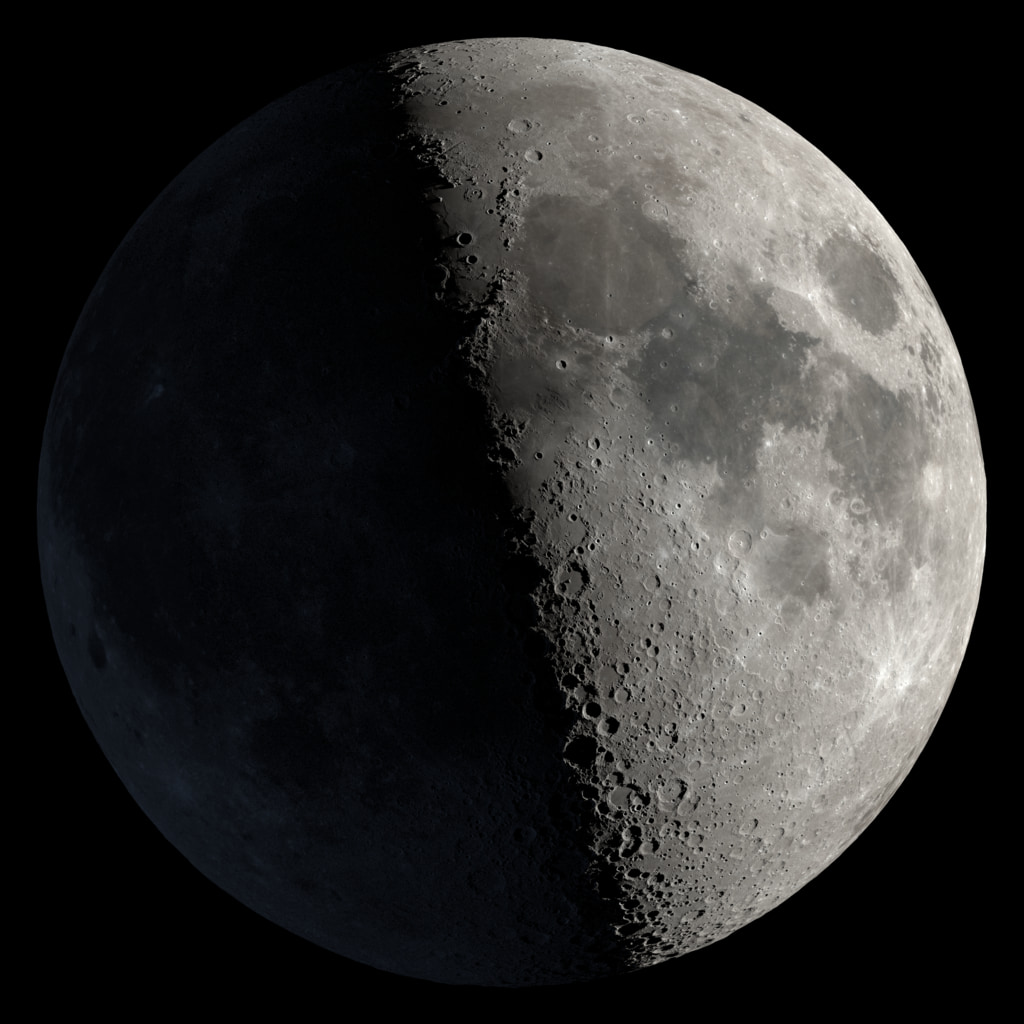
- Center the Moon or a bright star and rack focus fully both directions.
- If blur remains: wait 20+ minutes for cool-down and reduce magnification.
- If stars look like comets or smeared crosses: check collimation/alignment.
- If image shakes after touch: mount vibration is the bottleneck, not optics.
This sequence resolves most first-night blur complaints. It is intentionally ordered by probability and speed, so you spend your observing time on fixes that pay off quickly.