
Why Is My Telescope Blurry? (2026): 12 Fixes That Actually Work
Telescope Advisor Logo Telescope Advisor
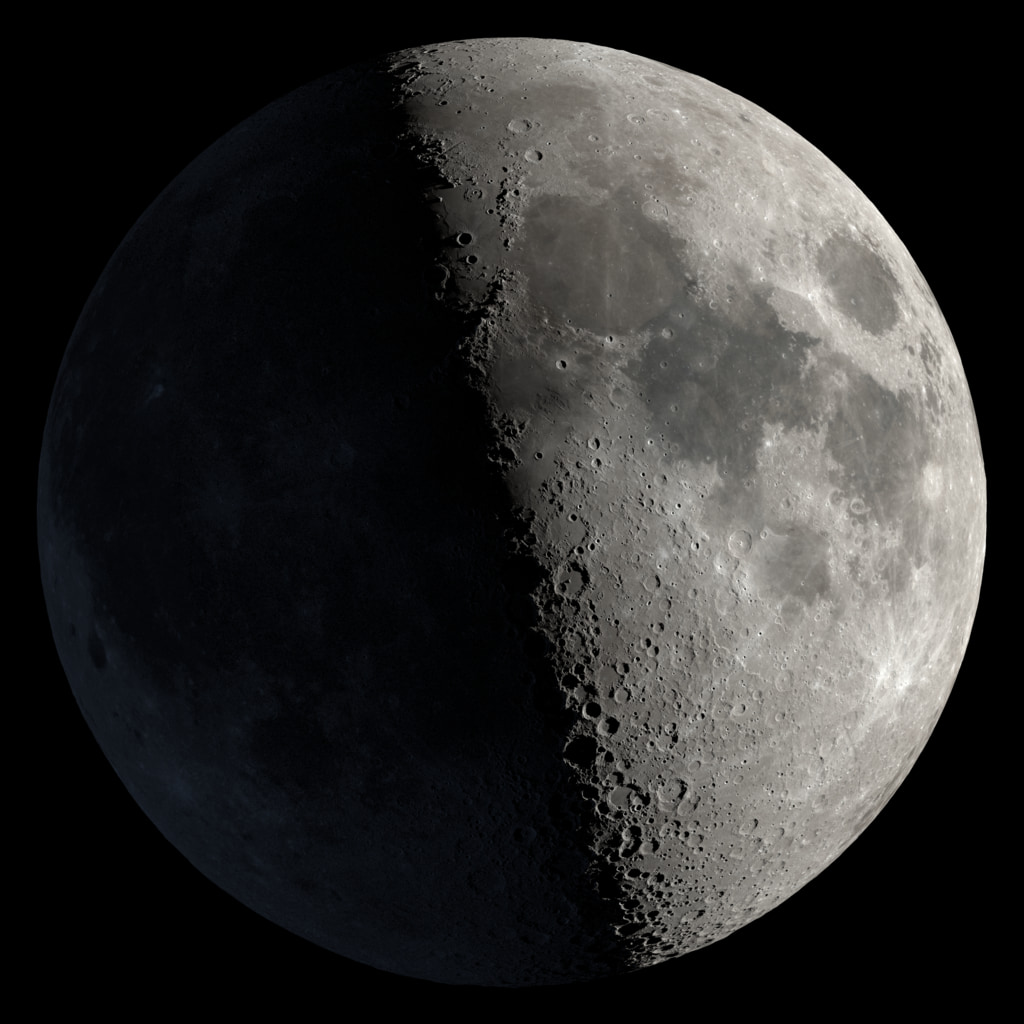
Sharp lunar crater detail seen from orbit

Troubleshooting Guide · Beginner to Intermediate

Why Is My Telescope Blurry?

Blurry telescope views are usually caused by one of five things: focus workflow, atmospheric seeing, thermal acclimation, optical alignment, or mount vibration. This page gives you a fast diagnostic path you can run tonight.

80%

Solved by focus + magnification reset

20–40m

Typical cool-down requirement

2×/mm

Upper practical magnification envelope

By Telescope Advisor Editorial Team Published: Updated: Editorial Standards

Fast 3-Minute Diagnosis

This guide assumes you can already acquire a target in the eyepiece but the image lacks sharpness. If your issue is a completely blank field, use our dedicated "can't see anything" setup guide first, then return here for blur-specific fixes.

  1. Switch to your longest focal length eyepiece (usually 25mm).
  2. Center the Moon or a bright star and rack focus fully both directions.
  3. If blur remains: wait 20+ minutes for cool-down and reduce magnification.
  4. If stars look like comets or smeared crosses: check collimation/alignment.
  5. If image shakes after touch: mount vibration is the bottleneck, not optics.

This sequence resolves most first-night blur complaints. It is intentionally ordered by probability and speed, so you spend your observing time on fixes that pay off quickly.

The 12 Most Common Blur Causes

1. Wrong starting eyepiece

Beginners start at high power. Always begin wide and low power first.

2. Incomplete focus travel

Many focusers require more travel than expected. Sweep fully before concluding failure.

3. Poor atmospheric seeing

Turbulence smears detail, especially for planets near the horizon.

4. No cool-down

Tube currents inside warm optics can mimic bad lenses.

5. Excess magnification

You are enlarging blur. Lower magnification often sharpens the view.

6. Collimation drift

Reflectors lose alignment after transport and require quick checks.

7. Finder misalignment

You may be focused correctly on the wrong target field.

8. Dirty optics

Dew or fingerprints scatter light and flatten contrast.

9. Wobbly mount

Vibration blur after touching focus knobs is a mount issue.

10. Misused Barlow

A Barlow can push power beyond practical seeing limits.

11. Window observing

Indoor-outdoor air gradients and glass distortion degrade sharpness.

12. Unrealistic target expectations

Some objects are naturally low contrast in small apertures.

Best Equipment Fixes For Persistent Blur

Editor's Pick — Stable Beginner Setup
Sky-Watcher Heritage 130P telescope

Sky-Watcher Heritage 130P

Good optical value and straightforward visual workflow once collimated.

Celestron X-Cel LX 25mm eyepiece

25mm Eyepiece Baseline

A wide, forgiving eyepiece often resolves false blur diagnoses immediately.

Celestron AstroMaster 70AZ

AstroMaster 70AZ

Low-maintenance refractor path for users who want to minimize collimation overhead.

Symptom-to-Cause Diagnostic Map

If your telescope is blurry, random trial-and-error can waste the entire night. A better approach is symptom-first diagnosis. Start with what you actually see at the eyepiece, then map that symptom to the most likely failure point. This narrows the fix path quickly and prevents unnecessary collimation or cleaning.

Symptom Likely Cause First Action
Soft at all powersThermal imbalance or poor seeingCool scope and retest at low power
Never reaches point-like starsCollimation/focus chain issueCheck alignment and eyepiece seating
Snaps in and out brieflyAtmospheric turbulenceWait for steadier air and lower power
Looks sharp until touching focuserMount vibrationStabilize mount and rebalance
Center clearer than edgesEyepiece field behaviorRefocus center, test another eyepiece

Blur Fixes by Telescope Type

Different optical designs produce different blur signatures. Treating all scopes the same causes avoidable frustration. Match your troubleshooting order to your telescope design.

Refractor checklist

  • Check diagonal seating and lock screws first.
  • Test one session without diagonal to isolate accessory influence.
  • Keep magnification realistic for aperture and seeing conditions.

Reflector checklist

  • Verify collimation before high-power planetary work.
  • Allow proper mirror cooldown to suppress tube currents.
  • Do not over-clean mirrors; address alignment first.

SCT/Mak checklist

  • Plan longer cooldown windows than short-tube refractors.
  • Check subtle collimation drift if high-power detail is soft.
  • Use dew control because haze can mimic optical failure.

Planet-Specific Blur Patterns

Blur complaints often spike when observing planets because observers push power too quickly. Planetary sharpness depends on seeing, altitude above horizon, and thermal stability more than beginners expect.

Jupiter

Jupiter is bright but low contrast. In average seeing, belts soften early at high magnification. Use moderate power and observe when Jupiter is highest in the sky.

Saturn

Ring definition is an excellent sharpness test. If the ring edge never crisps up, revisit cooldown and collimation before blaming eyepieces.

Mars

Mars detail varies strongly by season and seeing. Outside favorable geometry, expect subtle features even in good optics.

Accessory Chain Audit (Simple and Effective)

A tilted adapter, poor Barlow, or loose compression ring can introduce blur that looks like optical failure. Use a control-test method: strip to a basic eyepiece view, confirm sharpness, then add one accessory at a time.

  1. Start with a known-good 20-25mm eyepiece and no Barlow.
  2. Confirm stable focus on a bright star or lunar edge.
  3. Add diagonal or Barlow one component at a time.
  4. Stop at the first component that introduces visible softness.

This method isolates the weak link quickly and protects your observing session from guesswork.

Environmental Factors That Masquerade as Bad Optics

Warm rooftops, asphalt driveways, and indoor-to-outdoor air gradients produce turbulence that can erase fine detail. This is why the same telescope may look excellent one night and disappointing the next with no hardware change.

  • Avoid viewing lines directly above rooftops releasing heat after sunset.
  • Prefer grass surfaces over concrete to reduce local heat shimmer.
  • Give the scope time to acclimate before evaluating sharpness.
  • Use dew prevention to protect contrast late in sessions.

Repeatable Blur-Prevention Workflow

  1. Set up early for cooldown and mechanical stability checks.
  2. Begin with low power and verify clean star focus first.
  3. Increase power slowly while monitoring focus snap quality.
  4. If sharpness drops, step down power before changing hardware.
  5. Log conditions and successful magnification ranges for next sessions.

Most blur problems are procedural and predictable. A consistent preflight routine prevents repeated mistakes and helps you identify genuine equipment faults only when they truly exist.

Advanced Troubleshooting Playbook (When Basic Fixes Fail)

If your telescope still looks blurry after basic fixes, move from quick checks to controlled tests. The goal is to isolate one variable at a time. Do not change focus method, magnification, accessories, and target all at once. That creates noisy results and makes a good scope look unpredictable.

Test 1: Star focus control test

Choose a bright star high in the sky. Use a known-good eyepiece and no Barlow. Defocus slightly inside and outside focus to inspect symmetry. If patterns are strongly asymmetric in a reflector, collimation is the first suspect. If patterns look steady one moment and boiling the next, seeing is likely dominant.

Test 2: Magnification ceiling test

Increase power in small steps and note the highest magnification where focus still "snaps." That point is your usable ceiling for current conditions. Many users operate far above this threshold and interpret the resulting blur as hardware failure. In reality, they are simply beyond atmospheric and optical limits for that moment.

Test 3: Time-based thermal test

Repeat the same target at setup time, then again after 20, 40, and 60 minutes. If sharpness improves with time, thermal effects were the hidden cause. This is especially common with closed-tube designs and nights with large indoor-to-outdoor temperature differences.

Test 4: Location shift test

Move only a short distance away from rooftops, vents, or warm pavement and retest. Local air can vary dramatically across the same property. A small relocation can produce sharper views than an expensive accessory.

This playbook is deliberately slow and structured. It converts vague blur complaints into measurable observations and gives you confidence when deciding whether a true hardware issue exists.

Why Blur Feels Different by Target Type

A useful but overlooked point: blur symptoms are target-dependent. A setup that feels acceptable on the Moon can still disappoint on Jupiter because Jupiter needs low-contrast discrimination. A scope that looks fine on stars can still look soft on deep-sky nebulae if sky glow is high and contrast is low.

Moon

High contrast and bright. Good for quick focus confirmation, but not always a full proxy for planetary detail performance.

Planets

Most sensitive to seeing and thermal behavior. Fine detail appears intermittently, so patience and timing matter.

Star clusters

Good indicators of focus quality and edge performance. If cluster stars never become points, revisit alignment and accessory chain.

Nebulae and galaxies

Apparent blur can actually be low contrast from bright sky background. Darker locations often improve perceived sharpness dramatically.

When to Upgrade, Repair, or Simply Re-Plan

Not every blur problem should trigger a purchase. Use decision thresholds so you spend only where it helps. If low-power views are consistently clean but high power fails only on unstable nights, your bottleneck is atmosphere, not equipment. If low-power views are always soft regardless of target and conditions, then mechanical or optical inspection is justified.

  • Re-plan the session when seeing is poor and the target is low altitude.
  • Tune procedure when blur is inconsistent night to night.
  • Service or repair when blur persists across targets and conditions.
  • Upgrade only after logs confirm a stable, repeatable bottleneck.

This framework protects beginners from expensive but unnecessary purchases and keeps improvement focused on factors that actually increase sharpness.

Quick Recap: Most Blur Is Fixable

If you remember only one idea, remember this: blurry views are usually not permanent defects. Most cases come from conditions, setup sequence, or magnification choices that are easy to adjust. Start low power, focus carefully, allow cooldown, stabilize the mount, and only then evaluate optics. This order prevents wasted money and helps you get sharp views faster on future nights.

Intent note: this page is for sharpness recovery after target acquisition. For alignment, dust-cap, or initial setup failures where nothing appears in the eyepiece, follow the separate acquisition troubleshooting workflow.

Frequently Asked Questions

Why is the Moon blurry in my telescope?

Usually focus range, heat turbulence, or too much magnification for current seeing.

Why does focus never snap sharply?

Check eyepiece seating, full focuser travel, collimation, and atmospheric conditions in that order.

Can a dirty eyepiece make everything blurry?

Yes, especially fingerprints, haze, or dew on lens surfaces.

Is my telescope broken if planets shimmer?

Not usually. Shimmering often reflects atmospheric seeing, not hardware failure.

Related Guides