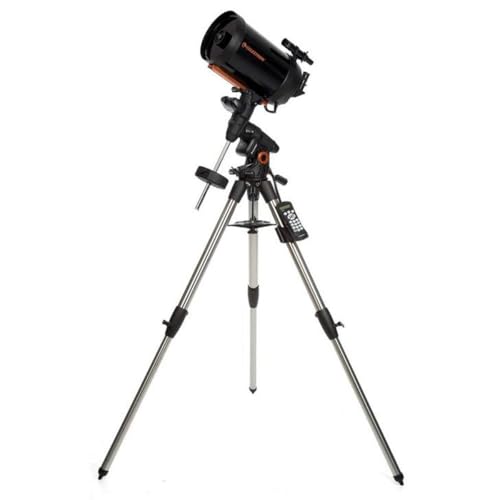
Getting Started with the Advanced VX 8 EdgeHD: An Imaging Guide
The Advanced VX 8 EdgeHD is a powerful imaging system, but its capabilities are best unlocked through a structured workflow. Understanding the setup sequence, calibration routines, and target selection strategy helps new owners avoid common frustrations and produce satisfying results from their first session.
First Session: Polar Alignment and Initial Calibration
The Advanced VX mount's All-Star Polar Alignment routine eliminates the need for a polar alignment scope — a significant advantage for mobile imagers. The process takes approximately 10 minutes: level the tripod, perform a two-star alignment through the hand controller, then select a third star for polar alignment refinement. The mount calculates the polar alignment error and directs you to adjust the altitude and azimuth bolts until the error is minimised. First-time users should practice this routine during daylight to familiarise themselves with the bolt adjustments before attempting it in darkness.
Optimal Imaging Configurations
The EdgeHD system is most versatile when used in three configurations. For wide-field nebulae (North America Nebula, Veil Nebula, Rosette Nebula), use the 0.7x focal reducer at f/7 for a 3.2×2.1 arcminute field on a crop-sensor camera — enough to frame these large targets with surrounding star fields. For medium-sized galaxies (M51, M81/M82, M101), the native f/10 configuration provides the image scale needed to resolve spiral structure and HII regions. For planetary imaging, a 2× Barlow at f/20 (4,064mm) produces an image scale of approximately 0.1 arcseconds per pixel with a typical planetary camera — near the resolution limit of average seeing conditions. At each configuration, the Advanced VX mount's PPEC reduces periodic error to manageable levels.
Essential Accessories for First Light
Three accessories transform the Advanced VX 8 EdgeHD from a capable system into a productive one. An off-axis guider (OAG) eliminates the flexure problems common with guide-scope setups on SCTs, enabling reliable 5–10 minute sub-exposures. A Bahtinov mask simplifies focusing to a 30-second routine — critically important for achieving the sharp focus that the EdgeHD optics demand. An electronic focuser (such as the Celestron Focus Motor or a third-party option) enables temperature-compensated autofocusing during long imaging runs, eliminating the focus shift that occurs as the night cools. While none of these are strictly required for first light (the included focus knob and manual focusing are workable), each removes a specific frustration that new imagers commonly face.
Recommended first targets for the Advanced VX 8 EdgeHD
Start with the Orion Nebula (M42) in winter or the Lagoon Nebula (M8) in summer — both are bright, high-contrast targets that produce rewarding results even with short 30-second exposures. Move on to the Whirlpool Galaxy (M51) and the Triangulum Galaxy (M33) for spiral structure practice. For narrowband, the Veil Nebula complex responds beautifully to the EdgeHD's flat field at f/7 with a dual-band filter. See our astrophotography for beginners guide for detailed first-session planning.