Mercury Greatest Elongation East June 15, 2026: Exact USA Viewing Window + Gear Guide
Telescope Advisor Logo Telescope Advisor
Mercury surface and basin detail captured by NASA MESSENGER

Sky Event Guide · June 2026

Mercury at Greatest Elongation East (June 15, 2026): How to Actually Find It

Mercury is the most searched but most missed naked-eye planet. This guide gives the practical workflow: exact evening window, where to stand, what horizon you need, and which optics raise your success rate from guesswork to repeatable wins.

Jun 15

Peak Date

~23°

Solar Separation

30-50

Minutes After Sunset

WNW

Best Direction

By Telescope Advisor Editorial Team Published: Updated: Editorial Standards

Quick Answer

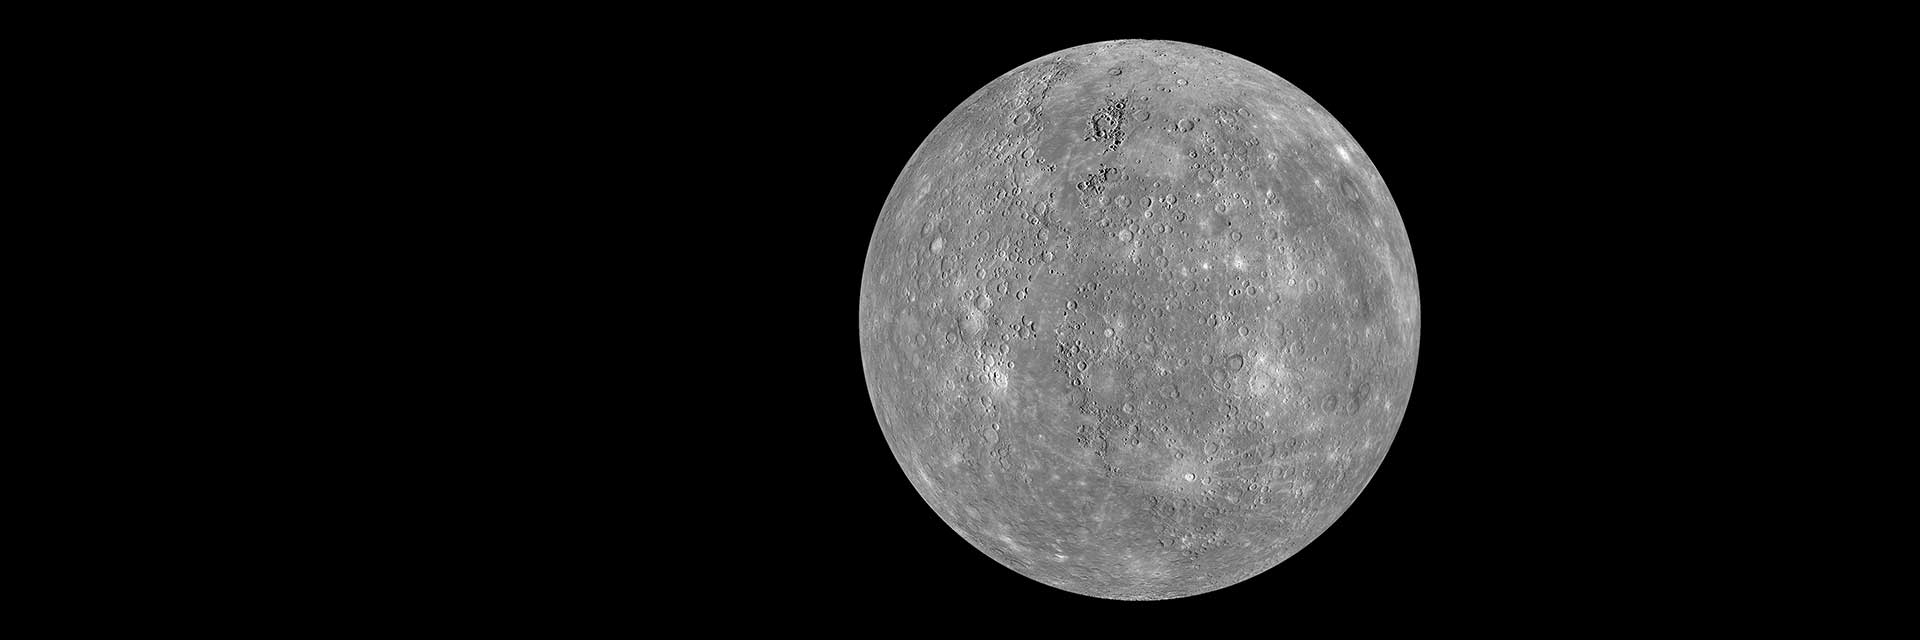
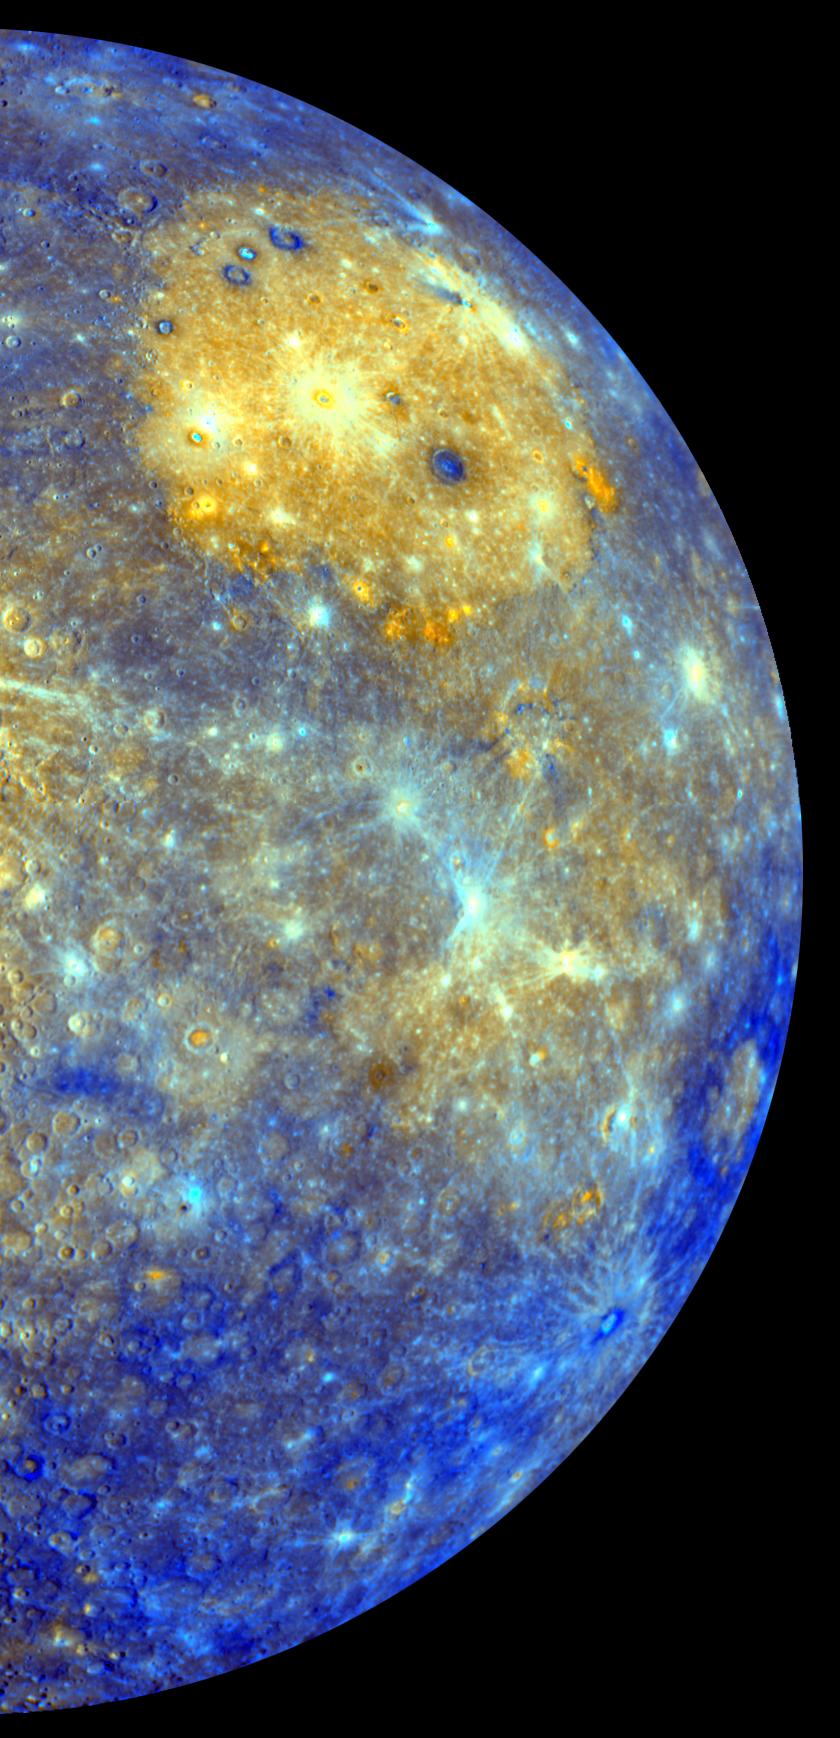
Start looking 30 to 35 minutes after local sunset toward a clean west-northwest horizon, and use 10x50 binoculars first. Mercury on June 15, 2026 is bright enough for naked-eye detection, but low altitude and twilight contrast are the real limiting factors. Most misses happen because observers start too late, stand behind haze or trees, or scan too high above the horizon.

If you can see Venus and Jupiter but keep missing Mercury, the problem is almost always local horizon quality, not eye sensitivity. Move to an elevated location with a distant flat horizon line and rehearse your scan pattern before sunset. Once Mercury is found in binoculars, naked-eye confirmation becomes dramatically easier.

🔭

Not sure which telescope actually fits your goals?

Answer 5 quick questions about your budget, observing targets, and experience level — our Telescope Finder Tool recommends a specific model in under 2 minutes.

Find My Telescope →

What Greatest Elongation East Means in Practice

Greatest elongation east means Mercury appears at its maximum angular distance east of the Sun in the evening sky. That sounds technical, but for observers it means one practical thing: this is one of the best evening opportunities of the year to spot Mercury without advanced equipment. You still get a short window and low altitude, but at least the planet is separated enough from the Sun's glare to be detectable.

This event does not mean Mercury is highest in your sky all year, brightest all year, or easiest all year from every latitude. It means the geometry is favorable relative to the Sun. Your local success still depends on weather clarity, dust and smoke layers near the horizon, and obstruction-free sight lines. That is why two observers in the same city can have opposite outcomes on the same night.

For urgency-driven planning: treat June 12 through June 19 as your operational window, not a one-night all-or-nothing attempt. If June 15 clouds out, June 14 or June 16 may be almost as productive visually. The separation changes gradually enough that a week-long strategy gives you a much higher success probability than targeting one date.

USA Viewing Windows by Time Zone (June 15 Baseline)

Use this as a field plan template. Replace exact sunset with your city value, then apply the same offsets.

Time Zone Start Scan Best Contrast Window Cutoff
ETSunset + 30 min+35 to +48 min+60 min
CTSunset + 30 min+34 to +47 min+58 min
MTSunset + 29 min+33 to +46 min+57 min
PTSunset + 28 min+32 to +45 min+56 min
AKDTSunset + 25 min+30 to +42 min+52 min
HSTSunset + 27 min+32 to +44 min+55 min

These offsets are deliberately conservative for beginner success. Starting earlier helps you acquire the right patch of sky before contrast collapses.

Gear Strategy That Works in Real Twilight

Mercury sessions are about contrast and speed, not extreme aperture. A bigger telescope can reveal a small disk or phase, but if your pointing workflow is slow, you lose the event window before locking target. For this reason, a two-layer setup performs best: binocular acquisition first, then optional telescope handoff.

Layer 1: Fast Acquisition

  • 10x50 binoculars for rapid scan and confirmation.
  • Optional tripod if hands are unstable in twilight.
  • Scan from horizon to 12 degrees altitude, not higher.
  • Use short sweeps, then pause for contrast detection.

Layer 2: Detail Handoff

  • 70mm refractor at low power to center Mercury quickly.
  • Then move to 50x-90x if seeing supports stable detail.
  • Avoid over-magnification in bright low-altitude air.
  • If image shimmers heavily, drop magnification immediately.
Celestron UpClose 10x50 binoculars

10x50 Binocular Baseline

Celestron SkyMaster 15x70 binoculars

15x70 High-Contrast Option

Celestron Travel Scope 70 refractor

Fast Refractor Handoff

Step-by-Step Field Workflow (Repeatable)

  1. Pre-load sunset and azimuth: before leaving home, capture sunset time and a compass direction for WNW from your exact location.
  2. Arrive 20 minutes pre-sunset: set up while visibility is high. Twilight events punish late setup.
  3. Select a reference line: identify a distant landmark near your expected Mercury azimuth to avoid random scanning.
  4. Start binocular sweep at +30: low horizontal sweeps, then slight upward shifts. Pause every 5 seconds to allow contrast recognition.
  5. Lock, then confirm: once a bright point is found near expected spot, hold for 20-30 seconds and confirm slow descent with horizon rotation pattern.
  6. Only then telescope handoff: attempting telescope first usually wastes the window.
  7. Log conditions: note haze, horizon transparency, and successful minute mark for better repeat sessions.

Top Mistakes That Cause Mercury Misses

Starting Too Late

If you begin after +50 minutes from sunset, Mercury is often too low in dirty air for easy detection.

Scanning Too High

Many observers look 20 degrees up. Mercury is usually far lower during this event window.

Poor Horizon Choice

Trees, buildings, and heat haze erase contrast. Move sites instead of forcing a blocked location.

Over-Magnification

At low altitude, unstable air turns high-power views into shimmering blur. Lower power improves useful detail.

Site Selection: The Single Biggest Success Lever

Most observers think Mercury is hard because it is faint. In reality, the planet is often bright enough. The true challenge is that Mercury sits in the worst part of your sky: low altitude where haze, dust, heat plumes, and skyline obstructions are strongest. If your site has even small trees, distant apartment blocks, or warm rooftop air in your line of sight, the planet can vanish in background glow. That is why moving sites by even a few miles can outperform changing telescopes. A better horizon gives better contrast, and contrast is the real currency of Mercury sessions.

A practical rule is to evaluate the site by horizon quality first, then convenience. If you can drive 20 minutes to a hill shoulder, lakeshore, or open farm edge with a clean west-northwest line, your probability of success rises sharply. If you stay in a blocked yard because setup is easy, you may spend the entire event window searching empty sky. For this specific event, convenience is a secondary criterion. Prioritize geometry and transparency over comfort.

Use a simple pre-visit checklist before event night: verify the horizon is open to at least 8 to 10 degrees altitude, confirm no direct streetlights in your forward field, and test where the Sun sets from that location two days before peak. This rehearsal removes uncertainty and lets you spend the real event window observing instead of improvising. Mercury rewards preparation disproportionately more than most bright-planet sessions.

Site Type Horizon Quality Thermal Stability Mercury Suitability
Rooftop deckVariableOften poorModerate
Lakeshore / coast edgeExcellentGoodHigh
Suburban backyardOften blockedModerateLow to moderate
Open hill overlookExcellentGoodHigh

How to Read Weather for Mercury Nights

General cloud percentage is a weak predictor for Mercury success. You can have 5 percent cloud and still fail if low-level haze is dense near the horizon. You can also have partial cloud and still win if the western band is transparent during your 20-minute best window. For Mercury, inspect low-altitude transparency, aerosol load, and humidity trend around sunset. Those three variables explain far more failures than broad cloud cover categories.

The most useful heuristic is to evaluate whether distant ridgelines or buildings look crisp one hour before sunset. If distant contrast is milky or flattened, Mercury detection difficulty rises substantially. If edges are crisp and color saturation is strong in the west, the session likely has high potential. This visual check is fast and usually more actionable than over-analyzing hourly forecast tables in the field.

Wind can help or hurt depending on air mass and terrain. Light onshore flow over water can deliver a stable horizon. Hot urban outflow after a warm day can inject turbulent layers and reduce perceived sharpness in binoculars. Monitor trend rather than absolute values: improving clarity over the final 30 minutes before sunset is a green flag to stay and commit. Degrading clarity is your cue to shift emphasis to binocular-only detection and earlier scan start.

Advanced Visual Technique: Micro-Sweeps and Pause Timing

Many observers sweep too fast. In bright twilight your visual system needs short pauses to register contrast boundaries. A better pattern is micro-sweep, pause, micro-sweep, pause. Keep each sweep narrow, about one binocular field width, then hold for two to four seconds. This gives your vision enough time to separate a steady point source from background glow. Fast continuous scanning often turns Mercury into unnoticed noise.

Use relative altitude ladders instead of random arcs. Start at the horizon line and move upward in fixed increments, then return lower and offset slightly left or right. This creates a repeatable search grid and prevents unconscious drift too high above the target zone. For this event, many misses happen because observers drift upward toward cleaner sky where Mercury is not located. Grid discipline keeps attention in the correct low band.

When you suspect a candidate point, do not immediately jump away. Hold the point through several seconds of hand stabilization and check whether it remains coherent across small breathing shifts. Mercury often appears and disappears through thin horizon turbulence. A genuine target tends to reappear in the same position relative to your landmark. Random sparkle points from atmospheric artifacts do not remain consistent under repeated short checks.

After first lock, re-center and hand the location to other observers using local references: degrees above horizon, offset from landmark, and relation to brighter objects. This communication method improves group success and reduces the common loop where each person restarts from scratch. In public sessions, one confident lock point can convert five uncertain observers into five successful observations within minutes.

Regional USA Notes for June 2026 Mercury Attempts

Northeast and Great Lakes: Humidity and haze layers are frequent in June evenings. Plan backup sites with wider western exposure and avoid heat-retaining downtown corridors. Start scanning on the early side of your window because contrast can degrade rapidly as haze thickens near sunset plus 45 minutes.

Southwest deserts and high plateaus: Often excellent horizon clarity, but strong ground heating can create shimmering air in early twilight. Counter this by delaying telescope handoff until the image settles and using binocular-first detection to avoid burning your best minutes on unstable high power. This region can produce excellent naked-eye Mercury sessions when dust levels are low.

Pacific coast: Marine layers can suppress low-altitude visibility even when inland skies look clear. If coastal haze intrudes, shift to elevated inland viewpoints. Conversely, when marine air is clean and thin, coastlines can provide some of the best open horizons in the country. Local microclimate matters more than broad regional averages.

Southeast and Gulf regions: Expect moisture-rich horizons and variable transparency. Build a two-night strategy around forecast opportunities rather than one fixed date. If haze remains high, emphasize binocular confirmation and use lower expectations for telescope detail. You can still complete a satisfying session by prioritizing detection and positional confidence.

90-Minute Session Template (Copy This Plan)

T-30 minutes: Arrive, orient, and identify west-northwest landmark references. Confirm no major obstructions in the target lane.

T-20 minutes: Stabilize binocular setup and rehearse low-altitude scan bands. Do not attempt target acquisition yet.

Sunset to +25: Build sky familiarity and test visibility boundaries. Note contrast quality changes minute by minute.

+30 to +48: Primary Mercury acquisition window. Commit to micro-sweep grid and pause method with strict discipline.

+48 to +60: Confirmation phase and optional telescope handoff for shape or phase attempts.

+60 onward: Log notes immediately: first detection time, altitude estimate, haze conditions, and equipment settings.

This template converts a vague attempt into a repeatable protocol. If you miss on the first night, keep the same structure and adjust one variable at a time: earlier start, better horizon, or improved stabilization. Consistent process beats improvisation for Mercury.

Observer Log Framework for Better Future Results

If you observe Mercury only once a year without notes, each attempt resets to beginner level. A simple log converts experience into compounding skill. Record local sunset time, first binocular detection minute, first naked-eye minute, and cutoff minute when target was lost. Add qualitative notes on haze, color of twilight band, and whether horizon landmarks were useful. Over two or three seasons, you will see patterns that let you predict success before setup.

Also record what did not work. Maybe high magnification failed under low-altitude turbulence. Maybe tripod mounting doubled confidence versus handheld searching. Maybe a particular overlook gave repeated wins while your backyard consistently failed. Negative findings are as valuable as positive ones because they save future event windows from avoidable mistakes.

When sharing results in club groups or with beginners, provide context with your sighting claims: site type, horizon quality, and exact timing relative to sunset. This improves community usefulness and helps newcomers avoid false comparisons. "I saw Mercury" is interesting; "I saw Mercury at +36 minutes with 10x50 from an open lakeshore" is actionable knowledge.

Frequent Field Scenarios and Exact Response Plans

Scenario one is the "clear but murky" evening: the sky looks mostly cloud-free overhead, yet the low western band appears washed out. In this case, start earlier than usual and commit to binocular-first detection only. Do not spend the first 10 minutes trying to force naked-eye confirmation. Once Mercury is identified in optics, step away briefly and attempt naked-eye lock while preserving the same landmark geometry. This sequence maintains momentum and avoids false negative conclusions.

Scenario two is the "perfect horizon, unstable seeing" evening common after hot afternoons. The target is visible but dancing in turbulence. Here, reduce magnification aggressively and treat detail as optional. Your success metric becomes retention and confident identification, not phase rendering. Observers who chase detail too early in this scenario often lose the planet completely and run out of window.

Scenario three is the "group observation" evening where one person locks quickly and others struggle. Use explicit callouts: "two binocular fields above that tower" or "one finger width above the bright cloud edge." Shared positional language dramatically increases group completion. Do not rely on vague phrases like "over there" when twilight contrast is low.

Scenario four is partial cloud during peak minute range. Resist quitting immediately. Thin cloud bands can move fast, and Mercury visibility can recover within minutes. Keep scanning in short bursts while tracking horizon transparency changes. Many successful sightings happen after a brief interruption that looked like total failure at first glance.

Scenario five is novice observers comparing views to bright-planet expectations. Clarify that Mercury sessions are geometry wins first and detail sessions second. Framing the event correctly helps people enjoy the challenge rather than mislabeling it as underwhelming. This is especially important in club settings where early experiences shape whether newcomers return for future observing nights.

FAQ

Can I see Mercury without binoculars on June 15, 2026?
Yes, but success rate is lower. Binoculars are the fastest way to locate Mercury in bright twilight, then you can confirm naked-eye location.

Is this better than a morning Mercury event?
For many beginners, yes. Evening sessions are easier logistically, but morning elongations can sometimes offer cleaner air depending on local climate and terrain.

Do I need a telescope to enjoy this event?
No. The event is primarily a naked-eye and binocular geometry experience. Telescope use is optional for phase and disk detail.

What if the horizon is blocked?
Change locations. Horizon quality matters more than aperture for Mercury events.

What is the best backup strategy if June 15 is cloudy?
Plan a rolling window from June 12 to June 19 and keep one backup site ready. Mercury geometry changes gradually, so practical success often comes from flexibility rather than one-date perfection.