Micro Full Moon June 29, 2026: Exact Time, Meaning, and U.S. Viewing Guide
Telescope Advisor Logo Telescope Advisor
Full Moon image from NASA

Moon Event Guide · June 2026

Micro Full Moon June 29, 2026: Why It Looks Smaller and How to Watch It Well

Not every full moon appears equally large. The June 29 micro full moon arrives near lunar apogee, making the disk look smaller than average. This guide explains the science and gives practical viewing and photography tactics for U.S. observers.

Jun 29

Full Moon Date

23:56 UTC

Full Phase Instant

Apogee-Side

Orbital Position

Smaller Disk

Visual Effect

By Telescope Advisor Editorial Team Published: Updated: Editorial Standards

Quick Answer

The June 29, 2026 full moon is a micro moon, meaning the full phase occurs when the Moon is relatively far from Earth, near apogee. The exact full phase instant is approximately 23:56 UTC on June 29, which converts to late afternoon or evening in many U.S. time zones. The moon still looks bright and beautiful, but its apparent disk size is slightly smaller than average.

To enjoy it best, view moonrise from an open horizon for aesthetic impact, then continue observing higher in the sky for sharper detail and reduced atmospheric distortion. The micro moon label describes subtle size difference, not reduced visibility.

🔭

Not sure which telescope actually fits your goals?

Answer 5 quick questions about your budget, observing targets, and experience level — our Telescope Finder Tool recommends a specific model in under 2 minutes.

Find My Telescope →

Exact Full Moon Time and U.S. Conversions

Full phase instant: June 29, 2026 at 23:56 UTC. U.S. local conversions are shown below for planning. You do not need to observe at the exact minute to enjoy the event; the moon appears full to the eye across a broad evening window.

Time ZoneLocal Full Phase TimeRecommended Session
EDT (UTC-4)June 29, 7:56 PMMoonrise through late evening
CDT (UTC-5)June 29, 6:56 PMEarly evening to mid-evening
MDT (UTC-6)June 29, 5:56 PMEvening after moonrise
PDT (UTC-7)June 29, 4:56 PMSunset onward
AKDT (UTC-8)June 29, 3:56 PMLate daylight into evening
HST (UTC-10)June 29, 1:56 PMSunset session preferred

Data note: times are based on UTC conversion methodology used throughout TelescopeAdvisor moon-event pages.

What Is a Micro Moon?

The Moon follows an elliptical orbit, so Earth-Moon distance changes continuously. When full moon occurs close to perigee, the Moon appears larger (popularly called a supermoon). When full moon occurs near apogee, the Moon appears smaller (micro moon). June 29, 2026 falls into the second case.

The size difference is real but subtle to casual observers. Most people notice brightness and color first, then apparent size only when directly comparing images from different full moons captured with identical framing. That is why this event is excellent for educational observing and repeatable photography workflows.

Recommended Gear for Visual and Photo Sessions

10x50 binoculars

10x50 Moon Texture Views

Simple, bright, and easy for casual sessions.

70mm telescope

70mm Scope for Crater Contrast

Great for beginners who want moon detail.

8 inch telescope

8SE for High-Detail Imaging

Tracking support and sharper lunar sessions.

Deep Dive: How to Observe and Photograph a Micro Full Moon Intentionally

A micro full moon is easiest to appreciate when you treat it as a comparison project, not a one-night novelty. If you only observe casually, the moon will still look bright and impressive, but the smaller apparent diameter may not stand out. To make the difference meaningful, create a consistent observation framework: same lens focal length, same tripod location type, similar moon altitude, and matched exposure approach across multiple full moons. This transforms subtle orbital geometry into visible, repeatable evidence.

Start by splitting your session into two goals: aesthetic viewing and technical comparison. For aesthetic viewing, moonrise is compelling because foreground context adds drama. Buildings, hills, and trees create scale references that make the moon feel cinematic. For technical comparison, wait until the moon climbs higher and atmospheric distortion drops. High-altitude views are sharper and better for crater-edge definition and diameter comparisons.

Many beginners assume moonrise is always best for detail, but near-horizon turbulence can blur fine structure. That does not mean moonrise is bad; it means moonrise is a composition phase and later evening is a clarity phase. Use both phases intentionally. Capture foreground storytelling near horizon, then switch to clean-detail frames later when seeing improves.

If you are using binoculars, spend a few minutes comparing bright maria regions and crater rims as the moon climbs. You will notice contrast behavior changes with altitude and local transparency. Binocular observing is underrated on full moon nights because people assume telescopes are mandatory. In reality, binoculars provide relaxed, wide-field context and often better comfort for group viewing sessions.

For telescope users, manage brightness first. Full moon can be visually intense, especially in larger apertures. A neutral-density or variable polarizing filter can make long sessions more comfortable and reveal subtle tonal variation. Comfort affects observation quality. If your eye is strained, you stop early and miss the best moments of the evening.

Photography workflow should prioritize consistency over complexity. Use manual exposure, fixed ISO baseline, and identical focal length when possible. Keep white balance controlled so your comparison set does not drift between warm and cool rendering styles. If you change too many variables, you cannot attribute size differences confidently. The point of micro moon documentation is comparability.

Another common trap is social-media perspective illusions. Telephoto compression can make any moon look enormous when foreground framing is chosen to exaggerate scale. Those images are artistic and valid, but they do not represent physical diameter differences between perigee-side and apogee-side full moons. For educational clarity, keep at least one standardized frame in your archive for each full moon cycle.

Families and outreach hosts can turn this event into a simple science activity. Ask participants to sketch the moon size inside a fixed circle template, then compare sketches from a supermoon and micro moon month. This tactile approach helps people understand that orbital mechanics can produce subtle but measurable visual changes without requiring advanced instruments.

If weather interferes on June 29, keep the educational objective alive by using archival comparisons and observing on adjacent nights. The moon appears effectively full across a broader period for casual viewing. While the exact full phase instant has scientific precision, the visual experience remains strong before and after that minute.

Ultimately, the June 2026 micro full moon is valuable because it connects orbital mechanics to an accessible sky experience. You can explain apogee, measure visual effects, and enjoy a beautiful moonrise in one event. With a little structure, this becomes one of the most teachable and rewarding moon sessions of the year.

Comparison Workflow: How to Prove the Micro Moon Effect with Your Own Data

If you want more than a nice photo, build a comparison workflow that lets you verify apparent size differences across full moons. The central principle is variable control. Most failed comparisons mix focal lengths, crop ratios, processing styles, and moon altitude. When variables drift, the conclusion becomes subjective. You can avoid this by using one baseline setup and repeating it every full moon month.

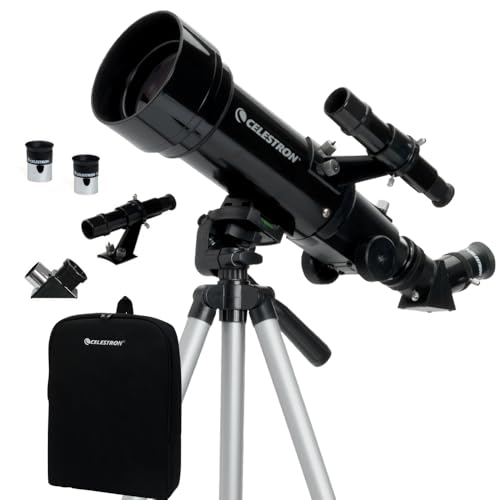
Choose one camera and one optical path. Keep focal length fixed, disable auto-crop routines, and use manual exposure as your baseline. If clouds force adaptation, annotate every change in your log. Even simple notes like "thin cirrus during first five minutes" can explain contrast differences later. Good notes are a force multiplier for lunar comparison projects.

Build a standardized frame recipe. Example: frame the Moon with a fixed margin to the nearest edge and include one neutral sky area for histogram consistency checks. Then apply the same post-processing preset each month: same contrast curve, same sharpening threshold, same white balance. This recipe protects comparability and prevents post-processing from creating artificial size impressions.

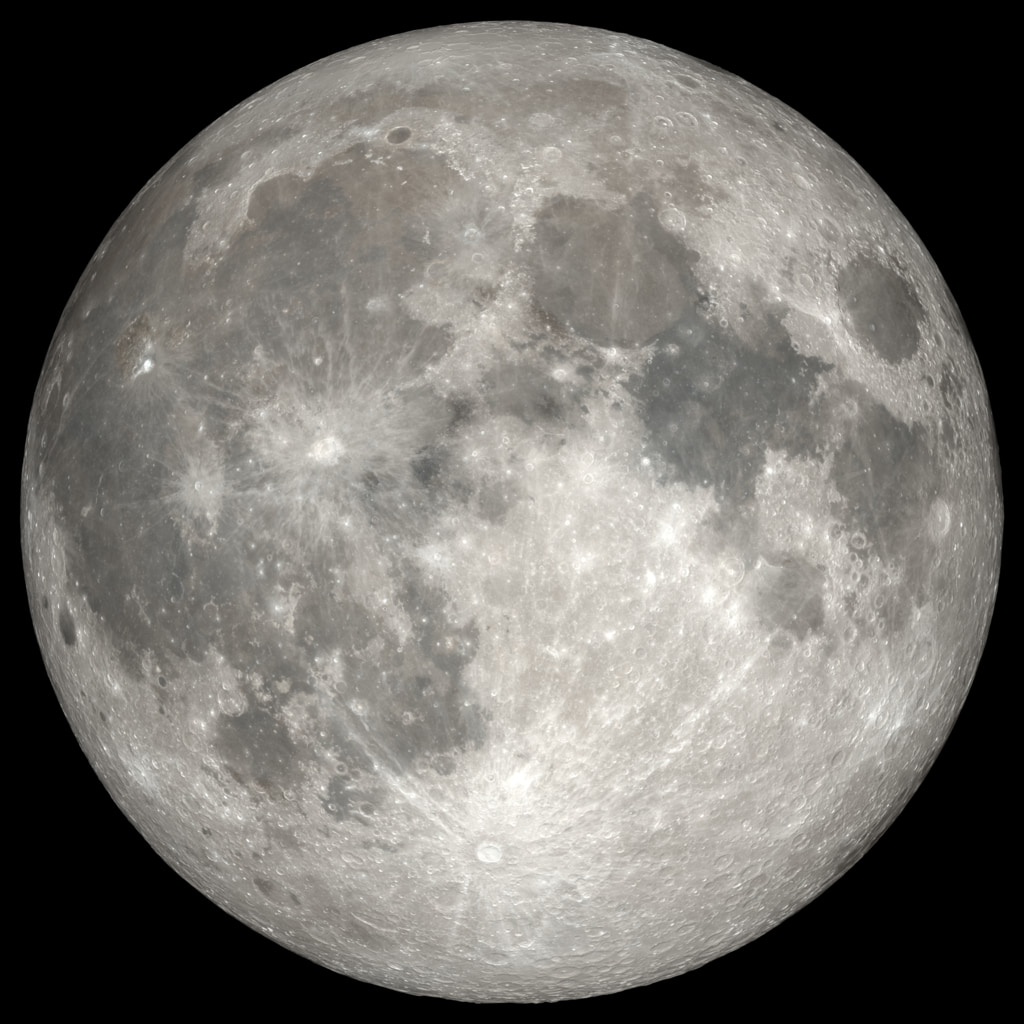
Add a visual reference layer for readers and outreach audiences. Place a measured disk outline from a previous full moon over the June 29 image and label both dates clearly. When people see direct overlays, the concept of micro moon versus larger full moon becomes intuitive. This works especially well in clubs, classroom settings, and social posts where audience attention is limited.

Use altitude-aware comparisons whenever possible. A low-altitude moon near horizon can appear optically distorted and color-shifted by atmospheric effects. A high-altitude moon can look sharper and less saturated. Comparing a low-altitude frame to a high-altitude frame may hide or exaggerate differences unrelated to orbital distance. If exact altitude matching is not practical, document the mismatch and present results as qualitative.

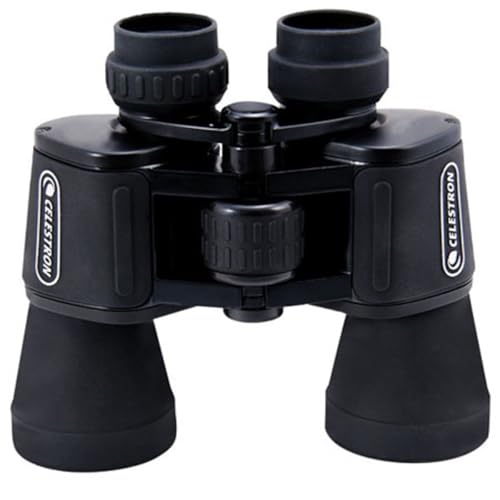
For visual-only observers, a simple tool can still help: a fixed apparent-size reference in a reticle eyepiece at constant magnification. Record where the lunar disk sits relative to reticle spacing and repeat monthly. This approach is less precise than imaging but still educational and personally useful. It also keeps observing skills central for people who prefer visual astronomy over camera workflows.

Another high-value practice is timeline segmentation on event night. Segment one is moonrise aesthetics and public engagement. Segment two is controlled comparison capture once altitude improves. Segment three is verification and metadata logging. Segmentation prevents the common problem of spending the entire night on one objective while neglecting others. It also makes outreach and data collection compatible rather than competing.

When presenting results, avoid overstatement. Instead of saying the micro moon is dramatically smaller, quantify carefully: "apparent diameter measured smaller than my March comparison by X percent under matched settings." Precision language preserves credibility and helps readers set realistic expectations. Responsible framing is especially important for searchable event content where readers rely on clear, practical guidance.

In outreach settings, pair measurement with story. Explain that the Moon's orbit is an ellipse, not a perfect circle, and that distance changes gradually. Then show your comparison image sequence. Story plus evidence is what makes the concept memorable. Without the story, measurements feel abstract. Without measurements, story feels anecdotal.

If weather limits June 29, run a contingency plan on adjacent nights and tag those datasets accordingly. Full-moon visual appearance spans a window broader than one exact minute, so valuable comparisons are still possible. Be explicit in labeling "near-full" versus "exact full" captures to maintain transparency.

By the end of this cycle, you should have three deliverables: one educational comparison panel, one artistic moonrise frame, and one short methodology note. Together these outputs turn a subtle astronomical event into a durable resource you can reuse in future full-moon explainers, club talks, and reader-first content updates.

Practical Night Plan: A Step-by-Step Micro Moon Session Schedule

A practical micro moon night works best when time is segmented. Segment one begins before moonrise and focuses on logistics. Arrive early, confirm horizon line, and pre-test exposure settings. Segment two captures moonrise aesthetics with foreground context. Segment three shifts to controlled comparison frames once altitude improves. Segment four is short review and metadata logging before you leave the site.

During segment one, avoid overcomplicating setup. Use a stable tripod, one primary lens or telescope path, and one backup framing option. Pre-focus on a distant light source to reduce first-capture delay. If you are observing with a group, assign one person to timing calls and one to queue flow for telescope views. Simple role clarity prevents crowd bottlenecks.

During segment two, emphasize storytelling images and audience engagement. Explain why horizon color shifts occur and why apparent size can feel different near horizon. Encourage observers to note color and shape changes as altitude increases. This keeps the session educational and immersive even before technical comparison work starts.

During segment three, switch into controlled mode. Keep framing, focal length, and processing assumptions stable. Capture the reference sequence you will compare later with another full moon month. If seeing is unstable, capture extra frames but keep all settings documented. Reproducibility is more important than artistic variation in this segment.

During segment four, quickly review histograms and edge sharpness to ensure your comparison data is usable. Then write short notes: weather, haze level, first moonrise capture time, best clarity interval, and any deviations from baseline setup. This five-minute review prevents data loss and helps you improve your next lunar comparison session.

If clouds interrupt moonrise, do not abandon the event entirely. Move directly to high-altitude capture when breaks appear and flag the session as a partial comparison set. Partial sets still have value when clearly labeled. Over time, multiple partial sets can be combined into a strong archive.

If light pollution is high, use the micro moon night for educational narrative and relative-size demonstrations rather than deep tonal detail. Bright urban skies can still produce excellent outreach moments and useful comparison frames with proper exposure discipline. Urban constraints do not remove the scientific value of the event.

This schedule-oriented approach makes micro moon nights repeatable, informative, and enjoyable. Instead of relying on luck, you execute a known sequence and leave with clear outcomes: audience understanding, visual memory, and data you can reuse for future lunar storytelling.

Quick Comparison Template You Can Reuse

If you want a reusable template, copy this structure into your observing log: reference full moon date, micro moon date, matched focal length, matched crop ratio, moon altitude estimate, seeing quality, and measured apparent-disk difference. Add one sentence explaining whether the comparison is quantitative or qualitative. This single-page template prevents confusion months later when you review your archive and makes your conclusions easier to communicate to readers or club members.

For outreach teams, print the template on one sheet and let participants fill it during the session. Even first-time observers can contribute useful notes when prompts are clear. At the end of the evening, you will have both educational engagement and a small dataset to improve future events. This is one of the easiest ways to turn a subtle astronomical headline into meaningful hands-on learning.

If you maintain a yearly lunar archive, tag this event as your June apogee-side benchmark and link it to at least one perigee-side benchmark from another month. Over time, this paired-tag approach creates a clean reference system you can revisit quickly when writing guides or teaching newcomers. It also reduces confusion caused by memory bias, because your comparisons are anchored in labeled evidence rather than impressions from different nights and different equipment settings.

If you revisit this page later in the year, add your own measured values and update your comparison panel with a short methodology note. Doing this consistently turns each full moon into a cumulative project instead of an isolated post. The result is better reader trust, better personal learning, and a practical archive that clearly shows how lunar distance affects apparent size across different months.

To make your archive even stronger, include one standardized caption format on every image: date, local time, focal length, and moon altitude estimate. Standardized captions remove ambiguity and make month-to-month comparisons much easier. Even when conditions vary, this metadata lets you interpret differences correctly and keeps your long-term lunar project organized.

For readers building their first comparison project, start simple: one reference full moon, one micro full moon, and one consistent processing preset. Publish your method openly and update it as you learn. Transparent methodology builds confidence and helps other observers reproduce your results with their own equipment and local skies.

FAQ

Is a micro moon dimmer than other full moons?
Not dramatically to most people. The key difference is apparent size, not major brightness loss.

Can I still get good moon photos?
Yes. Use stable exposure settings and prioritize sharpness and consistency.

Do I need a telescope to notice the micro moon effect?
No, but the effect is easiest to appreciate through side-by-side image comparison from different months.

Is June 29 the only night worth viewing?
No. Adjacent nights still provide excellent full-moon style viewing.

What if my horizon is cloudy at moonrise?
Observe later when the Moon is higher. You may lose foreground drama but gain image clarity.