Neptune vs Uranus Through a Telescope (2026): What You Can Actually See
Telescope Advisor Logo Telescope Advisor
Neptune and rings in infrared reference image

Outer Planet Guide · 2026

Neptune vs Uranus Through a Telescope

Both planets are reachable for motivated beginners, but they are not equally easy. Uranus is usually the first successful outer-planet target; Neptune is smaller, dimmer, and more dependent on aperture and seeing. This guide gives a realistic side-by-side comparison so you know exactly what to expect.

Uranus

Easier blue-green disk

Neptune

Tiny faint blue disk

150x+

Common comparison range

8-inch

Best beginner confidence zone

By Telescope Advisor Editorial TeamPublished: Updated: Editorial Standards

Quick Answer

Uranus is easier than Neptune in most beginner setups. With good finder workflow and moderate magnification, Uranus usually shows as a small blue-green disk. Neptune can be found and confirmed in modest scopes, but showing it as a clearly non-stellar disk is harder and often requires better seeing plus more aperture.

If your goal is first success, start with Uranus. If your goal is skill progression, use Uranus as your calibration target and then step to Neptune under comparable conditions.

Side-by-Side Visual Expectations

CategoryUranusNeptune
BrightnessBrighter of the twoDimmer, more star-like initially
ColorBlue-green tone more obviousCool blue-gray, subtler color impression
Disk confidenceAchievable in moderate magnificationNeeds stronger conditions and patience
Beginner success rateHigherLower without robust finder workflow

Aperture and Magnification Guidance

For Uranus, many observers gain clear disk confirmation around 120x to 180x in 90mm-130mm class telescopes under decent conditions. For Neptune, confidence improves in 150x to 250x territory and benefits significantly from 150mm+ aperture where signal and scale are less marginal.

The best method is comparative observing. If Uranus appears clean and stable, conditions may support a Neptune attempt. If Uranus already looks unstable or soft, Neptune will likely underperform and can be deferred without frustration.

This approach protects session quality. Rather than forcing a difficult target every night, use condition-gated progression and accumulate successful observations over season windows.

Best Telescope Picks for Uranus + Neptune Sessions

Editor's Pick — Best Confidence Builder
Celestron NexStar 8SE

Celestron NexStar 8SE

Strong combination of aperture and tracking convenience for repeat outer-planet work. Excellent for building Uranus confidence and pushing Neptune confirmation under better seeing.

View on Amazon →
Sky-Watcher Classic 200P

Sky-Watcher Classic 200P

High-value manual aperture for experienced star-hoppers who want maximum visual potential per dollar.

View on Amazon →
Celestron SkyMaster 15x70

Celestron SkyMaster 15x70

Excellent pre-telescope orientation tool for locating sky region context and improving finder confidence before high-power work.

View on Amazon →

Finder Workflow That Reduces Failure

  1. Start with a calibrated star chart or app field for the exact session time.
  2. Confirm nearby reference stars at low power before switching magnification.
  3. Use small, deliberate nudges and re-center frequently.
  4. When uncertain, drop magnification briefly, re-acquire, then step up again.
  5. Log each attempt; repeated nights build pattern recognition quickly.

The observers who succeed on Neptune consistently are usually not the ones with the most expensive gear. They are the ones with the cleanest finder workflow.

Detailed Visual Comparison: What Changes as You Gain Experience

In early sessions, Uranus and Neptune can both look like stars if your magnification is too low or focus is not settled. The first breakthrough is learning disk confidence cues: Uranus typically presents a slightly larger, softer-edged blue-green point that begins to feel non-stellar at moderate power, while Neptune often remains a tiny bluish point until seeing and magnification line up. This difference is subtle but repeatable with disciplined observation.

As your skill improves, color discrimination becomes more reliable. Uranus usually shows a more obvious aqua or cyan bias, while Neptune's tone can feel grayer-blue and less saturated in many visual conditions. This is not because Neptune lacks color, but because its apparent size and brightness profile make color impressions more fragile under average seeing and light pollution.

A useful training strategy is alternating between planets in a single session when both are available in workable sky windows. Observe Uranus first to establish your focus and color baseline, then move to Neptune and compare without changing your fundamental process. This reduces interpretation drift and helps you avoid over-claiming detail that is not consistently present.

Experienced observers also rely on temporal averaging: they watch for short moments where air steadies and then decide what is real only if the same visual cue returns repeatedly. This approach is essential for Neptune work. One-frame impressions are often misleading at the threshold of visibility.

The most important mindset is probabilistic. You are not trying to force textbook imagery every night. You are building a stable process that extracts the best possible information from each condition set. Over a season, that method produces far better results than occasional "perfect night" attempts.

Aperture Classes and Expected Outcomes

Aperture determines how forgiving your Neptune and Uranus sessions feel. Smaller apertures can absolutely achieve meaningful observations, but the margin for atmospheric noise and focusing error is thinner. Larger apertures improve confidence by increasing light and scale, yet they also demand better thermal control and seeing discipline. There is no free performance tier; each class has tradeoffs.

Aperture ClassUranus OutcomeNeptune OutcomePractical Advice
70-90mmDetectable, occasional disk confidenceMostly point-like confirmationPrioritize finder accuracy and clean focus.
100-130mmReliable small disk under decent seeingPossible disk confidence on good nightsUse moderate-high power ladder carefully.
150-200mmStrong disk confidence and color stabilityMuch better non-stellar confirmationExcellent range for comparative observing.
250mm+High-confidence visual targetBest amateur visual potentialRequires strong seeing and cooldown discipline.

If your current scope sits in the 100-130mm range, you are in a strong skill-building zone. You can achieve repeatable Uranus success and meaningful Neptune progression with structured observing. Upgrading aperture helps, but process quality still determines whether that extra potential turns into consistent results.

Observation Log Template for Uranus/Neptune Progress

A simple log improves outer-planet performance faster than most hardware upgrades. Record date, local time, altitude, transparency, seeing estimate, magnification steps, and what was confirmed with confidence. Over time, this reveals which conditions produce reliable Neptune disk confirmation in your location.

You can also track decision quality: did you increase magnification too soon, skip reacquisition when uncertain, or keep pushing during unstable air? These process metrics matter because outer-planet success is less about dramatic optics and more about consistent, calm technique.

Include a confidence score for each session. For example: 1 = uncertain detection, 2 = probable, 3 = confident non-stellar disk, 4 = repeatably stable disk. This turns subjective impressions into a progression map and prevents overconfidence on marginal nights.

For educators and club leaders, this log framework is especially useful. It gives beginners a realistic pathway and reduces drop-off after difficult first Neptune attempts. With logging, learners can see progress even before dramatic visual gains appear.

Common Misinterpretations and How to Avoid Them

  • Confusing color noise for detail: faint color impressions can fluctuate. Confirm over repeated steady intervals.
  • Assuming any blue star is Neptune: always verify field position against calibrated chart or app for the exact time.
  • Overpowering too early: high magnification on unstable nights makes both planets look worse.
  • Skipping cooldown: thermal instability can mimic poor optics and hide disk cues.
  • Declaring failure too quickly: outer-planet sessions often reward patience in 2-5 minute observation windows.

The best protection against these errors is process repeatability. If your method is stable, your confidence improves naturally and you can separate real planetary characteristics from transient visual artifacts.

Session Architecture for Reliable Uranus and Neptune Success

Reliable outer-planet sessions are built in phases. Phase one is preparation: verify finder alignment, chart timing, and magnification ladder before darkness deepens. Phase two is acquisition at low power with calm, deliberate field verification. Phase three is controlled magnification scaling where you stop increasing power the moment image stability declines. This staged architecture prevents the most common failure pattern: jumping to high power before acquisition confidence is truly established.

A practical architecture also includes a reset loop. If confidence drops, do not force interpretation at current magnification. Step down, re-center, re-confirm with nearby stars, then return upward. This reset behavior is a major difference between observers who repeatedly identify Neptune and those who struggle despite adequate equipment.

When available, schedule Uranus and Neptune in the same session window. Uranus acts as a stability benchmark for focus and color response. Once that baseline is established, your Neptune decisions become cleaner and less emotional. This comparative workflow is especially effective for beginners because it turns an abstract challenge into a sequence of concrete checks.

For longer sessions, include short breaks and periodic refocus checks. Eye fatigue and small thermal shifts can reduce confidence even when atmosphere remains workable. Refreshing visual perception and recentering process assumptions every 20-30 minutes improves consistency without adding hardware complexity.

Extended FAQ: Neptune vs Uranus Through Amateur Scopes

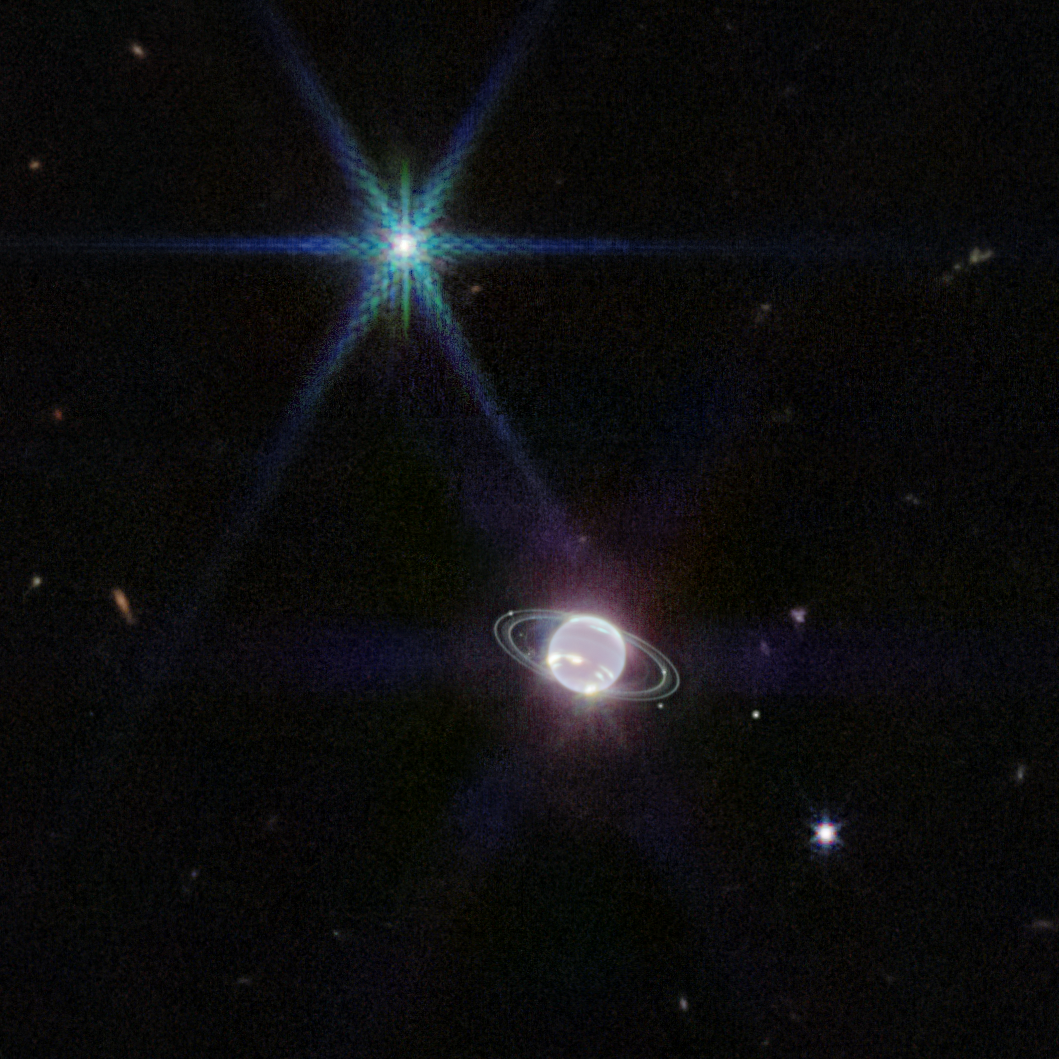
Why is Uranus usually easier to "believe" visually than Neptune?

Uranus generally presents a larger apparent disk and stronger color impression in common observing setups. That means your brain receives more non-stellar cues even when seeing is average. Neptune is often smaller and dimmer-looking by comparison, so confidence depends more on steady air, precise focus, and repeated verification behavior.

Can a beginner expect to see both planets in one month?

Yes, with realistic expectations and a structured process. Uranus is usually the more approachable first win, while Neptune may require multiple attempts before confident non-stellar identification becomes repeatable. Success in one month is common when observers use charts correctly and avoid rushing magnification.

Is a GoTo mount required for Neptune?

GoTo helps efficiency, especially under light pollution, but it is not mandatory. Manual observers can succeed with accurate charts, calibrated finders, and patient field confirmation. The key is disciplined reference-star workflow, not necessarily motorized pointing.

How much does light pollution affect these targets?

Light pollution increases star-field confusion and reduces contrast confidence, especially for Neptune. It does not make success impossible. Correct magnification and verification workflow remain effective, but urban observers should rely more heavily on precise chart alignment and repeated field checks.

What magnification range is safest for first reliable comparisons?

Most observers do best by starting low for acquisition, then moving to moderate power where image stability remains strong. High power can be valuable on steady nights, but forcing it early often harms confidence. Use stepwise increases and stop where detail gains plateau.

Should I observe when seeing looks average?

Yes. Average nights are still useful for process training, acquisition speed, and log development. Reserve high-detail expectations for better nights, but do not skip practice entirely. Consistency across mixed conditions builds stronger skills than occasional "perfect-night" attempts alone.

How do I avoid mistaking a nearby star for Neptune?

Use at least two independent checks: exact chart time matching and relative placement against nearby stars in the eyepiece field. If your candidate object does not match both checks, re-acquire. Confidence should come from geometric verification first, visual impression second.

Do filters help with Uranus/Neptune visual work?

Filters can be explored later, but most beginners gain more from magnification discipline, cooldown management, and finder accuracy. Treat filters as refinement tools after your baseline workflow is repeatable.

How many sessions should I log before judging my setup?

Aim for at least eight to twelve sessions across varied conditions. Outer-planet success is condition-sensitive, and quick judgments can be distorted by unusually good or poor nights. A small data set creates better hardware and process decisions.

What is a realistic first-year goal for Neptune?

A strong first-year goal is consistent identification with growing confidence at moderate-high power under cooperative seeing. If you can repeatedly confirm non-stellar appearance and accurate field position, you have achieved meaningful Neptune proficiency.

Choosing Accessories That Actually Improve Outer-Planet Sessions

Accessory upgrades should follow bottleneck diagnosis, not impulse buying. If your main failures are acquisition-related, invest first in finder reliability and chart workflow. If targets are acquired but detail confidence is weak, focus on eyepiece ladder quality and thermal control. If image stability collapses at higher power, prioritize mount steadiness and vibration management.

A practical progression for many users is: reliable finder -> stable mid-power eyepiece -> high-power option for good seeing -> comfort improvements for longer concentration. This sequence produces better value than jumping directly to premium high-power optics before basic workflow is stable.

Remember that outer-planet viewing rewards repeatability. The best accessory is often the one that reduces friction and increases session consistency. If a purchase helps you run more calm, structured sessions, it is probably worthwhile. If it adds complexity without improving process adherence, the return will be limited.

Final Comparison Framework You Can Reuse Every Season

To compare Neptune and Uranus consistently year after year, use one reusable framework. Start with pre-session planning, including exact-time chart verification and expected altitude windows. Continue with fixed magnification steps and a written confirmation checklist. End with short logs that capture confidence level, color impression stability, and whether non-stellar disk cues were repeatable.

This framework prevents recency bias. Without notes, observers often remember only unusually good or bad nights and make poor equipment conclusions. With notes, you can see long-term patterns: which eyepiece ranges work best, which seeing thresholds enable Neptune confidence, and how your skill level progresses across months.

If you observe with a club, shared framework language also improves discussion quality. Instead of vague statements like "Neptune looked tiny," you can compare specific outcomes: acquisition time, magnification ceiling before breakdown, and confidence score. That precision leads to better collective learning and better individual results.

The main takeaway is simple: Uranus is usually the easier first success, Neptune is the longer game, and disciplined process narrows that gap faster than random hardware changes. Build the routine once, then iterate season by season. That is the most reliable path to meaningful outer-planet mastery.

Quick Monthly Practice Plan

Run at least two short Uranus sessions and two Neptune sessions each month, even if seeing is mixed. This keeps acquisition muscle memory sharp and improves confidence when excellent nights arrive. Use the same checklist each time so progress is measurable.

After three months, review your logs and adjust only one variable at a time: eyepiece selection, magnification ceiling, or finder routine. Controlled iteration outperforms frequent broad changes and leads to faster, clearer visual improvement.

Short Conclusion

Uranus gives faster confidence, Neptune builds long-term skill. Treat them as complementary targets, not competitors. A disciplined checklist, modest magnification ladder, and season-by-season logging system will deliver far better outcomes than constantly changing equipment.

Keep your comparison framework stable and your expectations realistic. With regular practice, both planets become rewarding targets and strong benchmarks for overall observing skill.

Repeatable success comes from method, not luck. If your logs show steady improvement in acquisition speed and confidence scoring, your Neptune and Uranus workflow is on the right track.

Small, consistent practice sessions usually beat rare marathon attempts for outer-planet progress.

Confidence grows fastest when every session uses the same acquisition checklist and verification standards.

FAQ

Can I see Neptune's rings with a backyard telescope?

No. Neptune's rings are not practical visual targets for typical amateur setups.

Which is easier for beginners, Uranus or Neptune?

Uranus is usually easier because it is brighter and presents a clearer disk in modest magnification ranges.

Do I need GoTo to see Neptune?

Not strictly, but GoTo can reduce frustration. Manual success is very possible with disciplined star-hopping workflow.