Why Do Planets Look Small Through My Telescope? Fix Size Expectations and Setup
Telescope Advisor Logo Telescope Advisor
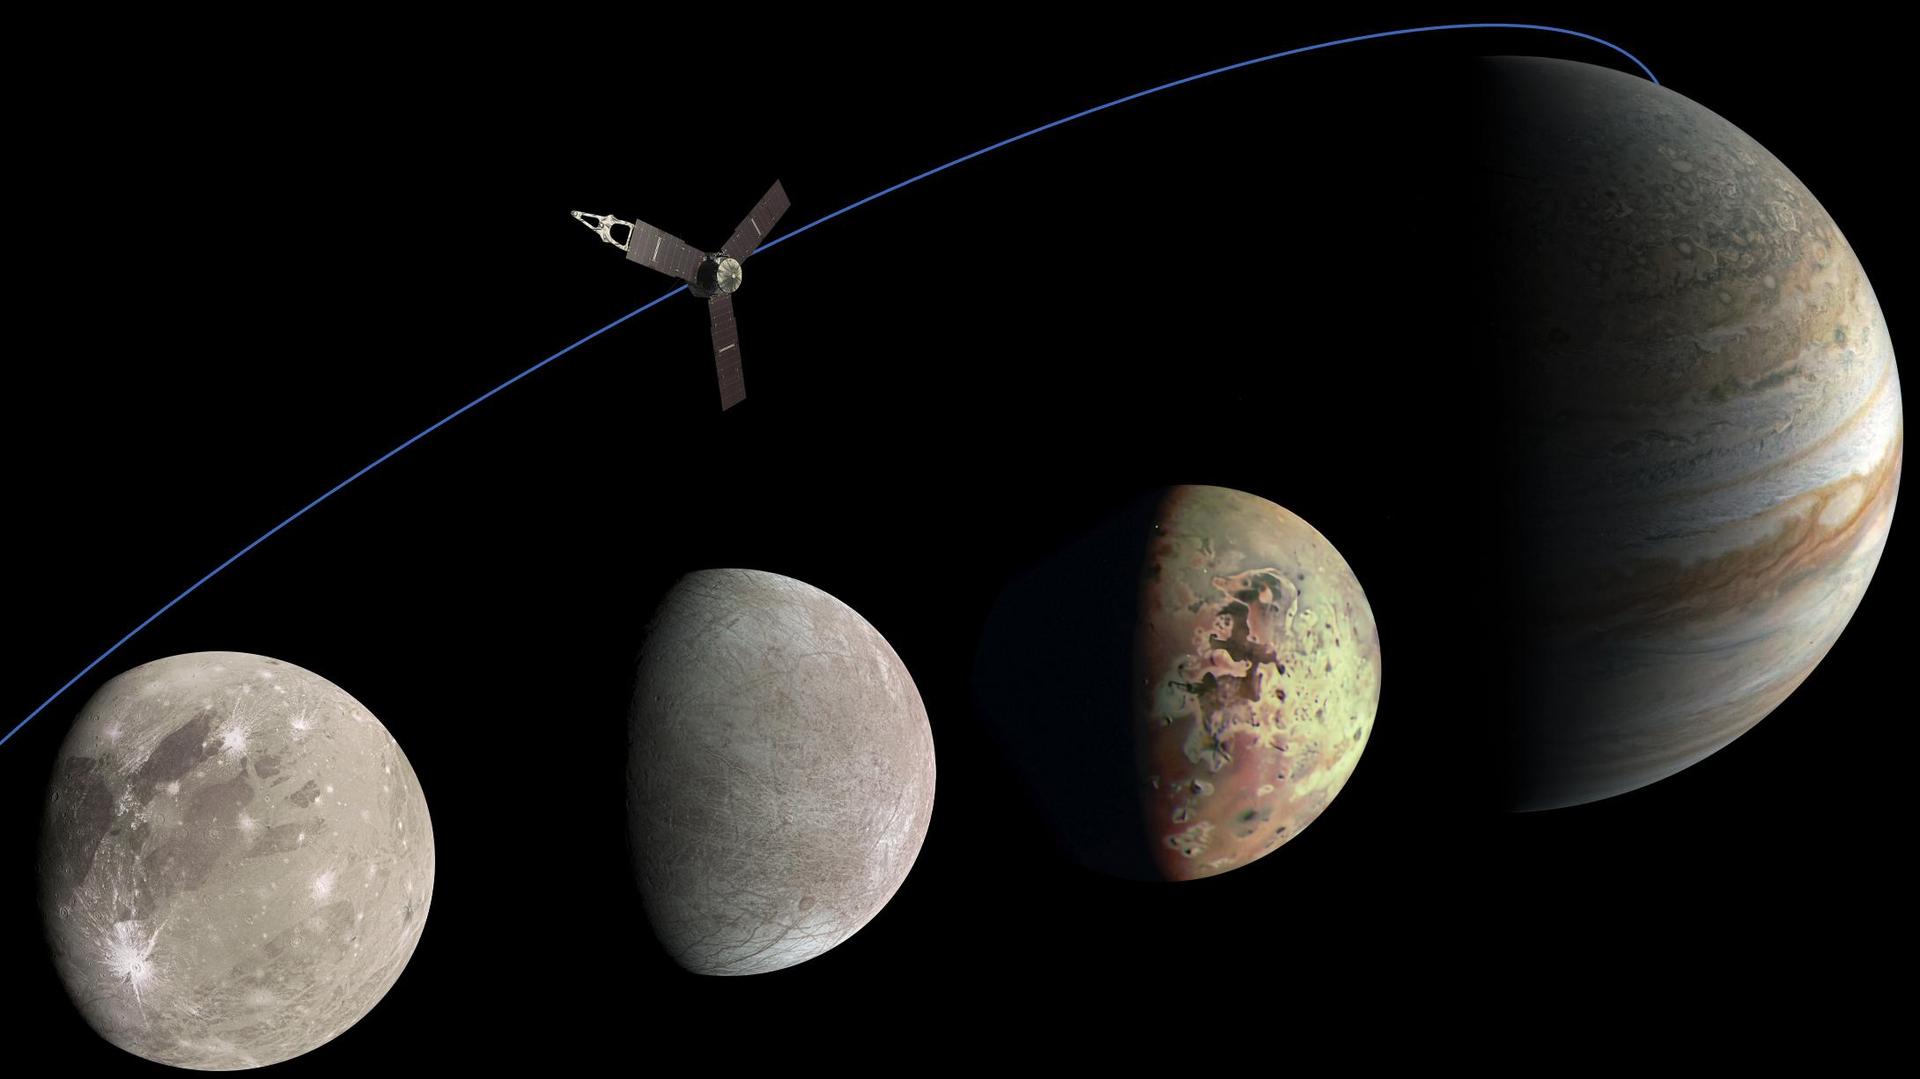
Jupiter and moons scale perspective image

Planet Viewing Basics · Expectation Reset

Why Do Planets Look Small Through My Telescope?

Most beginners are surprised by planetary size in the eyepiece. The issue is usually angular scale and comparison bias, not a broken telescope. This guide shows how to improve apparent size, recover detail, and judge success correctly.

By Telescope Advisor Editorial TeamPublished: Updated: Editorial Standards

Quick Answer

Planets look small because they are extremely far away and have tiny angular sizes, even in a telescope. You can enlarge them with magnification, but only up to the point where detail remains sharp. A larger but blurrier image is not an improvement.

The practical fix is to use realistic magnification ranges, observe when planets are high, and focus on extracting detail (belts, rings, phase) rather than chasing movie-scale size.

Why Planets Stay Relatively Small in Any Telescope

Planets are bright but angularly tiny. Jupiter appears large compared with other planets, yet it is still a small target at the eyepiece without medium-high power. Saturn is smaller than beginners expect. Mars is often tiny except near opposition. This is normal physics, not user error.

Many first-time expectations come from processed astrophotos and social media clips. Those images combine stacking, cropping, and sharpening. Visual observing is a live signal with no post-processing. Once this difference is understood, telescope performance becomes easier to evaluate fairly.

Angular Size Matters More Than Brightness

PlanetTypical Visual ChallengeBest Strategy
JupiterLooks bright but detail can wash out100x-180x, precise focus
SaturnSmall globe, rings visible but subtle120x-220x in steady air
MarsOften tiny except near favorable windowsTime around opposition
VenusPhase obvious, surface not visibleObserve phase changes over weeks

Practical Fixes That Make Planets Feel Larger

  1. Use a medium-power eyepiece first, then step up gradually.
  2. Observe when the planet is high above the horizon.
  3. Wait for thermal stabilization before high power.
  4. Use repeated short observation bursts to catch calm seeing moments.
  5. Compare features session-to-session to build recognition.

Perceived size often improves with pattern recognition. Once you can identify belt boundaries or ring geometry, the target feels more substantial even at the same magnification.

Common Mistakes That Make Planets Seem Tiny

  • Starting with too-low magnification and never stepping up.
  • Jumping straight to excessive magnification that blurs detail.
  • Observing in poor seeing and concluding scope quality is low.
  • Ignoring focus precision at planetary powers.
  • Expecting DSLR/stacked-image scale in live visual viewing.

What Good Planetary Success Actually Looks Like

Success is not giant apparent size. It is repeatable detail detection: Jupiter belts and moon positions, Saturn ring separation and Titan, Venus phase, Mars disk contrast near favorable windows. If you can recover these features consistently, your setup is working well.

Use this benchmark over several nights before changing hardware. Consistency beats one impressive but isolated view.

Expectation Calibration: Why Planet Size Feels Wrong at First

The biggest emotional barrier in beginner planetary observing is comparison bias. Most people mentally compare an eyepiece view with processed imagery from phones, social media, or observatory photos. That comparison is unfair because processed images are magnified, stacked, sharpened, and often cropped. Your visual view is live, unprocessed, and constrained by atmosphere.

A better expectation model is to treat planets as detail targets, not billboard targets. You are not trying to make Jupiter fill the entire field. You are trying to detect stable features: belts, ring structure, phase boundaries, and polar shading hints. Once the metric changes from apparent size to repeatable detail, frustration usually drops fast.

Beginners also underestimate how strongly distance varies over time. Planets are not fixed-size targets. Mars can be tiny and unimpressive outside favorable windows. Jupiter and Saturn remain better training targets for consistency because they provide useful structure more often with moderate equipment.

Another common factor is field-of-view psychology. Wide-field eyepieces make planets appear smaller relative to the field even when angular detail is present. This can feel disappointing despite objectively good views. If perceived scale bothers you, try a slightly narrower apparent-field eyepiece while preserving sharpness, but do not sacrifice detail just to make the disk look bigger.

Finally, remember that perception improves with repetition. On early sessions, your brain has no template for planetary detail, so features seem absent. After several sessions, the same detail appears easier and more obvious. This is skill growth, not optical change.

4-Week Planet Training Program for Better Perceived Scale and Detail

If planets keep looking too small, run a short training cycle that standardizes your process. The objective is to convert random sessions into predictable outcomes. By week four, most users report that planets feel larger and more informative even at similar magnification, because detail recognition is stronger.

Week 1: Baseline Routine

Use one low-power and one medium-power eyepiece only. Observe Jupiter or Saturn for 20 to 30 minutes and log what you can consistently see. Do not chase high power yet. Goal: establish a stable reference point and remove accessory confusion.

Week 2: Focus and Timing Control

Observe at two times in one night, ideally with the planet at different altitudes. Use careful micro-focus adjustments and short visual bursts. Goal: prove that timing and focus control can change apparent detail more than magnification jumps.

Week 3: Controlled Power Increase

Add one higher-power step only if Week 2 settings are consistently sharp. Increase gradually and stop at first sign of detail loss. Goal: find your real useful ceiling for current conditions.

Week 4: Feature Confirmation

Pick two planetary features to confirm repeatedly, such as Jupiter belts and Saturn ring separation. Move off target and reacquire to validate perception. Goal: replace impression-based observing with repeatable verification.

At the end of the cycle, compare first-week and fourth-week logs. Most observers see clear improvement in confidence, detail recognition, and satisfaction without changing hardware.

When Hardware Change Makes Sense

Upgrade hardware only after your process is stable. If you consistently hit the same usable magnification limits because of aperture, a larger optical tube may help. If limits vary wildly night to night, conditions and workflow are still the primary factors.

A practical rule is simple: if you can repeat the same planetary detail on multiple nights and still feel constrained, consider upgrading. If repeatability is low, improve technique and stability first.

Psychology of Planet Viewing: Why Confidence Improves Image Quality

Visual astronomy is partly optical and partly perceptual. Stress, rushing, and expectation pressure reduce what you notice in the eyepiece. Calm, structured viewing improves pattern detection and makes planets feel larger because your brain extracts more meaningful information from the same signal.

Create a short pre-observation routine: steady breathing, one-minute adaptation pause, then a focused scan sequence from edge to center. This reduces impulsive magnification changes and improves observational consistency.

Treat each session as data collection, not pass or fail. When you log conditions and outcomes, you see patterns quickly: better detail at higher altitude, weaker results over warm rooftops, or improved focus after cooldown. This transforms frustration into problem-solving and keeps motivation high.

In other words, planets do not only look small because of optics. They also look small when your process is unstable. Stabilize the process, and the same telescope becomes far more satisfying.

Planet Size Benchmark Table: What "Normal" Looks Like

Use this table to calibrate expectations before each session. These are practical visual outcomes, not processed imaging results. If your view aligns with these benchmarks, your telescope is likely performing normally.

PlanetWhat Beginners ExpectWhat You Should Actually Expect
JupiterHuge colorful sphereModerate disk with belts and moons in good seeing.
SaturnLarge ring portraitSmaller disk with clear rings and occasional finer structure.
MarsDetailed orange globe year-roundOften small; strongest detail only near favorable windows.
VenusCloud patterns and color detailBright phase shape changes, no visible surface details.

This benchmark table removes much of the emotional friction in early observing. You can now judge sessions by realistic outcomes rather than social-media comparisons.

Process Before Purchase: 7 Checks Before You Buy More Gear

  1. Are you observing when the planet is high, not near horizon clutter?
  2. Have you tested at least two medium magnification settings before pushing higher?
  3. Did the telescope reach thermal equilibrium before high-power attempts?
  4. Is the mount stable enough that focus adjustments do not shake the target for long?
  5. Have you repeated detections across at least three sessions?
  6. Are your expectations based on visual benchmarks, not processed photos?
  7. Have you logged condition quality and best-performing eyepiece choices?

If one or more answers are no, improve process first. Hardware upgrades are most effective after these checks are consistently passed. This prevents costly purchases that do not solve the real bottleneck.

Once these checks are stable, upgrades become easier to justify. You will know whether you need more aperture, better tracking, improved ergonomics, or simply a cleaner magnification spread.

Expanded Planet Viewing FAQ

Do planets ever look big through a telescope?
They can appear larger at higher magnification, but visually they are still compact targets compared with deep-sky framing expectations from photos. The goal is to reveal structure clearly, not fill the field with a huge disk.

Why does Saturn feel more impressive than Jupiter for some beginners?
Saturn's ring shape is instantly recognizable, so it feels dramatic even at moderate scale. Jupiter often requires a little more contrast sensitivity and patience to appreciate belts and finer tonal differences.

Why does Mars often look disappointing?
Mars has strong seasonal size variation. Outside favorable windows, it can appear small and low-detail in modest apertures. That is normal and does not mean your telescope is malfunctioning.

Can filters make planets look bigger?
Filters can improve perceived contrast on some features, but they do not increase true angular size. Use them as contrast tools, not magnification substitutes.

Is my eyepiece the problem?
Sometimes comfort and optical quality matter, but most small-planet complaints come from timing, seeing, focus method, and over-magnification. Diagnose those first before replacing eyepieces.

Why do planets look better after 20 minutes?
Your eye adapts, your focusing becomes calmer, and the telescope may reach better thermal equilibrium. Early impressions are often the least reliable impressions.

Should I always observe planets first?
Not always. If the telescope is still warm, start with lower-demand targets and return to planets after stabilization. This improves detail extraction and reduces frustration.

Do tracking mounts make planets look larger?
Tracking does not enlarge planets directly, but it keeps them centered and stable longer, which improves your ability to detect subtle detail and maintain accurate focus.

How long does it take to get good at planetary detail?
Most observers notice meaningful improvement within a few weeks of consistent, structured sessions. The key is repeatability and logging, not random long sessions.

Is a bigger telescope always the answer?
Bigger aperture helps, but only after workflow is stable. If timing, seeing, and focus discipline are weak, larger optics may not solve the core issue.

What is the most important habit to build first?
Observe when planets are high and run controlled magnification steps. This single habit improves detail recovery more than most accessory changes.

How do I know my results are objectively improving?
Use repeated feature checks across sessions. If you can consistently identify the same belts, ring separation, or phase boundaries under similar conditions, you are making real progress.

Planet Detail Decision Tree for Real-Time Sessions

When planets look small or featureless, use this in-session tree: center target, verify focus baseline, evaluate seeing, adjust magnification one step at a time, and confirm detail through repeat observation bursts. This prevents rushed decisions and keeps the session productive.

  1. Center the planet and verify companion cues (moons, rings, phase shape).
  2. Run a fine-focus sequence with pauses between adjustments.
  3. If the image boils, lower one magnification step and re-evaluate.
  4. If the image is steady, increase one step only and compare detail gain.
  5. Hold the best-performing setting for repeated feature confirmation.
  6. Log conditions and successful range for future sessions.

This method transforms planetary observing from expectation-driven to evidence-driven. Once you adopt it, planets feel more informative and less frustrating even before any equipment upgrades.

Planet Size Master Practice: How Small Disks Become Detailed Worlds

Planets often look smaller than beginners expect because visual astronomy rewards detail recognition more than raw apparent size. The real objective is to convert a compact bright disk into a structured target with recurring features. This happens through method: stable setup, smart magnification selection, precise focus, and patient repeated observation windows. If you treat planetary sessions as a sequence instead of a single glance, the same telescope usually feels dramatically more capable.

Run a repeatable five-step session structure. Step one: observe when the planet is high above local obstructions, where atmospheric path length is lower and detail loss is reduced. Step two: establish a baseline magnification that is clearly sharp, not merely large. Step three: fine-focus in short controlled motions and pause after each adjustment to let vibration settle. Step four: test one higher setting only if detail remains stable. Step five: hold best-performing power long enough to confirm at least one repeatable feature.

Jupiter, Saturn, and Mars each require different expectation models. Jupiter should reveal bands and moon geometry in good conditions, but not social-media color intensity. Saturn should clearly show ring separation and shape contrast at moderate useful power. Mars can look surprisingly small outside favorable windows even in capable scopes, and that is normal. Expectation calibration is essential because disappointment often comes from comparison against processed imaging rather than visual reality.

Avoid the common magnification trap: jumping to maximum power too soon. High power magnifies atmospheric instability, mount movement, and focus errors. If image quality drops, reduce one step and continue at the previous stable range. This is where most detail is actually recovered. Observers who adopt this habit usually report stronger planetary views within a few sessions, even without adding new equipment.

Use time-on-target as a multiplier. Planetary detail appears in fleeting steady moments. A short impatient look can miss everything. A longer calm observation window reveals structure that was invisible initially. Many features become clear only after your eye and attention settle into the target. Stay with one planet long enough for these windows to occur, and keep notes about what appeared and when.

Mechanics matter too. If your mount vibrates for several seconds after every touch, practical high power is reduced regardless of optical quality. Improve stability first: reduce extension, tighten hardware, and adopt lighter touch during focusing. These operational changes often produce larger gains than replacing eyepieces prematurely.

Build a three-session verification loop. In session one, establish baseline sharpness and best magnification range. In session two, repeat same process under similar timing and confirm whether the same features reappear. In session three, test minor improvements like thermal timing or target order. If features become repeatable across sessions, your process is working and your planet-size perception will shift from underwhelming to informative.

Finally, judge success by repeatable detail, not by dramatic image scale. If belts, rings, phase boundaries, and subtle tonal differences become consistent observations, your telescope is delivering what visual planetary astronomy is supposed to provide. That is the practical standard for progress and the most reliable way to enjoy planets over the long term.

To sustain that progress, run a monthly confidence cycle: one baseline session, one high-altitude timing session, one seeing-limited adaptation session, and one review session where you revisit your best settings. This cycle helps prevent regression and keeps your expectations aligned with visual reality. It also gives you clear evidence for future upgrade decisions. When repeated features stay stable across this cycle, your system is mature and your telescope is performing as intended.

If your results ever slip, do not assume your optics suddenly failed. Re-check altitude timing, cooldown, and magnification discipline first, then repeat your validation targets. Returning to fundamentals quickly restores consistency for most observers.

Final Implementation Checklist

Use this short checklist on every planetary night. Observe when the planet is high, start with a proven sharp magnification, focus in small controlled adjustments, and verify one recurring feature before changing anything major. If detail disappears at higher power, step back immediately and continue at the previous stable range. This structure prevents emotional overcorrection and keeps sessions productive.

After each session, log the best-performing range and one feature you confirmed. Repeat for several nights. When the same details reappear consistently, your process is working and your telescope is not underperforming. That repeatability is the true indicator of planetary progress and the most reliable way to make upgrade decisions later.

Consistency beats intensity in planetary observing. Short, repeatable sessions usually outperform occasional long sessions with unstable process.

FAQ

Do bigger telescopes make planets huge?
They improve detail and contrast more than apparent size alone.

Is my telescope defective if planets look small?
Usually no. This is an expectation and setup issue, not a hardware fault.

What should I focus on first?
Correct magnification range, focus precision, and planet altitude timing.