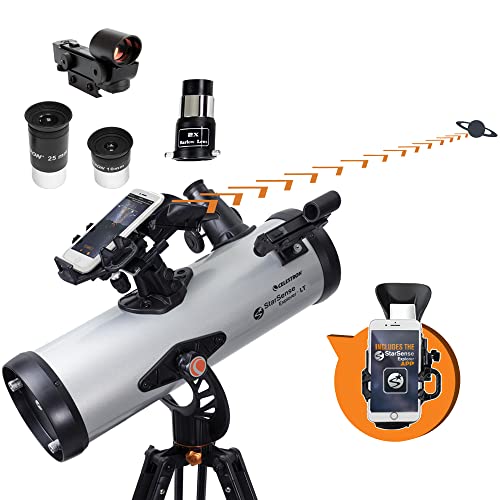
What Can You See With a 130mm Telescope? Real 5-Inch Results by Object Class
Telescope Advisor Logo Telescope Advisor
Planet and moon observing through a 130mm telescope

Aperture Guide · 5.1-Inch Telescope

What Can You See With a 130mm Telescope?

A 130mm telescope is the first aperture where beginners stop asking whether a target is possible and start asking how much detail they can extract. You get reliable lunar and planetary performance, strong open-cluster views, meaningful globular resolution, and a deep-sky list that keeps growing as your technique improves.

130mm

5.1-inch aperture

3.4x

More light than 70mm

60x-220x

Typical useful range

Bortle 5

Deep-sky sweet spot

By Telescope Advisor Editorial Team Published: Updated: Editorial Standards

Quick Answer

With a 130mm telescope, you can clearly observe lunar crater detail, Jupiter's two major cloud belts and Galilean moons, Saturn's ring system with ring-globe separation, Venus phases, and Mars as a disk near opposition. On deep sky, bright nebulae like M42, planetary nebulae like M57, globular clusters like M13, and many open clusters are realistic targets even from suburban skies.

Under darker skies, a 130mm scope can also show brighter galaxies as soft elongated glows with brighter cores. You will not get camera-like spiral arms, but you can detect structure changes and orientation differences with practice. This is enough aperture to keep improving for years because your results scale with skill, not just hardware changes.

Why 130mm Is a Major Step Up for Beginners

130mm is often called the first serious beginner aperture for good reason. It collects significantly more light than 70mm and 90mm beginner scopes while staying portable enough for frequent use. That combination matters because a scope you can deploy quickly gets used often, and frequent observing is what transforms random glimpses into reliable results.

At this size, planetary views become less fragile. You are less dependent on perfect seeing to get satisfying detail, and medium magnification ranges hold together more often. The Moon becomes an ongoing map rather than a bright disk, with crater walls, rilles, and shadow transitions that are obvious to a trained eye.

130mm also broadens your deep-sky menu. You can begin distinguishing object classes by appearance instead of just detecting faint smudges. Open clusters remain easy wins, globular clusters begin partial resolution, and bright nebulae hold shape across multiple magnifications. This is where astronomy becomes a system, not a one-target hobby.

Compared with 114mm, the jump is not dramatic in every condition, but it is noticeable on nights of good transparency and for challenging targets that sit near your contrast threshold. Compared with 8-inch apertures, 130mm gives less faint-object punch, but it often wins on convenience and session frequency for apartment and backyard users.

What You Can See on the Moon With 130mm

The Moon is where a 130mm scope delivers immediate value. At low power, major maria boundaries and large craters stand out with excellent contrast. At medium power, crater wall texture, central peaks, and ejecta patterns become easy to inspect. At higher usable powers on stable nights, you can study subtle transitions along the terminator and compare how relief changes over consecutive nights.

For the strongest visual depth, observe around first quarter and waxing gibbous phases rather than full Moon. The angled sunlight near the terminator reveals topography much better than overhead illumination. In practical terms, this means your most interesting lunar sessions often happen when the Moon is not at maximum brightness.

Use a two-step workflow: find and frame at low power, then inspect at medium-to-high power. Beginners often start too tight and lose orientation. The wide-to-tight sequence is faster, less frustrating, and better for memory building. Over time, this creates a reliable internal map that improves your entire planetary workflow.

Planet-by-Planet Results in a 130mm Telescope

Planet Typical Detail Useful Magnification
JupiterTwo major belts, moon transits on good nights, occasional finer belt texture.90x-180x
SaturnRing separation always, Titan easy, Cassini hints in favorable seeing.100x-220x
MarsSmall disk most of year, polar/albedo hints near opposition windows.130x-220x
VenusStrong phase changes, no visible surface detail.60x-170x
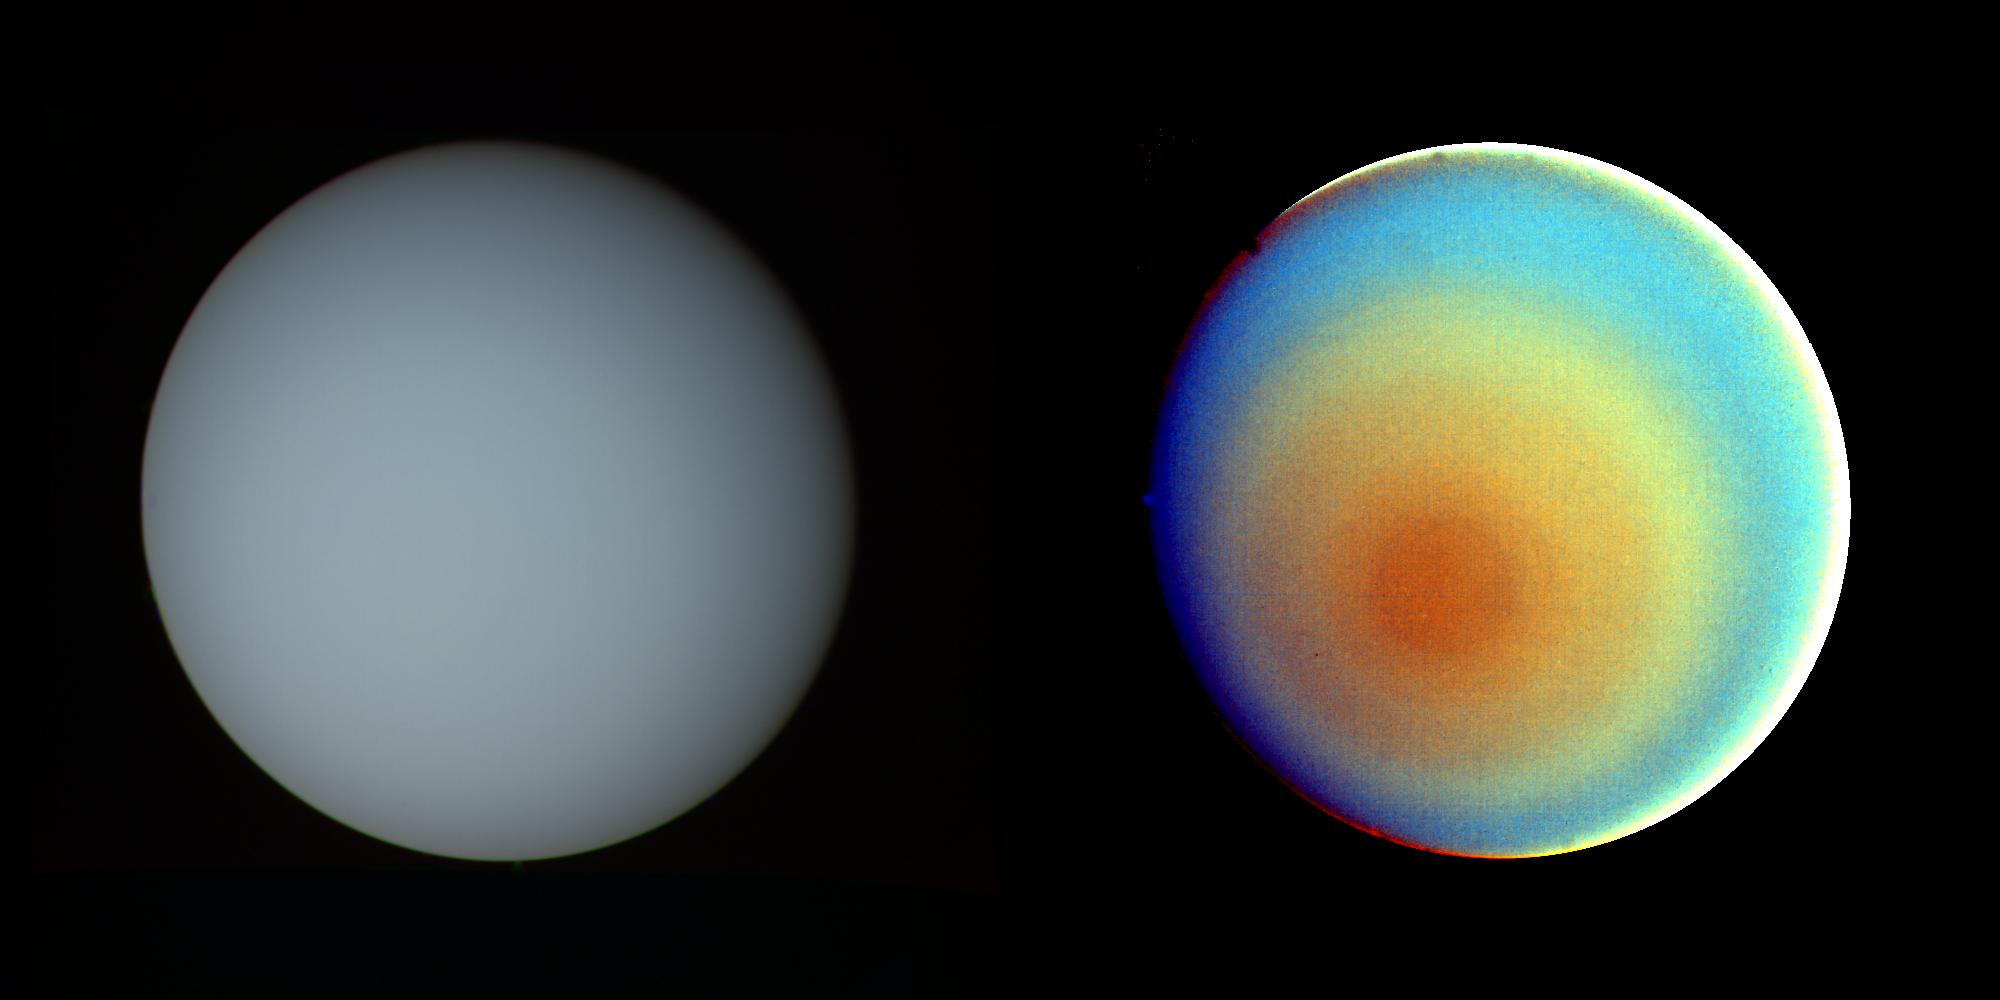
Uranus/NeptuneTiny colored disks under steady sky and careful focus.150x-220x

Planet quality is seeing-limited, not advertisement-limited. If air is turbulent, lower power gives a cleaner, more informative image than pushing magnification. On stable nights, you can climb gradually and stop exactly where detail gains flatten out.

Deep-Sky Objects: What Is Realistic in 130mm

A 130mm scope excels on bright open clusters and many globular clusters. Targets like the Double Cluster, M35, and M44 are high-confidence from suburban skies. Globulars such as M13 and M3 show bright cores with edge grain and partial star resolution at moderate magnification, especially with good transparency.

Nebulae are another strong category. M42 is obvious and rewarding in almost any sky except the brightest urban conditions. Planetary nebulae like M57 and M27 are well within reach, with shape recognition improving when magnification and seeing are balanced. Narrowband filters can improve emission nebula contrast in suburban locations, though expectations should remain realistic in Bortle 8 to 9 skies.

Galaxies are where method matters most. In dark skies, M31, M81, M82, and several Messier galaxies are practical and repeatable. In suburban skies, brighter cores are often visible while faint outer halos fade. In city skies, galaxy work narrows sharply. This is a contrast limitation, not a scope failure.

Use tiered deep-sky planning. Tier 1: high-confidence clusters and Orion-class nebulae. Tier 2: globulars and planetary nebulae. Tier 3: galaxies under moonless high-transparency windows. This approach converts random searching into consistent progress.

City vs Suburban vs Dark Sky Outcomes

SkyHigh-Confidence TargetsChallenging Targets
Bortle 8-9Moon, planets, doubles, bright clustersMost galaxies and faint nebulae
Bortle 5-6All above plus bright nebulae/globularsLower-surface-brightness galaxies
Bortle 3-4Broad Messier list and richer galaxy sessionsVery faint NGC targets

A good dark-site trip with 130mm can outperform many city sessions with larger apertures on deep-sky targets. Sky quality and session design are multiplicative. The best strategy is a city baseline routine plus scheduled dark-sky nights for galaxy and faint-nebula priorities.

Best Magnification Ranges for 130mm

Most productive 130mm sessions happen between 60x and 180x. Low power handles framing and star hopping. Medium power is where most targets look best. Higher power is useful for lunar/planetary detail when seeing supports it. Chasing the largest image is less effective than chasing the sharpest image with stable contrast.

  • Low power (25x-60x): acquisition, wide clusters, large nebula framing.
  • Medium power (80x-140x): most planets, globulars, planetary nebulae.
  • Higher power (150x-220x): Moon and planetary detail on steady nights.

If detail degrades as soon as you increase magnification, check seeing, focus precision, and thermal equilibrium before blaming optics. Technique and timing account for most disappointing high-power outcomes.

30, 60, and 120-Minute Session Plans

30-Minute Weeknight Plan

Use one guaranteed target and one growth target. Example: Moon plus Jupiter. Keep eyepiece swaps minimal. Goal is confidence and consistency, not target count.

60-Minute Structured Plan

Run three blocks: 15 minutes alignment/framing, 25 minutes primary target set, 20 minutes optional challenge object. This timeframe supports one planetary and one deep-sky object without rushing.

120-Minute Moonless Plan

Use a tiered deep-sky sequence: bright cluster warm-up, nebula/globular mid-block, galaxy attempts last when your eyes are fully adapted. Record conditions and outcomes for repeatability next session.

When to Upgrade Beyond 130mm

Upgrade when your observing process is repeatable and your bottleneck is clearly aperture-limited, not workflow-limited. Signs include consistent detection of medium-difficulty targets, routine high-quality planetary sessions in stable air, and repeated cases where faint objects are contrast-limited despite good sky windows and technique.

If setup friction or mount stability is still your main issue, a larger telescope may not improve real outcomes. In many cases, a better mount, better observing cadence, or better site timing produces larger gains than aperture jump alone.

12-Month Target Roadmap for 130mm Owners

A 130mm telescope rewards observers who run a seasonal plan instead of random target hopping. The easiest way to improve quickly is to divide your year into simple target blocks and revisit them repeatedly. Repetition trains your eye to detect faint gradients, subtle edge definitions, and structure transitions that beginners usually miss on first pass. In practical use, this matters more than buying extra accessories too early.

For winter and early spring, prioritize bright clusters and Orion-region objects. M42, M35, M41, and M45 are ideal because they teach field framing, magnification restraint, and star color perception. Add one planetary target each session if available. Your goal in this phase is efficient setup and reliable focus control in colder air, where thermal effects can change quickly.

Late spring and summer are strong for globular cluster development. Use M3, M5, and M13 as your training trio. At low power, identify core brightness and halo extent. At medium power, search for grainy edge texture and first-star resolution. Record which magnification best balances brightness and separation. This repeated process builds confidence and helps you understand when your local seeing is supporting detail versus when turbulence is limiting results.

Autumn is excellent for galaxy fundamentals because bright reference targets like Andromeda and the M81/M82 pair are well-placed. Start with low power to capture context stars and orientation, then increase slightly for core inspection. Keep expectations realistic: in 130mm, progress is measured by repeatable structure recognition, not dramatic visual impact in a single night. If you can reacquire and verify shape and position repeatedly, you are building real deep-sky skill.

Use this yearly loop to avoid burnout. First, keep 60 to 70 percent of each session on high-confidence targets. Second, reserve 20 to 30 percent for one challenge object. Third, use the final 10 percent for notes and comparison with previous sessions. This ratio maintains motivation while still pushing your detection ability forward.

A practical monthly benchmark for 130mm users is simple: complete at least four useful sessions and log one measurable improvement category, such as higher stable magnification on Jupiter, cleaner globular edge resolution, or more reliable galaxy core detection from the same site. When these gains accumulate, you will often find that your current telescope is still giving more than expected.

Advanced 130mm Technique: How to Pull More Detail Without Upgrading

Most 130mm observers underuse three high-impact techniques: strict cooldown control, target-specific magnification discipline, and deliberate visual verification loops. Applying these well can make the same telescope feel meaningfully stronger within a few sessions. The key is to treat your workflow as part of the optical system rather than as a separate convenience step.

1) Thermal Control Before Detail Work

If the tube is warmer than ambient air, internal currents blur fine contrast. Give the scope time to settle before judging planetary sharpness or faint halo visibility. For quick weeknight sessions, start with low-power targets while the system stabilizes, then move to high-detail work. This sequencing turns unavoidable thermal delay into productive observing time.

2) Exit-Pupil Awareness for Deep Sky

For many galaxy and nebula targets, very high magnification is counterproductive because it lowers surface brightness. In 130mm, medium-low and medium powers usually preserve the best balance between contrast and scale. If a target fades after stepping up, return to the previous eyepiece immediately. The brightest sharp image that still shows structure is usually the correct choice.

3) Averted Vision as a Controlled Tool

Averted vision works best when it is repeatable, not random. Use the same slight off-center gaze angle for 10 to 15 seconds, then re-center and repeat. This creates a stable method for confirming faint detail. You are training your visual system to detect low-contrast information, and consistency matters more than intensity of effort.

4) Reacquisition Validation

When you think you saw a subtle feature, move off target, return, and confirm it again. Repeat this at least three times. If the feature appears in the same orientation each time, confidence rises sharply. This simple habit reduces false positives and builds a reliable personal observing baseline.

5) Session Architecture by Difficulty

Structure your session in three blocks: calibration, production, challenge. Calibration uses bright, easy targets to tune focus and seeing expectations. Production uses medium-difficulty targets where you can secure repeatable success. Challenge is reserved for one hard target near the end. This order protects motivation and improves data quality in your observing log.

Observers who run this architecture usually progress faster than observers who chase only new targets. The reason is straightforward: repeatability compounds skill. By comparing the same objects over time, you can isolate whether improvement came from better conditions, better technique, or both.

6) Practical Upgrade Trigger for 130mm Users

You are likely aperture-limited when all of the following are true for several months: your collimation is stable, your session cadence is consistent, your dark-site strategy is active, and you can routinely extract detail from your Tier 1 and Tier 2 lists. If one of these is missing, workflow refinement usually beats hardware change in value.

In short, 130mm is not just a beginner checkpoint. It is a platform that can sustain meaningful growth when paired with disciplined technique. If you build repeatability first, every future upgrade decision becomes clearer and more cost-effective.
130mm Sky-Condition Playbook: What to Observe on Any Night

A 130mm telescope becomes dramatically more useful when your target list changes with sky conditions. Many beginners build one static list and then feel disappointed when half the targets underperform in poor transparency or unstable seeing. A condition-based playbook solves that by matching object class to the sky you actually have tonight.

If Seeing Is Poor but Transparency Is Good

Skip high-power planetary work and shift to bright nebulae, open clusters, and wide-field structure targets. Your 130mm still performs very well when scale is moderate and contrast is strong. Use the night to improve star-hopping speed and object framing decisions.

If Seeing Is Good but Transparency Is Weak

Prioritize Moon, planets, and double stars. This is where a 130mm can produce satisfying detail even when faint deep-sky contrast is limited by haze or high humidity. Keep magnification climbs gradual and stop when detail no longer improves.

If Both Seeing and Transparency Are Strong

Run your full tier list: one planetary target, one globular, one nebula, and one galaxy class challenge. Nights like this are where you expand your personal catalog and validate difficult detections. Keep notes on magnification sweet spots because they are often reusable in similar conditions.

If Conditions Are Mixed and Uncertain

Use a split session. Start with high-confidence targets for calibration, then test one difficult target and compare outcomes. This preserves momentum while still allowing growth. A condition-adaptive plan keeps 130mm ownership productive year-round and prevents unnecessary upgrade pressure.

130mm Performance Summary: What Success Looks Like in Practice

For most owners, 130mm is the point where telescope performance starts to scale clearly with observing discipline. If your workflow is steady, this aperture can support reliable planetary detail, rich lunar sessions, and a meaningful deep-sky program from suburban locations. If results feel inconsistent, the cause is usually process mismatch, not lack of optical capability.

A practical success profile is simple. On average nights, you should get clean lunar detail and useful planetary views with stable medium magnification. On better nights, you should recover additional structure on Jupiter and Saturn and improve globular texture visibility. On darker nights, you should confirm bright galaxy cores and orientation repeatedly. If these outcomes are happening with reasonable regularity, your 130mm system is healthy.

Use 130mm as a skill-building platform before making large hardware changes. The more repeatable your baseline becomes, the more value every future upgrade provides. Many observers discover they can go significantly farther with this aperture once they standardize timing, focus sequence, and object-tier planning.

Final Notes for 130mm Owners

If you are choosing between upgrading now or mastering your current 130mm setup, mastery usually wins first. This aperture is capable of meaningful visual progress across all major target classes when used with disciplined session design. Focus on repeatability, not novelty. Keep one baseline list, one challenge list, and one condition-adaptive backup list. That structure turns almost every clear night into useful observing time.

130mm Ownership Commitment: What Actually Creates Better Nights

Commit to a simple rule for the next month: run the same preparation sequence every session, log final working magnification, and revisit one validation object each night. This tiny consistency loop helps you separate condition effects from setup effects, and it turns your 130mm telescope into a predictable instrument. Once your baseline is stable, every improvement effort becomes easier to evaluate and more likely to succeed.

FAQ

Is 130mm enough for Saturn's rings?
Yes. Ring separation is clear, and on steady nights you can push magnification to inspect finer structure.

Can I see galaxies with 130mm?
Yes, especially brighter Messier galaxies. Darker skies improve results dramatically.

Is 130mm good for city observing?
Yes for Moon, planets, bright clusters, and select nebulae. Galaxies remain the most sky-limited category.