
Can You See Pluto With a Telescope? (2026): Realistic Visual Limits and Best Aperture
Telescope Advisor Logo Telescope Advisor
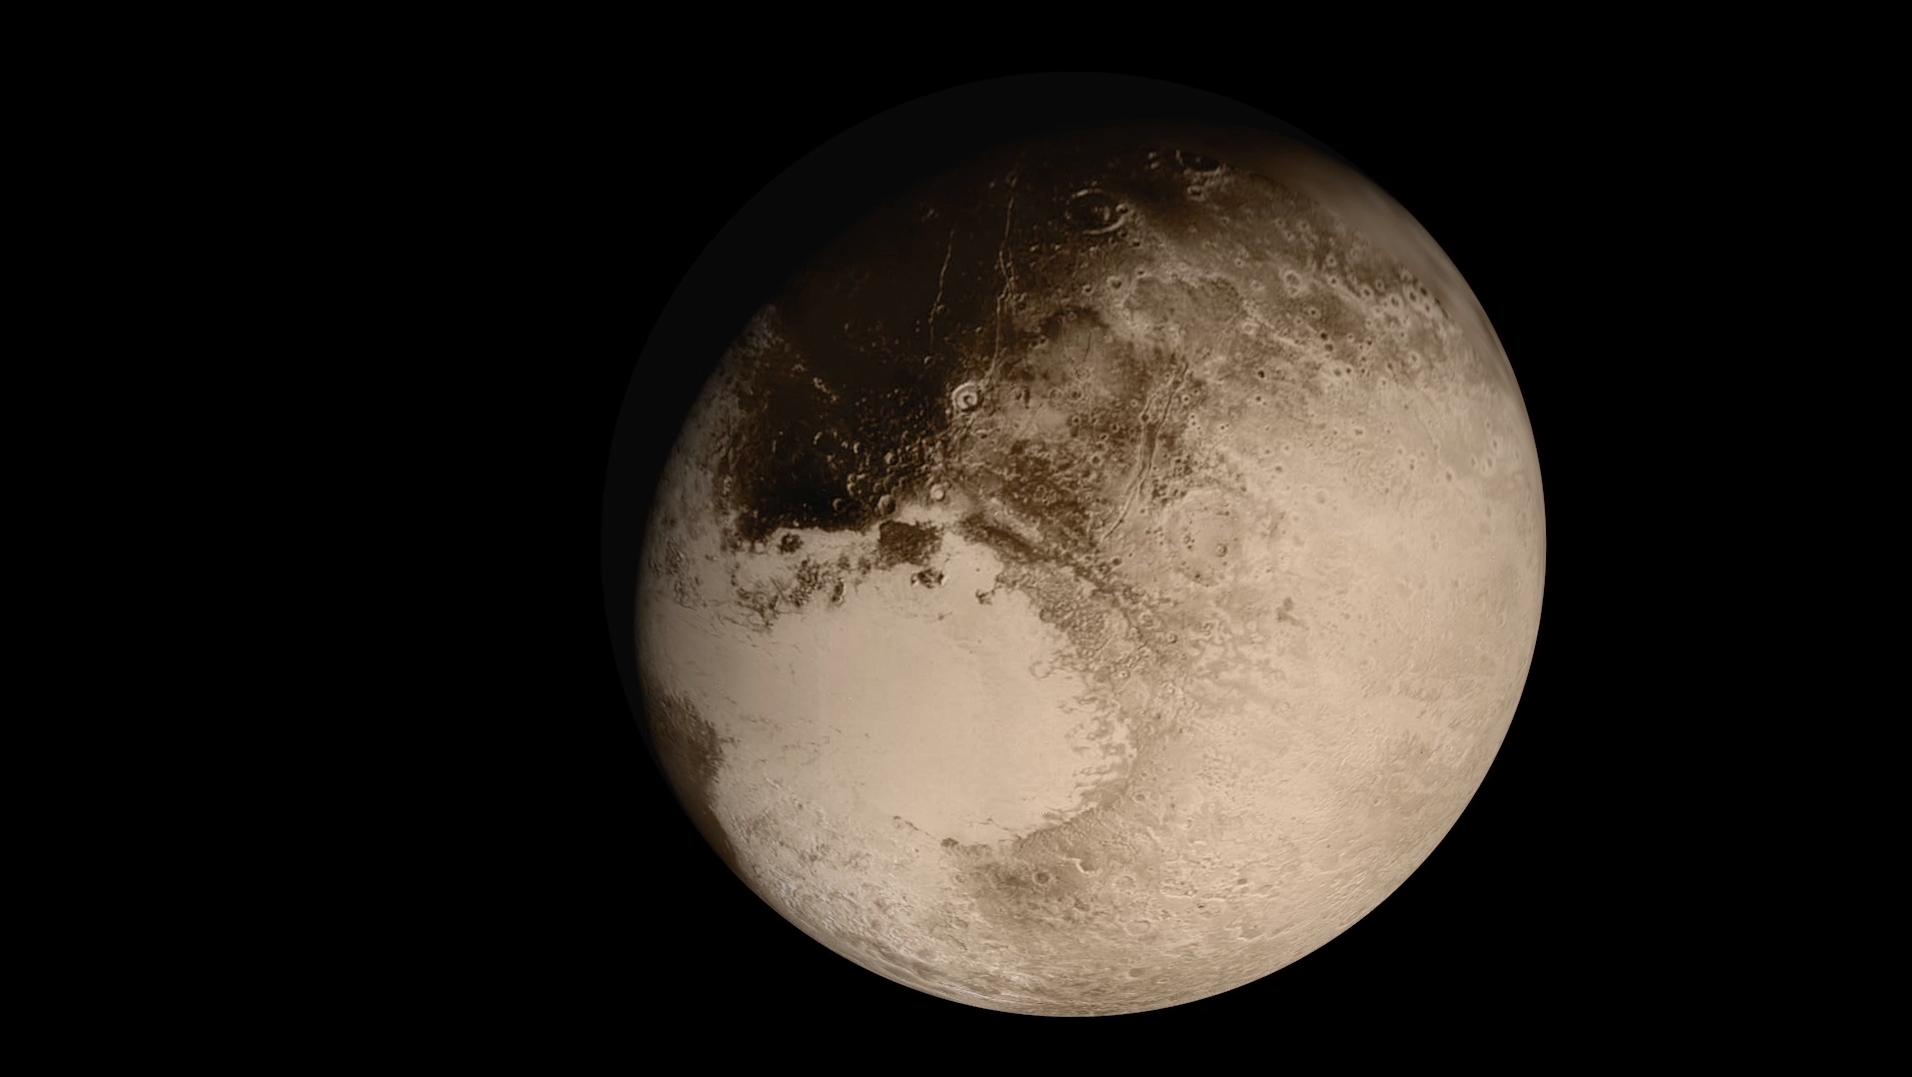
NASA image of Pluto's heart-shaped Tombaugh Regio region

Telescope Q&A · Outer Solar System

Can You See Pluto With a Telescope?

Yes, but only as a dim star-like point, never as a visible disk in normal amateur gear. The real challenge is not magnification, it is sky darkness, aperture, and confident star-hopping verification.

~14.3

Typical visual magnitude

130–200mm

Practical aperture range

0 arcsec

No resolved disk visually

By Telescope Advisor Editorial Team Published: Updated: Editorial Standards

Quick Answer

Pluto is visible to experienced visual observers as a tiny point of light, but only under favorable conditions. In most suburban skies, a 70mm or 90mm telescope will not reliably show Pluto. A high-quality 130mm telescope may detect it near opposition from dark skies, while a 200mm Dobsonian makes identification significantly easier. Even then, Pluto looks like an anonymous faint star. You prove it by matching a chart, then confirming motion over successive nights.

This page focuses on practical visual observation intent: can you personally detect Pluto at the eyepiece. If your intent is outreach-level planetary detail, Pluto is not the right target. For that, Saturn, Jupiter, Mars, and the Moon produce strong visual returns in the same session time. Use our realistic planet-view guide for those expectations.

Why Pluto Is So Hard to See

Pluto is far from Earth, physically small, and faint. Those three factors combine into an object that behaves like a dim star rather than a planet visually. The common beginner mistake is trying high magnification first. Higher power darkens the image and shrinks field context, often making Pluto harder to detect. The right workflow starts with dark adaptation, chart discipline, medium magnification, and repeat-night verification.

Constraint What It Means At The Eyepiece
MagnitudePluto typically sits around magnitude 14, near the limit of many mid-size scopes in imperfect skies.
Angular sizeToo tiny to resolve as a disk visually. It appears stellar, not planetary.
Sky brightnessBortle 7 to 9 skies bury Pluto in background glow unless aperture and transparency are excellent.
Field confusionThe star field contains many equally faint points; chart matching is mandatory.

Best Gear Strategy to Detect Pluto

Detection probability increases with aperture, stable mount behavior, and optical quality. A fast, shaky setup wastes contrast on a target that already sits at your visual threshold. For most observers, the winning setup is a manually controlled 8-inch Dobsonian with a low-scatter eyepiece in the 8mm to 12mm class for context and enough image scale.

Editor's Pick — Pluto Detection Value
Sky-Watcher Classic 200P Dobsonian telescope

Sky-Watcher Classic 200P (8-inch Dob)

Strong light grasp, simple mechanics, and practical threshold performance for faint point targets under dark skies.

Sky-Watcher Heritage 130P telescope

Sky-Watcher Heritage 130P

Budget threshold option. Can detect Pluto from darker skies with careful charting and patience.

Step-by-Step Pluto Observation Workflow

  1. Choose a dark-sky window near Pluto's opposition period for maximum brightness and altitude.
  2. Use a current chart or planetarium app and print the local field to magnitude 15.
  3. Start low power to center the star field and confirm orientation with recognizable stars.
  4. Increase to medium power only after field lock. Avoid jumping to very high magnification.
  5. Mark candidate points. Repeat on the next night. Pluto will shift slightly relative to background stars.

This motion-confirmation method is why experienced observers can confidently claim Pluto sightings while one-night attempts often fail. Pluto is an identification exercise, not a detail-view exercise. If you want immediate visual payoff in the same session, dedicate 20 minutes to Pluto, then switch to Saturn or Jupiter for high-contrast planetary detail.

What To Expect by Sky Quality (Bortle Scale)

One of the biggest reasons Pluto sessions fail is that observers import dark-sky expectations into bright-sky conditions. Pluto is usually near magnitude 14, so a shift in sky background brightness changes the difficulty more than people expect. The same telescope that can detect Pluto from a dark rural site can fail repeatedly in a bright suburban environment even with perfect optics and correct charts. That mismatch causes many false conclusions like "my telescope is defective" or "my eyepieces are bad."

Think about Pluto attempts as a contrast problem instead of a magnification problem. You are trying to isolate one tiny dim point among many tiny dim points, all against a luminous background. When sky glow rises, that background brightens and weakens your ability to separate threshold stars. You can partly recover with aperture and good transparency, but no optical trick fully replaces darker sky.

Bortle Class Pluto Difficulty Practical Advice
Bortle 2-3Hard but realistic in 130-200mmUse printed chart + patient confirmation over 2 nights.
Bortle 4Possible, higher uncertaintyFavor 200mm class and high transparency nights.
Bortle 5-6Very difficult visuallyPlan a dark-site trip rather than force local attempts.
Bortle 7-9Usually impracticalSwitch to brighter targets or EAA/imaging workflows.

Magnification Strategy That Actually Helps

Beginners often assume that if Pluto is faint, they should push magnification as high as possible. In practice, that usually makes Pluto harder to hold because the image gets dimmer and the field narrows. For threshold work, use enough magnification to separate stars cleanly but not so much that the background goes noisy and unstable. In many setups, this means medium power rather than extreme power.

A reliable approach is to start low enough to lock field geometry, then climb to a moderate level where neighboring stars are easier to compare in brightness. If the seeing is soft, back down. If the seeing is stable and your mount tracking is smooth, edge upward. This adaptive method is more productive than setting one fixed power target before you even observe.

  • Use low power first for field acquisition and orientation.
  • Move to medium power for candidate discrimination.
  • Avoid high power if stars bloat, shimmer, or fade aggressively.
  • Return to lower power if you lose the field map context.

The objective is not a dramatic view. The objective is confidence. Any setting that reduces confidence in star identification is the wrong setting for Pluto work.

Two-Night Pluto Session Plan (Repeatable)

If you only remember one section from this guide, use this plan. Pluto is rarely a one-look success for first-time observers. The repeat-night plan transforms the process from guesswork into a controlled verification routine.

Night 1: Build the field map

  1. Observe after full dark adaptation, ideally 25-35 minutes without white light exposure.
  2. Acquire the target region with low power and confirm orientation against your chart.
  3. Sketch or annotate the faint-star pattern around your top 2-3 Pluto candidates.
  4. Record seeing, transparency, eyepiece, and time so you can compare conditions later.

Night 2: Confirm motion

  1. Return to the same field at similar local sidereal timing if possible.
  2. Rebuild the same eyepiece view and compare candidate positions from Night 1.
  3. Identify the point that shifted relative to the fixed star pattern.
  4. If uncertain, run a third confirmation night instead of forcing a conclusion.

This method mirrors how many advanced amateurs verify threshold objects. It is slower than casual observing, but much more reliable. You do not need premium observatory gear to do this well; you need discipline and repeatability.

Common Pluto Mistakes and How to Avoid Them

Mistake 1: Attempting from a light-polluted driveway first

Pluto attempts are not beginner-friendly in bright skies. Start from the darkest practical site available to you, even if it means fewer total sessions.

Mistake 2: Chasing magnification instead of confidence

If you cannot maintain field orientation and stable stellar points, more power hurts more than it helps.

Mistake 3: Skipping notes

Without notes or a quick sketch, you will not know whether a point has moved. Memory is unreliable at threshold brightness.

Mistake 4: Testing gear and target in the same session

Use familiar optics for Pluto attempts. New accessories introduce variables that reduce certainty.

Mistake 5: Declaring success too early

Treat every first-night candidate as provisional. True confidence comes from relative motion confirmation.

What You Will See vs What You Will Not See

A realistic expectations framework prevents disappointment and helps you decide whether a Pluto session is worth your observing time on a given night. Pluto is a symbolic and technical target. It is rewarding because of the challenge and successful identification, not because of dramatic visual detail.

You will likely see

  • A faint star-like point in a crowded field.
  • Slight positional change over consecutive nights.
  • A meaningful sense of accomplishment after confirmation.

You will not see

  • Surface color zones, heart shape, or disk texture.
  • A large, obvious planetary disk in amateur visual gear.
  • A guaranteed one-night confirmation from bright skies.

This distinction is important for planning. If your goal tonight is visual beauty, prioritize Saturn, Jupiter, lunar detail, or bright nebulae. If your goal is technical accomplishment and deep-sky discipline, Pluto is an excellent project target.

Pluto vs Neptune for Amateur Observers

Many observers who ask about Pluto are actually seeking an "outer planet challenge" and may get more visual satisfaction from Neptune first. Neptune is still demanding, but it can present a subtle disk-like appearance in larger apertures under good seeing. Pluto, by contrast, remains point-like and identification-heavy. If you want both challenge and visible planetary character, Neptune usually provides a better progression step before Pluto.

A practical progression path is: bright planets -> Uranus/Neptune confirmation -> Pluto motion-confirmation project. That sequence develops finder skills, threshold detection confidence, and note-taking discipline before the most subtle target.

Pre-Session Checklist for Pluto Attempts

  • Dark site selected with minimal local light intrusion.
  • Weather favors transparency, not just cloud absence.
  • Target chart prepared to magnitude 15 or deeper.
  • Known-good eyepiece set and stable mount ready.
  • Notebook or phone notes template prefilled.
  • Backup bright-object plan in case sky quality drops.

This checklist lowers wasted time and prevents emotional decision-making at the eyepiece. Pluto projects reward preparation more than improvisation.

Frequently Asked Questions

Can a 70mm telescope see Pluto?

In nearly all practical conditions, no. A 70mm scope is excellent for Moon and bright planets, but Pluto is typically too faint for reliable detection.

What aperture is best for Pluto?

200mm is a strong practical target for consistent visual attempts, especially from Bortle 4 or darker skies.

Does Pluto look like a planet through a telescope?

No. It looks like a faint star-like point, not a disk with visible features.

Is magnification or aperture more important?

Aperture and dark sky quality matter more. Excess magnification can make Pluto harder to detect.

Related Guides