Fast Start: Northern Lights Tonight by US Latitude Band
Use your location band first, then validate cloud and horizon quality. This shortcut answers the query most readers have: what time are northern lights tonight where I live?
Live Aurora Planner · 2026
If you are searching "northern lights tonight," you need a direct answer: should you go out, what hour gives the best chance, and where to look. This guide gives a practical yes/no framework using Kp, cloud, moonlight, and latitude - then turns that forecast into a field plan you can actually execute.
Kp 5+
Frequent US Mid-Lat Visibility
10 PM-2 AM
Most Productive Window
North Horizon
Primary Viewing Sector
10x50
Best Accessory Tier
Use your location band first, then validate cloud and horizon quality. This shortcut answers the query most readers have: what time are northern lights tonight where I live?
Go out when all three signals align: geomagnetic activity (usually Kp 5 or higher for many mid-latitude US observers), a clear northern sky, and a dark-enough local horizon. If one of those is weak, your chance drops. If two are weak, save fuel and wait for a better night.
Aurora is highly dynamic. A forecast can be quiet for hours and then surge for 15 to 40 minutes. That is normal behavior, not a "bad forecast." The best practical strategy is to work a two-hour observation block in your local late-evening to after-midnight window and watch for substorm bursts.
Most first-time misses come from one of four avoidable errors: checking only one forecast source, arriving too early and leaving before activity ramps, standing under urban skyglow in the wrong direction, or expecting naked-eye colors to match long-exposure photos. Fix those and your success rate improves quickly.
Go Tonight
Elevated geomagnetic activity, clear north horizon, and at least a 90-minute dark window.
Maybe
Forecast is mixed but cloud trend is improving. Stay flexible and use a short-drive backup site.
Skip Tonight
Heavy cloud in north sector or bright-haze conditions with weak geomagnetic support.
If tonight scores as Go, carry a simple high-success setup: check current SkyMaster 15x70 price ->
Also popular on Telescope Advisor
Not sure which telescope actually fits your goals?
Answer 5 quick questions about your budget, observing targets, and experience level — our Telescope Finder Tool recommends a specific model in under 2 minutes.
Aurora happens when charged particles from the Sun interact with Earth's magnetic field and upper atmosphere. For practical observers, the takeaway is simple: stronger geomagnetic disturbance moves the visible aurora oval farther south, increasing your chance in the continental US.
You do not need to model plasma physics to make good decisions. You need to understand three layers: the solar driver, the geomagnetic response, and your local sky conditions. The solar driver can be a coronal mass ejection or high-speed solar wind stream. The geomagnetic response is what your forecast apps summarize as Kp, storm scale, and oval position. Your local sky is where success is decided: cloud cover, haze, light pollution, and whether your northern horizon is blocked.
Another critical reality: aurora intensity is pulsed, not steady. You can stand in a quiet sky for 45 minutes and then get a sudden bright arc, pillars, or moving curtains. Many people leave right before the best interval because they treated the forecast as a fixed number instead of a probability window. Think of it like weather radar for thunderstorms. A favorable environment does not guarantee lightning at your exact second, but it dramatically improves odds over a time block.
Color perception also causes confusion. In weaker displays, most observers see gray-green arcs with subtle structure. Bright green, pink, and purple often appear stronger in camera sensors than in direct eyesight. That does not mean the event was fake or overhyped. It means your visual system and camera sensor respond differently at low light levels.
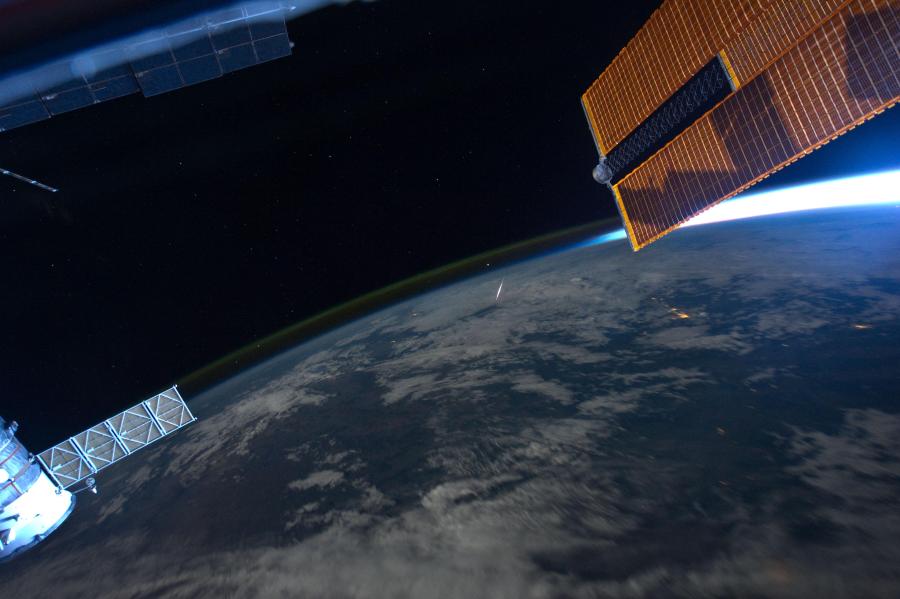
Use this five-point checklist before committing to a drive. If you score 4 or 5, go. If you score 3, go only if travel is short or conditions are improving. If you score 0 to 2, skip and conserve effort for a stronger night.
This approach beats emotional chasing. Most wasted trips happen when people chase a social-media burst from earlier in the night without checking whether local clouds, moon phase, or local light dome make the same view unlikely. Good observers optimize for repeated high-quality attempts, not one dramatic screenshot.
Practical timing rule
Commit to at least one full two-hour block when conditions are favorable. Aurora often rewards patience late in the block, not immediately after arrival.
Kp is a global geomagnetic activity index from 0 to 9. Higher values indicate stronger disturbance and often broader aurora visibility. It is useful, but not absolute. Local cloud, moonlight, and your exact latitude can override what a headline Kp number suggests.
Use this table as a planning guide, not a guarantee. The same Kp can produce very different outcomes depending on Bz orientation, storm timing, and local sky transparency.
| Kp Range | Typical US Impact | Practical Expectation |
|---|---|---|
| Kp 3-4 | Far northern states and high latitudes favored | Low chance at mid-latitudes unless exceptionally dark/clear and activity spikes. |
| Kp 5 | Expanded auroral oval; stronger northern US potential | A meaningful "watch tonight" threshold for many US observers with clear north horizon. |
| Kp 6 | Good reach into more mid-latitude regions | High-priority chase if cloud and moonlight cooperate. |
| Kp 7+ | Major storm conditions; potentially broad US visibility | Very high opportunity night; expect rapid changes and bursts. |
A common myth says "Kp alone tells me if I will see aurora." It does not. Think in layers: Kp for macro potential, local forecast for clouds and haze, moon geometry for contrast, and horizon quality for line-of-sight. When all align, even a moderate storm can produce memorable views.
For factual consistency, always cross-check at least two live space-weather sources before leaving home. Forecast products update frequently and can shift by the hour. A model update near sunset can materially change the night decision.
Aurora can occur any dark hour, but many productive sessions happen from late evening through after midnight local time. The exact best window depends on storm arrival timing and local cloud breaks. Use flexible two-hour blocks rather than one rigid timestamp.
| Time Zone | Primary Watch Block | Backup Block | Execution Note |
|---|---|---|---|
| Eastern | 10:30 PM-1:30 AM | 1:30 AM-3:30 AM | If cloud gaps are moving, hold position and scan through breaks. |
| Central | 9:30 PM-12:30 AM | 12:30 AM-2:30 AM | Use 20-minute visual checks and quick camera test frames. |
| Mountain | 9:00 PM-12:00 AM | 12:00 AM-2:00 AM | Dry transparency can produce cleaner contrast at lower intensity. |
| Pacific | 9:00 PM-12:00 AM | 12:00 AM-2:00 AM | Marine layer behavior can change fast; include inland backup options. |
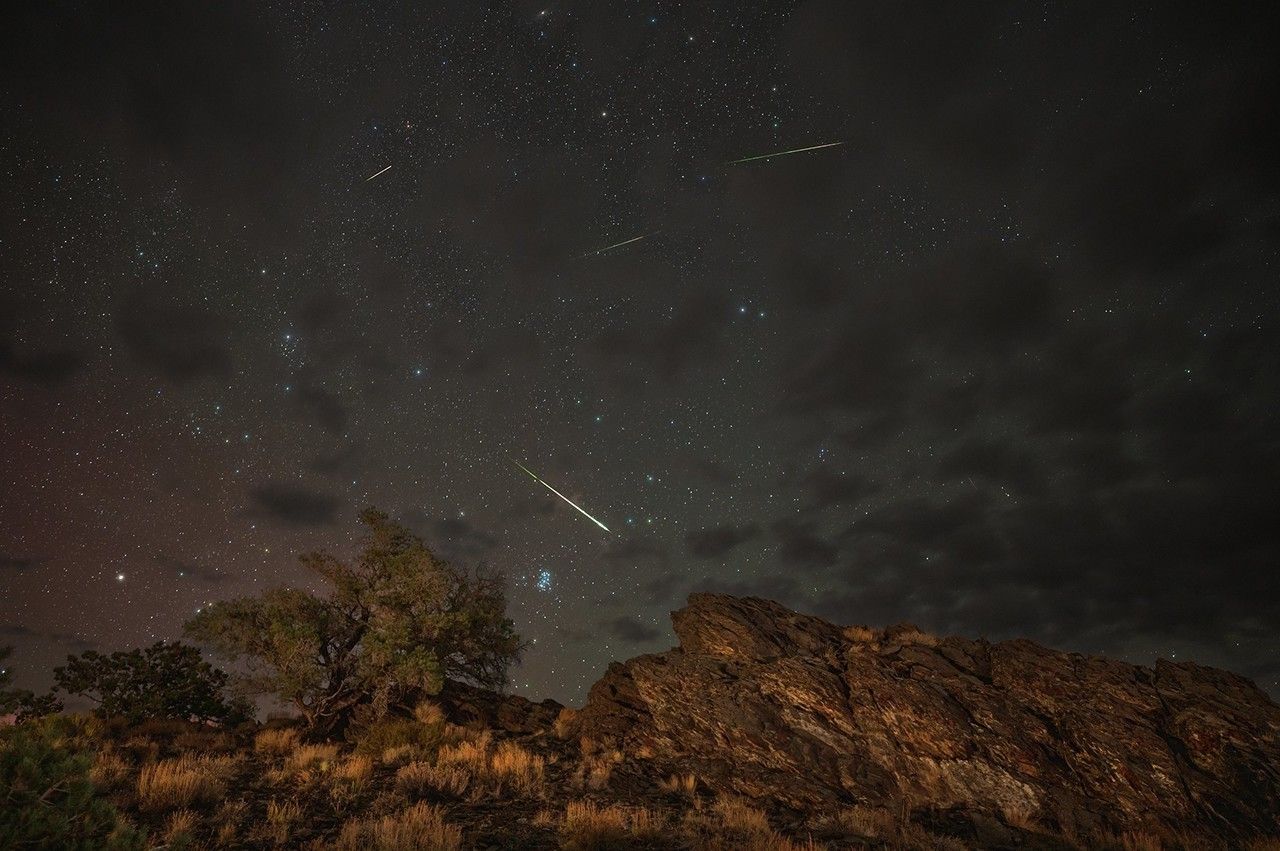
When possible, run a two-night strategy for active storm periods: main night plus shoulder night. This is the same risk-management logic that works for meteor showers and eclipses. Weather is often the biggest blocker, and schedule flexibility is a major edge.
Aurora forecast quality is only one piece. Local sky quality determines whether your eyes can detect low-contrast structure. A bright Moon near your north-facing sector can wash out faint arcs. Thin high cloud can blur moving curtains into barely visible smudges. Urban light domes in the exact north direction can erase activity that is clearly visible from a darker site just 30 to 60 minutes away.
Use this practical hierarchy when conditions are mixed:
A reliable workaround is to pre-select two sites: one close, one darker. Start at the close site and upgrade only if cloud or horizon quality underperforms. This prevents indecision while preserving your ability to pivot quickly when a burst period begins.
Next Best Step
Pick the path that matches where you are right now: get a recommendation, compare buyer guides, or narrow by budget.
Get a Telescope Recommendation
Answer 5 quick questions and skip generic advice.
Use the Buyer Framework
Walk through the 7 decisions that matter before you buy.
See Real Budget Tiers
Match expectations to the price range that actually works.
🎄 Holiday season: Telescope Christmas Gift Guide 2026 · Smart telescope Black Friday deals
In most US aurora sessions, your default scan sector is the northern horizon to mid-altitude sky. Start broad. Do not fixate on one tiny patch. Aurora can emerge as a faint low arc, then lift and spread. Slow visual sweeps every few minutes outperform constant staring at a single point.
A practical scan method:
If you are unsure whether you are seeing aurora or thin cloud, use a short camera exposure test (for example 3 to 8 seconds at moderate ISO). Aurora often reveals structure and hue more clearly than eyes in borderline conditions. Treat camera confirmation as a supplement, not a replacement, for careful visual observation.
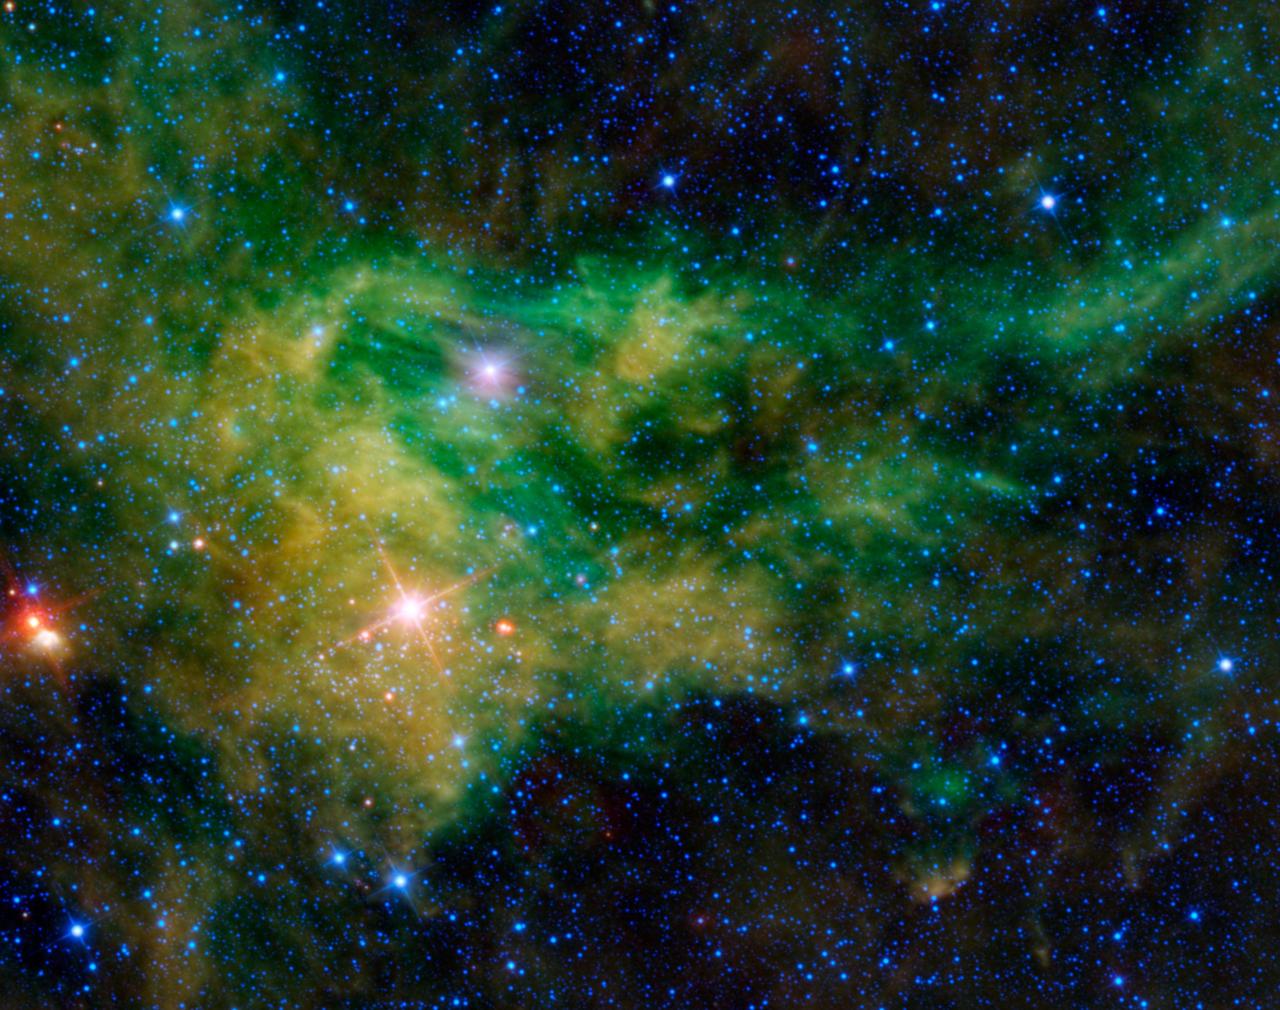
Not every US observer should use the same chase strategy. Latitude changes your baseline probability dramatically. A practical aurora plan in northern states can be too conservative in Alaska and too optimistic in southern states. The goal is to calibrate expectations so your effort matches your real probability window.
If you are in the far north of the continental US, your strategy should prioritize frequency and discipline over rare headline storms. Moderate geomagnetic nights can still produce meaningful activity, especially with dark north horizons and clear air. Your edge is repeat attempts: shorter travel, faster setup, and many more opportunities through the season.
For much of the US, aurora often becomes practical when geomagnetic activity strengthens and local sky quality is favorable. Here, your highest-value move is selective chasing. Do not chase every alert. Instead, filter for nights where at least three conditions align: stronger geomagnetic potential, clear northern sector, and manageable moonlight. This preserves energy and usually improves success-per-trip.
At lower latitudes, aurora opportunities are less frequent and often tied to stronger storm intervals. Your strategy should be event-driven: monitor trends, keep a pre-packed kit, and act decisively on higher-potential nights. You are optimizing for fewer but higher-impact sessions. In this zone, horizon quality matters even more because displays are often low and subtle.
Latitude is not everything. A rural site at the same latitude can outperform a city site by a wide margin simply due to contrast. For urban observers, a short drive to a darker north-facing edge can produce a major improvement. Think in terms of "north-horizon darkness" rather than just total Bortle score. A city with one dark horizon corridor can beat a brighter suburban site with direct north glare.
This is why advanced observers keep a ranked list of locations with notes on horizon obstructions, cloud behavior, and practical access at night. Over time, site knowledge becomes a competitive advantage. The same forecast can yield radically different outcomes depending on where you stand during the best 30 minutes of the night.
Aurora is primarily a naked-eye event, but smart gear choices improve your total success. Binoculars help you validate structure, scan star context, and stay engaged during low-intensity intervals. A compact, wide-field telescope can be useful after the main aurora window for planets, the Moon, or bright deep-sky objects, turning one outing into a full high-value night.
The main rule: prioritize fast setup and stability over extreme magnification. Aurora changes quickly. If your kit takes 30 minutes to deploy, you can miss the best interval before you are ready.

For aurora nights, this is a high-value step up from basic binoculars. You get stronger reach for star-field context and better clarity on brighter arc structure. Use with a tripod for comfort and steadier long sessions.

A practical first binocular class for aurora beginners. Easier to hand-hold than 15x models and still useful for quick sky orientation, horizon checks, and multi-target night sessions.
Want a lightweight starter option? Check current UpClose 10x50 price ->

Aurora is not a telescope-first target, but this compact refractor is useful as a secondary tool for mixed sessions. It sets up quickly and lets you pivot to bright moon and planet targets when aurora activity dips.
Need one grab-and-go scope for sky nights? View on Amazon ->
Great aurora nights are often won before you leave home. The difference between random chasing and repeatable success is a simple pre-planned workflow with backups. Use this sequence to reduce uncertainty and wasted time.
Pick one close site and one darker backup site. The close site protects convenience; the backup site protects quality. If cloud or light dome conditions underperform at site one, you can pivot without rethinking your entire night.
Arrive before your primary watch block starts. Most misses come from late arrival and setup delay. Your first 20 minutes on site should be orientation and adaptation, not troubleshooting.
Every 15 minutes, log three things: visible activity level, cloud trend, and horizon quality. This keeps you objective and prevents emotional early exits. If activity is low but sky quality is improving, stay. If sky quality is collapsing, pivot quickly.
Short exposures can reveal weak arcs before they are obvious to the eye. Use this as a confirmation tool and adjust scan focus accordingly. Avoid spending the entire night heads-down in camera menus.
Write what worked and failed while memory is fresh: forecast source quality, cloud behavior, exact best window, and site limitations. These notes compound. After three or four sessions, your local model becomes more accurate than generic social chatter.
Quick win checklist
Warm layers, tripod, red flashlight, charged phone battery pack, and preloaded map to a north-facing dark site.
Aurora photography is about balancing exposure time with motion blur. Too short and the display is dim; too long and structure smears. Start conservative and adapt to brightness changes.
| Scenario | Aperture | ISO | Shutter | Note |
|---|---|---|---|---|
| Faint arc | f/2.0-f/2.8 | 1600-3200 | 8-15 s | Maximize light capture; monitor star trailing by focal length. |
| Moderate curtains | f/2.0-f/2.8 | 800-1600 | 4-8 s | Good balance of brightness and structure retention. |
| Bright active burst | f/2.0-f/3.5 | 400-1200 | 1-4 s | Preserve detail in fast-moving folds and pillars. |
Set manual focus before peak activity. Use a bright star or distant light, then lock focus and avoid touching the ring. Shoot RAW if available. Keep white balance stable (for example 3500K-4500K) so your sequence remains consistent for later editing.
Smartphone users can still succeed. Use a stable support, night mode, and multiple takes. The best phone shots usually come during brighter bursts with clean horizons and minimal direct city lighting.
Most failed aurora attempts are not bad luck. They are process errors. Fixing a few repeat mistakes can transform your results within one season.
A single forecast snapshot is incomplete. Conditions evolve through the night. Always monitor updates across multiple sources and pair geomagnetic potential with local sky data. This avoids the common "forecast looked good but nothing happened" frustration caused by cloud and timing mismatch.
Aurora can be quiet, then surge rapidly. If your plan is a 20-minute check, you will miss many good intervals. Commit to structured watch blocks and hold your position through lull periods when conditions are still favorable.
Many observers pick scenic sites that face city glow to the north. That can erase low-contrast arcs completely. Evaluate north-horizon darkness first, then aesthetics. A less scenic but darker horizon usually wins.
Aurora rewards readiness. If your setup takes too long, you miss burst windows. Keep your default kit simple and repeatable: warm layers, headlamp, tripod, camera or phone support, and optional binoculars. Complexity should be added only after your baseline workflow is reliable.
People often expect vivid social-media color with the naked eye. In many moderate events, visual perception is subtle. Learn to detect movement, arc shape, and structure first. Color intensity often improves with stronger bursts and darker sites.
The fastest improvement path is simple: use a repeatable checklist, keep a session log, and review outcomes monthly. Over a few attempts, your local pattern recognition becomes far better than generic internet advice.
There is no single universal number for all US locations, but many mid-latitude observers often improve their odds around Kp 5 and above, provided cloud and north-horizon darkness are favorable.
A productive window is often late evening through after midnight local time. Use flexible two-hour blocks and stay patient, because activity can surge suddenly.
Use a two-step check: first verify geomagnetic activity is elevated for your latitude band, then confirm your local north-facing cloud cover. A favorable index with poor cloud breaks usually underperforms.
During strong storms, yes. But city light domes reduce contrast, especially near the northern horizon. Even a short drive to darker skies can dramatically improve visibility.
No. Aurora is primarily a naked-eye event. Binoculars are often the best optical accessory. Telescopes are secondary tools for mixed sessions after peak aurora activity.
Cameras integrate light over time and can capture weaker color signals than human vision in dark conditions. This is normal and expected.
What Can You See With a Telescope Tonight? (USA)
State-by-state sky planner for practical observing targets.
Night Sky This Month
Current-month tactical sky plan with priority targets.
Meteor Shower Tonight 2026
Live peak-hours model for fast go/no-go decisions.
Best Binoculars for Stargazing
10x50 and 15x70 picks that work in real field conditions.
Best Tripod for Binoculars
Stability upgrades for longer, more comfortable sky sessions.
Best Telescopes for Sky Events
Event-first buying picks for practical yearly use.
Can You See the Northern Lights with a
Can you see the northern lights through a telescope?
Continue Exploring
Choose the next page based on whether you need a recommendation, a comparison, or a practical observing plan.
Get a Telescope Recommendation
Fastest path if you want one model instead of another long guide.
Use the Buyer Framework
See the decision order that matters before you buy.
Plan Your Next Session
Turn your gear into a concrete observing list for tonight.
🎄 Holiday season: Telescope Christmas Gift Guide 2026 · Black Friday deal tracking