Smartphone Astrophotography: How to Photograph the Moon, Planets & Stars With Just Your Phone (2026)
Telescope Advisor Logo Telescope Advisor
The Moon's cratered surface — the easiest and most rewarding target for smartphone astrophotography

Astrophotography Guide · 2026

Smartphone Astrophotography: Shoot the Moon, Planets & Stars With Just Your Phone

You do not need a $2,000 DSLR and a tracking mount to take incredible photos of the night sky. Modern smartphone cameras — especially on iPhone 14 and later, Google Pixel 7+, and Samsung Galaxy S23+ — are capable of capturing lunar craters, Jupiter's moons, star trails, and even the Milky Way. Here is exactly how to do it, step by step.

Easiest targetThe Moon — craters visible at 3× zoom
Best accessoryPhone adapter mount (~$15)
Best appNightCap (iOS) / DeepSkyCamera (Android)
Total cost to start$0 — just your phone
By Telescope Advisor Editorial Team Published: Updated: Editorial Standards

Quick Answer: Can You Really Do Astrophotography With Just a Phone?

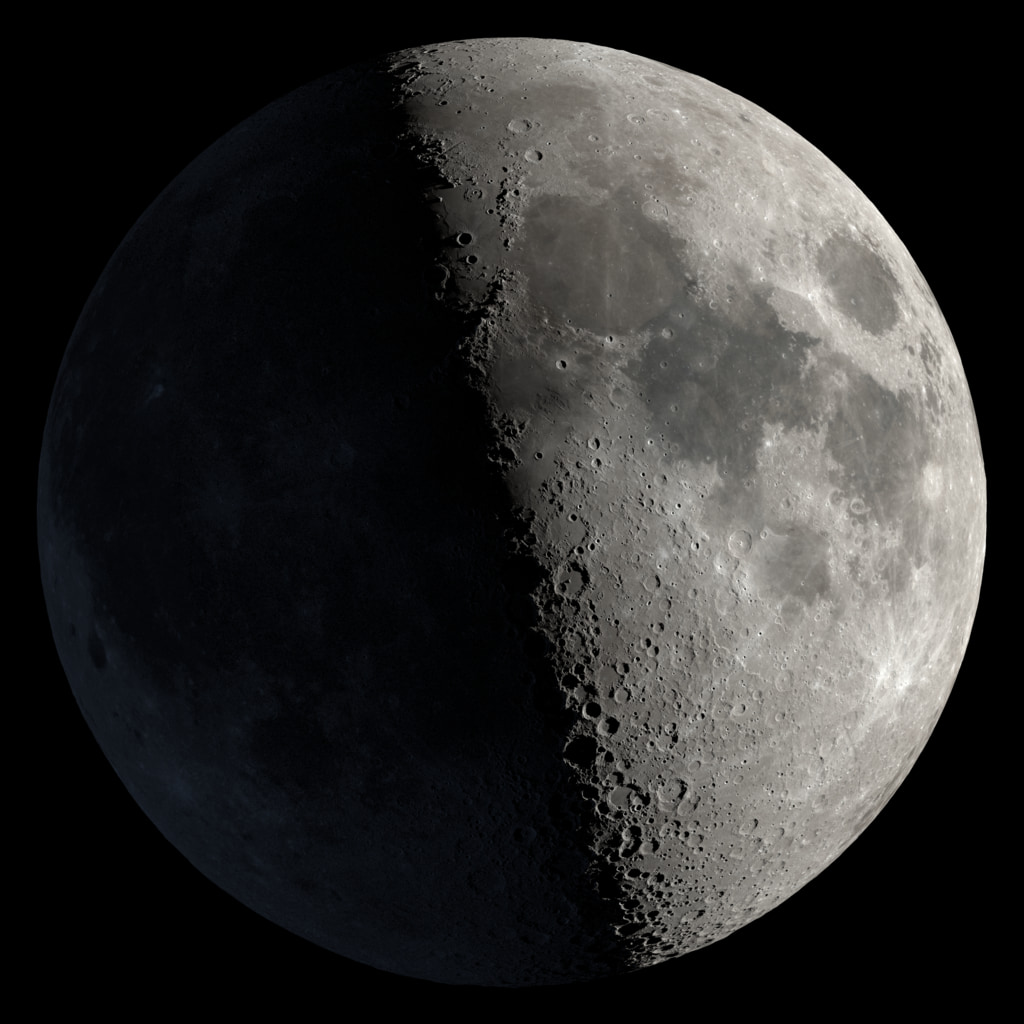
Yes — and the results will surprise you. Modern smartphone cameras have larger sensors, wider apertures (typically f/1.6–f/2.0), and computational photography features like night mode, astrophotography mode (Pixel), and ProRAW (iPhone) that were science fiction a decade ago. You can photograph the Moon's craters, Jupiter's four brightest moons as pinpricks beside the planet, bright star clusters like the Pleiades, and — with the right technique — the Milky Way stretching across a dark sky. You will not capture Hubble-quality nebula photos with a phone. But you will capture images that were impossible with any consumer camera 20 years ago, using a device that is already in your pocket.

Phone Camera Settings: What to Change Before You Shoot the Night Sky

Your phone's default camera app is designed for daylight selfies and sunsets — not the night sky. Before you take a single astrophoto, make these changes. They apply to both iPhone and Android, though the menu locations differ.

1

Turn off flash.

Your phone's LED flash has an effective range of about 10 feet. It cannot illuminate the Moon or stars. All it does is ruin your night vision and create lens flare. Turn it off permanently for astrophotography.

2

Enable night mode / long exposure.

iPhones (11 and later) and most Android phones have a Night Mode that automatically activates in low light. On iPhones, tap the Night Mode icon (a moon) and drag the exposure slider to the maximum — typically 10–30 seconds when the phone is stabilized on a tripod. On Google Pixel phones, enable "Astrophotography mode" which stacks multiple 16-second exposures. On Samsung Galaxy, use Pro Mode.

3

Use a tripod. A phone cannot be handheld for night sky photos.

Night modes require the phone to be perfectly still for 10–30 seconds. Handheld night sky photos will always be blurry. A small smartphone tripod costs $10-15 and is the single most important accessory for phone astrophotography. In a pinch, lean your phone against a rock, a bag, or a water bottle — anything to keep it absolutely stationary.

4

Shoot in RAW or ProRAW if available.

iPhone 12 Pro and later support Apple ProRAW, which captures sensor data without the phone's automatic processing. This gives you dramatically more flexibility to adjust exposure, white balance, and noise reduction after the fact. On Android, use a third-party app like DeepSkyCamera or ProShot that supports RAW (DNG) capture. JPEG files from the default camera app lose significant detail in the shadows — which is where all your stars are.

5

Use the self-timer or a remote shutter.

Tapping the shutter button introduces vibration that can blur long exposures. Set a 3-second self-timer so the phone settles after your tap before the exposure begins. Even better: use a Bluetooth remote shutter ($8-10) or voice-activated capture. Many smartwatch apps can also trigger the phone camera remotely.

How to Photograph the Moon With Your Phone: Step-by-Step

The Moon is the easiest and most satisfying target for phone astrophotography. Even without a telescope, a modern phone on a tripod at 3× optical zoom can capture craters along the terminator — the line between lunar day and night. Here is the workflow:

1

Choose the right Moon phase.

The full Moon is bright but flat — craters lack shadow and appear washed out. The best photos come from the crescent, first quarter, or last quarter Moon, when the terminator casts long shadows across crater rims. The shadows create texture and depth that makes your photo look three-dimensional.

2

Mount your phone on a tripod. Use optical zoom only.

Digital zoom just crops and enlarges pixels — it does not add detail. Use your phone's optical zoom (typically 2× or 3× on multi-lens phones). If your phone has a telephoto lens (iPhone 15 Pro Max has 5× optical), use that lens exclusively for the Moon. Do not pinch-to-zoom beyond the optical limit.

3

Reduce exposure. The Moon is bright — your phone will overexpose it.

Tap the Moon on your screen to focus, then drag the exposure slider down until you can see surface detail instead of a white blob. On iPhones, tap and hold to lock focus and exposure (AE/AF Lock), then swipe down. On Android, use Pro Mode and set ISO to 100-200 with a shutter speed of 1/125s to 1/250s. The Moon is a sunlit object — it requires daylight exposure settings, not night settings.

4

If you have a telescope: use a phone adapter mount.

Clamp your phone over the eyepiece with a phone adapter mount ($10-20). Align the phone camera lens precisely with the eyepiece — this takes patience. Use the 20mm or 25mm eyepiece (lower magnification = brighter, sharper image). Focus the telescope normally through the eyepiece, then fine-tune focus while watching the phone screen. The results — crater detail at 40-90× magnification — rival dedicated planetary cameras costing 10× more.

How to Photograph Planets Through a Telescope With Your Phone

Photographing planets through a telescope eyepiece with a phone is called afocal astrophotography. It is the cheapest way to capture Jupiter's cloud belts, Saturn's rings, and the phases of Venus. The technique is straightforward but requires patience and steady hands — or better, a phone adapter.

Jupiter:

Use a 10mm eyepiece (~90× in an 80mm refractor). Jupiter's disk will be small but distinct on your phone screen. Two dark cloud belts are typically visible. The four Galilean moons appear as bright dots flanking the planet. Reduce exposure until the planet's disk is not overexposed — this will darken the moons, but you can composite two exposures (one for the planet, one for the moons) later in editing. Record a 30-second video at the highest resolution and frame rate your phone supports, then use free stacking software (AutoStakkert or PIPP) to extract and stack the sharpest frames. A single still photo will be blurrier than a stacked video frame.

Saturn:

Saturn is smaller and dimmer than Jupiter, making it harder to capture with a phone. Use a 10mm eyepiece, steady the phone on a tripod with adapter, and shoot video rather than stills. The rings will be visible as an oval shape around the planet's disk. Do not expect Cassini Division detail — phone sensors lack the angular resolution — but the ringed shape is unmistakable and makes a compelling photo. The best Saturn phone photos come from 130mm+ telescopes at opposition (when Saturn is closest to Earth).

Venus:

Venus is bright and easy to find, but through a phone it usually appears as a featureless white blob. The key is to photograph Venus when it is at a crescent phase (near greatest elongation) — the crescent shape is visible through a telescope at 40-60× and your phone can capture it. Reduce exposure significantly. The crescent Venus photo is a satisfying achievement that proves you are doing real planetary astrophotography.

How to Shoot Star Trails With a Phone

Star trail photos — where stars trace concentric arcs across the sky due to Earth's rotation — look professional and complex but are surprisingly easy to capture with a phone. The technique relies on your phone's ability to take multiple long exposures and stack them automatically.

The method:

  1. Mount your phone on a tripod. Point it at the North Star (Polaris) for circular trails, or east/west for straight-line trails.
  2. Use an app that supports interval shooting: NightCap (iOS), DeepSkyCamera (Android), or Intervalometer mode in ProCam.
  3. Set exposure to 30 seconds, ISO 400-800, focus to infinity. Take 60-120 consecutive exposures — roughly 30-60 minutes total.
  4. Stack the images using free software: StarStaX (desktop) or the "Star Trails" mode built into some astrophotography apps. The software aligns and blends the frames, creating the trail effect.
  5. For a foreground element, take a single longer exposure or a separate photo of the landscape and composite it with the star trails in editing.

How to Photograph the Milky Way With a Phone

This is the hardest phone astrophotography challenge — but also the most rewarding. The Milky Way requires dark skies (Bortle 4 or better), a tripod, and the right season (March–October in the northern hemisphere). The galactic core is visible in the southern sky during summer months. Modern phones with dedicated astrophotography modes — especially Google Pixel and recent iPhones — can produce Milky Way photos that rival entry-level DSLRs from a decade ago.

Settings: Manual/pro mode. ISO 1600–3200. Shutter speed 20–30 seconds. Focus: manual, set to infinity. Shoot in RAW. The phone must be on a tripod — no exceptions. Use a Bluetooth remote or self-timer to avoid vibration. The Milky Way is faint — even a slight bump during the exposure will ruin the photo.

Best phone for Milky Way in 2026: Google Pixel 9 Pro (dedicated Astrophotography mode stacks 16-second exposures for up to 4 minutes), iPhone 16 Pro (48MP ProRAW sensor, f/1.78 main camera), Samsung Galaxy S25 Ultra (200MP sensor with astrophotography hyperlapse mode).

The 4 Best Astrophotography Apps in 2026

NightCap Camera (iOS — $2.99)

The gold standard for iPhone astrophotography. Dedicated modes for star trails (automated stacking), long exposure (up to 1 second per frame with stacking), and ISS detection. The "Stars" mode automatically optimizes ISO and exposure for night sky shots. Worth every cent of the $2.99.

DeepSkyCamera (Android — Free / $4.99 Pro)

The best dedicated astrophotography app for Android. RAW capture, manual focus and exposure, intervalometer, and a "night vision" red screen mode that preserves dark adaptation. The Pro version adds automated light frame stacking and dark frame subtraction.

ProCam / ProShot (iOS & Android — $5-7)

Full manual control over ISO, shutter speed, white balance, and focus. These are general-purpose pro camera apps rather than astrophotography-specific, but their manual controls are essential for planetary imaging through a telescope eyepiece.

Snapseed / Lightroom Mobile (Free)

Post-processing is half the art. Snapseed (free, Google) is the easiest way to edit astrophotos on a phone: adjust exposure, increase contrast, reduce noise, and apply selective edits to bring out nebula detail or darken a sky background. Lightroom Mobile adds RAW editing and advanced noise reduction.

The $50 Smartphone Astrophotography Kit

You can start with nothing — just your phone propped against a rock — but $50 in accessories transforms the experience. Here is the essential kit, in priority order:

1

Smartphone tripod + mount (~$15)

A small, flexible-leg tripod (GorillaPod-style) with a universal phone clamp. Essential for any long-exposure shot. The flexible legs wrap around fences, poles, and telescope tubes.

2

Phone-to-eyepiece adapter (~$15)

Clamps your phone over any 1.25" telescope eyepiece. Look for a model with a metal frame (not plastic) and fine-adjustment knobs for precise alignment. The Celestron NexYZ 3-axis adapter ($50) is the gold standard, but generic $15 models work fine for beginners.

3

Bluetooth remote shutter (~$8)

Eliminates vibration from touching the phone. Pairs in seconds. Essential for long exposures and video capture at the eyepiece.

4

Lens cleaning cloth (~$3)

Fingerprints on your phone lens scatter light and create halos around bright objects. Clean the lens before every astrophotography session.

Frequently Asked Questions

Can you really take photos of stars with a phone?

Yes. Modern phones with night mode or astrophotography mode (Google Pixel, iPhone 12+, Samsung Galaxy S22+) can capture hundreds of stars, the Milky Way, and bright star clusters when mounted on a tripod under dark skies. You will not capture faint nebulae or galaxies, but bright stars and the Milky Way are well within a modern phone's capability.

Do I need a telescope to do smartphone astrophotography?

No. Wide-field astrophotography — the Moon, constellations, star trails, the Milky Way — uses just the phone's built-in camera on a tripod. A telescope with a phone adapter is only needed for high-magnification shots of the Moon's craters, planets, and bright star clusters. Start without a telescope; add one later if you enjoy the process.

What is the best phone for astrophotography in 2026?

Google Pixel 9 Pro has the best dedicated astrophotography mode — it automatically stacks 16-second exposures for up to 4 minutes. iPhone 16 Pro offers 48MP ProRAW with excellent low-light performance. Samsung Galaxy S25 Ultra has a 200MP sensor and dedicated astrophotography hyperlapse. All three produce excellent results. Differences are marginal — technique matters far more than the phone model.

Why do my phone photos of the Moon look like a white blob?

Your phone is overexposing the Moon because the surrounding sky is black. The camera's auto-exposure averages the scene and makes the Moon too bright. Solution: tap the Moon on your screen, then drag the exposure slider down. Or use manual/pro mode: ISO 100, shutter speed 1/125s to 1/250s. The Moon is a sunlit object and needs daylight exposure settings. Lock focus and exposure (AE/AF Lock) once set.

How do I focus my phone camera on stars?

Autofocus does not work on stars — they are too small and faint. Switch to manual focus (available in Pro mode or third-party apps) and set focus to infinity. On some apps, you can tap a bright star or planet to focus. If your app does not have manual focus, shine a flashlight on a distant tree or building, focus on that, then lock focus before pointing at the sky. A slightly out-of-focus star looks like a fuzzy donut — adjust until stars are the smallest, sharpest points possible.

Is smartphone astrophotography worth it compared to a DSLR?

For beginners — absolutely. A phone on a tripod produces better star photos than a $500 DSLR used incorrectly. The phone's computational photography (automatic stacking, noise reduction, sky detection) handles the hardest parts of astrophotography for you. A DSLR becomes necessary only when you want to photograph faint nebulae and galaxies through a telescope with tracking — at which point you are investing $1,000+. Start with your phone. Master the techniques. Upgrade later if the passion grows.

Related Guides