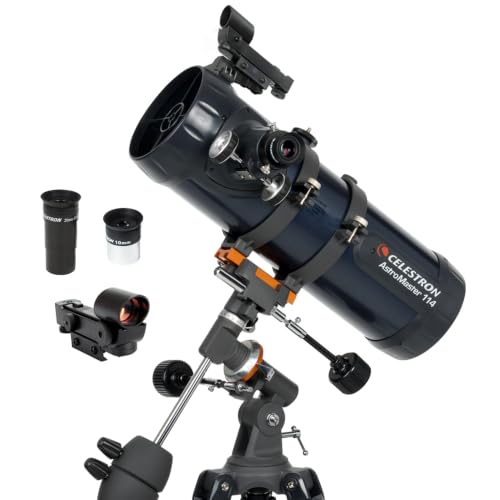
What Can You See With a 114mm Telescope? Real Night-Sky Results by Object Type
Telescope Advisor Logo Telescope Advisor
Moon and planets viewed through a beginner telescope

Aperture Guide · 4.5-Inch Telescope

What Can You See With a 114mm Telescope?

A 114mm telescope is one of the best beginner apertures because it sits in the sweet spot between affordability and real performance. You can see sharp lunar crater detail, Saturn's rings, Jupiter's cloud bands, bright nebulae, many clusters, and a meaningful list of galaxies under darker skies. This guide gives realistic object-by-object expectations so your first sessions feel successful rather than random.

114mm

4.5-inch aperture

2.7x

More light than 70mm

50x-180x

Most useful range

Bortle 5

Solid deep-sky threshold

By Telescope Advisor Editorial Team Published: Updated: Editorial Standards

Quick Answer

With a 114mm telescope, you can reliably observe: detailed lunar craters and mountain shadows, Venus phases, Jupiter's two main cloud belts plus four Galilean moons, Saturn's ring system, Mars as a small disk near opposition, bright planetary nebulae like M57, major globular clusters such as M13, bright open clusters, and the brighter Messier galaxies as faint glows from suburban-to-dark skies. If your sky is very bright city light pollution, planetary and lunar performance remains excellent, but galaxy contrast drops sharply.

The biggest performance jump with 114mm is not just brighter views. It is increased resolving power. Fine features that look soft in a 70mm scope become cleaner: tighter star clusters begin to resolve, Jupiter's belts hold shape better at medium power, and Saturn becomes a clear ringed world rather than a tiny oval. For many beginners this is the first aperture where astronomy feels consistently rewarding across multiple object classes.

Why 114mm Is a Strong Beginner Aperture

A 114mm reflector gathers about 10,200 square millimeters of light. Compared with a common 70mm beginner refractor, that is roughly 2.7 times more light. This is enough to move you from mostly Moon-and-planets viewing into genuine deep-sky exploration on good nights. It is also enough aperture to support meaningful magnification without the image breaking down too quickly, especially when atmospheric seeing is decent and optics are properly collimated.

From a practical ownership perspective, 114mm scopes are usually still portable, simple to cool down, and relatively affordable. That matters because telescopes that are easy to set up get used more often. Consistent use beats theoretical performance every time. A larger telescope left in storage underperforms a smaller one that sees the sky three nights a week.

A 114mm aperture is also forgiving as a learning platform. You can practice star hopping, focusing, and eyepiece selection while still seeing real improvements from good technique. Beginners often discover that the telescope did not change, but their results improved dramatically once they learned target timing, object altitude, and the relationship between magnification and brightness.

Moon Detail You Can Expect With 114mm

The Moon is where a 114mm telescope immediately proves itself. At low-to-medium power, the terminator line shows dramatic crater shadows, mountain ridges, and texture changes across maria and highlands. At higher powers on stable nights, you can see rille-like structures, crater wall terracing, and bright ray systems around impact sites. This is more than a quick glance target. It is a long-term visual training ground that rewards repeated visits through different phases.

Best lunar results usually come at first quarter through waxing gibbous phases, when shadow contrast is strong. Full Moon is still bright and sharp but flatter in appearance. Many beginners assume full Moon is best simply because it is brightest. In practice, the sculpted lighting near the terminator gives more perceived depth and detail.

A practical tip is to keep one low-power eyepiece for framing and one medium/high-power eyepiece for inspection. Start wide, identify the region, then zoom in deliberately. This sequence builds orientation skill and avoids the common beginner mistake of starting too narrow and getting lost in a bright, feature-rich field.

Planet-by-Planet Expectations in a 114mm Scope

Planet What You Can See Best Practical Mag
JupiterTwo major belts routinely, moon positions nightly, occasional finer belt texture in good seeing.90x-160x
SaturnRings clearly separated from globe, Titan easy, Cassini division hinted or visible on strong nights.100x-180x
MarsSmall disk most of the year; near opposition, polar cap and broad albedo contrast possible.120x-180x
VenusStrong crescent/half phases; no surface detail in visible light.60x-140x
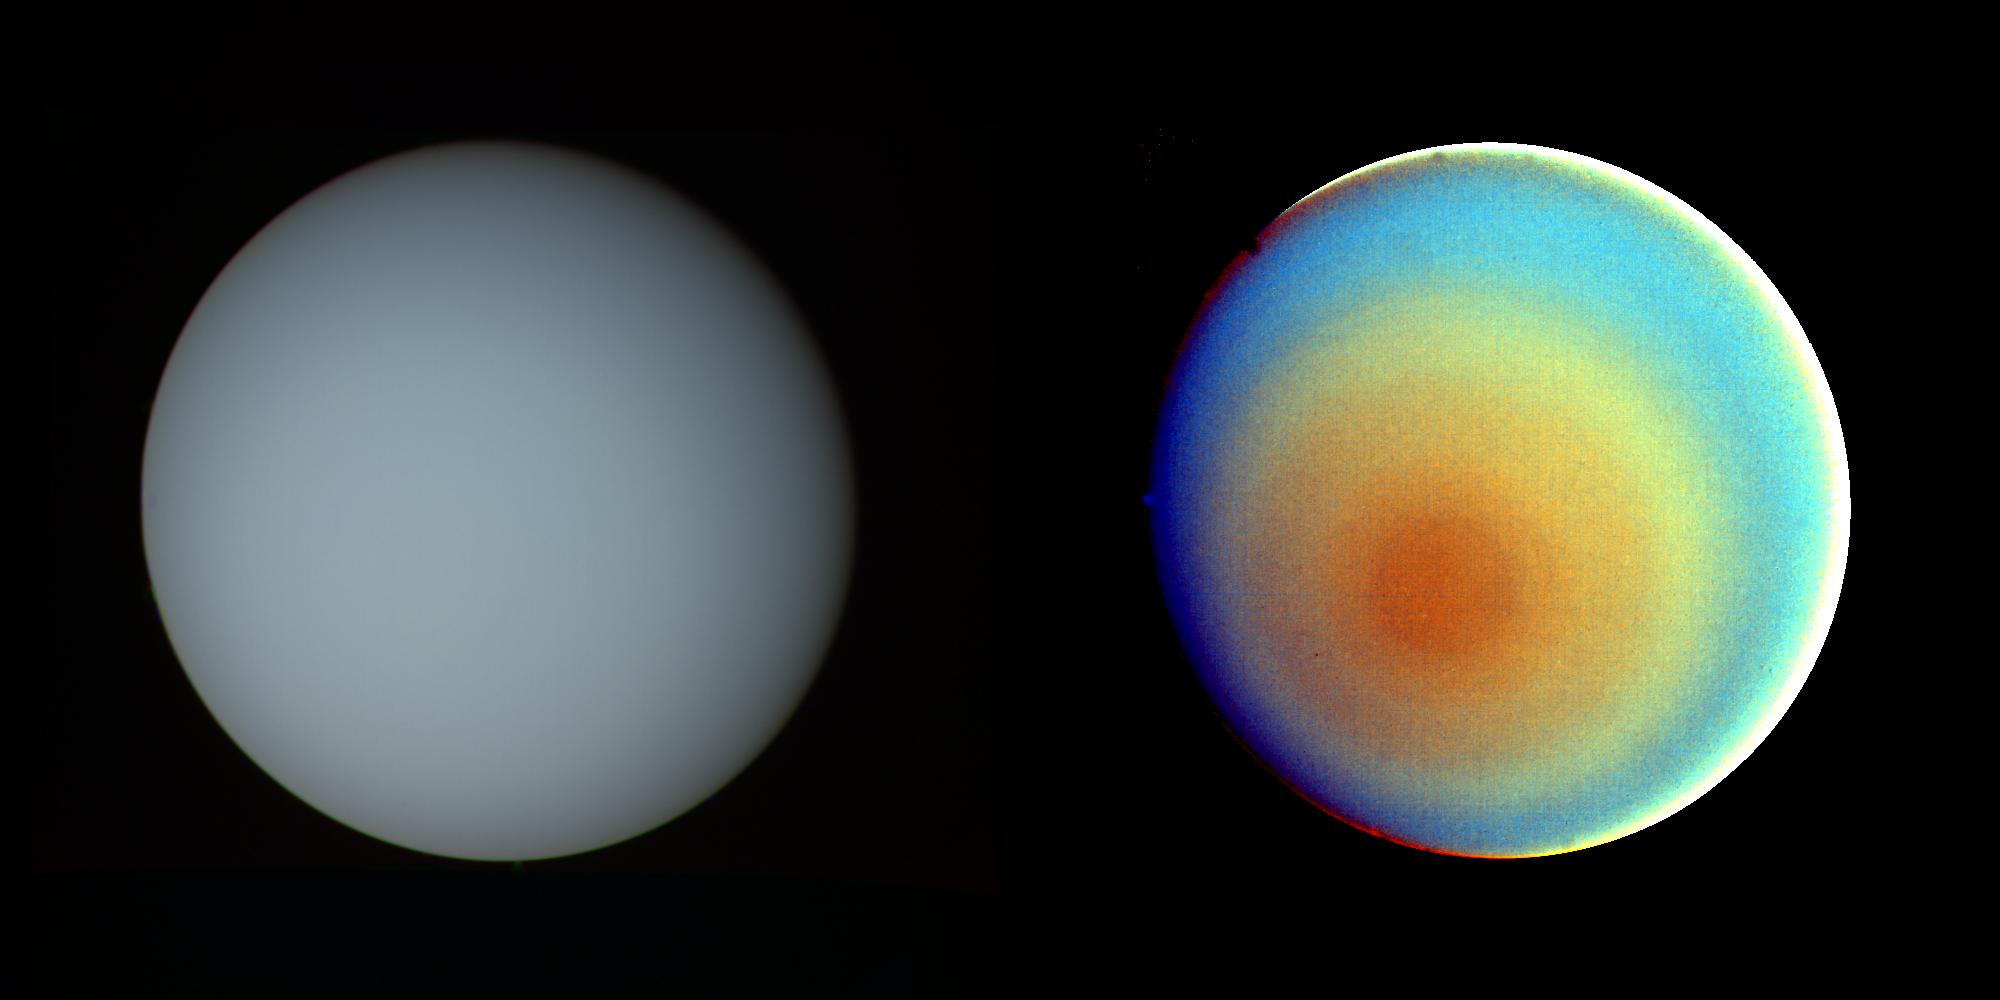
Uranus/NeptuneTiny blue-green disks under good transparency; no ring detail.140x-180x

Seeing conditions control planetary quality more than many beginners realize. A night of poor atmospheric stability can make 180x look worse than 100x. On those nights, reduce magnification and focus on crispness rather than size. On stable nights, increase carefully until detail stops improving.

Deep-Sky Objects a 114mm Telescope Can Realistically Show

A 114mm telescope is large enough to move beyond bright showpiece objects and build a useful deep-sky list. Open clusters are often the easiest wins: Pleiades, Double Cluster, and Beehive are bright and forgiving. Globular clusters like M13 and M3 appear as bright grainy cores with partial resolution at higher power. Bright nebulae such as M42 in Orion show a glowing winged structure with central Trapezium stars, while M57 (Ring Nebula) appears as a small smoke-ring disk at medium-to-high power.

Galaxies are possible but expectation management matters. Under dark sky, M31 (Andromeda) looks large and elongated with a bright core. M81 and M82 become detectible pair targets with patient averted vision. In suburban sky, these galaxies shrink to softer cores and less halo. In bright city sky they may disappear entirely while clusters and planets remain strong. This is a light-pollution issue, not a telescope failure.

The best strategy is to classify deep-sky nights in tiers. Tier 1 includes bright clusters and Orion Nebula when transparency is average. Tier 2 adds planetary nebulae and brighter globulars on moonless nights. Tier 3 targets galaxies and faint nebulae only when moonlight is low and transparency is excellent. This structured approach dramatically improves success rates for beginners.

City vs Suburban vs Dark Sky: How Much Changes?

From a city (Bortle 8-9), your 114mm telescope remains excellent for Moon, planets, and bright double stars. This is enough for hundreds of satisfying sessions. From suburban skies (Bortle 5-6), deep-sky access expands significantly: major nebulae and many clusters become straightforward, and brighter galaxies become realistic with technique. Under dark sky (Bortle 3-4), the same telescope feels transformed. Galaxy halos broaden, nebular contrast improves, and object counts multiply quickly.

If your regular observing location is bright, do not chase unrealistic deep-sky lists every night. Build a city-optimized routine around planets, Moon, and bright clusters, then plan occasional dark-sky trips for deep-sky sessions. This prevents frustration and gives you two complementary workflows rather than one compromised one.

One practical mental model: aperture gives potential, sky quality unlocks that potential. A 114mm telescope under dark sky can outperform larger apertures trapped under heavy urban glow for many low-contrast deep-sky targets.

Best Eyepiece Plan for a 114mm Telescope

You do not need a huge eyepiece collection to get excellent results. A practical starter set is one low-power eyepiece for wide-field target acquisition, one medium-power eyepiece for most objects, and one higher-power eyepiece for planetary and lunar detail on stable nights. Add a decent 2x Barlow only if your existing eyepiece spacing leaves a useful gap.

  • Low power: 25mm to 32mm for open clusters, framing, and finder use.
  • Medium power: 12mm to 15mm for globulars, nebulae, and general planetary sessions.
  • Higher power: 6mm to 8mm for Moon and planets in good seeing.
  • Use higher magnification only when focus remains crisp and contrast holds.

Most disappointing first sessions come from over-magnification. Bigger is not better if the image becomes dim or soft. Train yourself to stop increasing power when detail no longer improves. This single habit improves beginner outcomes more than any accessory purchase.

First 5 Sessions Plan for 114mm Owners

Session 1: Moon + Jupiter

Goal: learn focusing and eyepiece swaps. Start low power for orientation, then medium-high power for detail. Log what changes as you switch magnification. Note seeing quality.

Session 2: Saturn + Titan

Goal: confirm ring separation and detect Titan. Compare 100x vs 150x and record which is sharper. Avoid waiting until target is too low near horizon.

Session 3: Open Cluster Night

Goal: sweep large fields and practice star hopping. Choose Pleiades, Double Cluster, and Beehive. Keep magnification low-to-medium and prioritize framing.

Session 4: Nebula + Globular

Goal: compare object classes. Observe M42 then M13. Notice how each responds differently to magnification and sky transparency.

Session 5: Personal Challenge Night

Goal: revisit one previously difficult target and apply improved method: higher altitude timing, better dark adaptation, and magnification discipline. This session usually marks the moment beginners realize skill growth matters as much as hardware.

Seasonal 114mm Target Catalog (What to Prioritize All Year)

One reason 114mm scopes are so popular is that they stay useful in every season. Instead of chasing random object lists, use a seasonal approach that matches sky geometry. This increases success and helps you build a personal observing rhythm. In spring, focus on bright galaxies and globular clusters. In summer, shift to rich Milky Way star fields and nebulae. In autumn, run galaxy-core sessions around Andromeda and surrounding constellations. In winter, use Orion and nearby bright nebulae as your deep-sky foundation while planets rotate back into stronger evening windows.

For spring sessions with 114mm, M3 and M13 are excellent confidence objects. At lower magnification they appear as bright compact glows; at moderate magnification they start to granularize around the edges. Galaxy work in spring is realistic but should be selective under suburban sky. Pick brighter, higher-contrast options first, then add fainter objects only on moonless nights with clear transparency. Do not force a broad galaxy checklist from a bright site. A tight, repeatable list outperforms ambitious but low-success plans.

Summer is where 114mm scopes feel surprisingly capable. Open clusters and Milky Way structure respond beautifully at low power. Targets like M11, M24, and M8 are satisfying even from moderate suburban conditions, and they teach framing discipline because each object has different scale. A practical summer routine is to start wide for orientation, switch to medium power to inspect texture, then return wide for context. This three-step pattern improves both visual quality and your understanding of how magnification changes perception.

Autumn is prime time for Andromeda-region observing. In a 114mm scope under suburban sky, M31 usually presents as a brightened core with some elongation. Under darker sky, the halo broadens and companion detection becomes more realistic. Combine this with cluster sessions in Perseus and Cassiopeia to maintain high-confidence wins while you push into lower-contrast targets. Balanced sessions keep motivation high because every night includes both challenge and reward.

Winter gives you some of the best beginner-to-intermediate returns in a 114mm aperture. Orion Nebula structure is obvious, and the Trapezium stars are straightforward in decent conditions. The Moon also tends to deliver excellent high-contrast sessions during crisp nights. If planets are available, use winter sessions to practice seeing-limited observing: compare 100x, 130x, and 160x rather than guessing one "best" magnification. On calm nights, a 114mm can feel far more powerful than its size suggests.

A simple seasonal scorecard helps long-term progress. Track each target as one of three outcomes: detected, confirmed with detail, or high-confidence repeat. Over a few months, your detected-only list shrinks while your repeatable-detail list grows. This is how beginners become consistent observers without buying new hardware every few weeks. The 114mm platform is strong enough that skill growth is clearly visible in your own logs.
114mm Performance Ladder: From First Light to Advanced Sessions

Most frustration with beginner telescopes comes from trying advanced targets before mastering basic mechanics. A performance ladder solves this by sequencing your growth. Phase 1 is optical control: focus precision, finder alignment, and stable mount handling. Phase 2 is object control: reacquiring known targets quickly at different magnifications. Phase 3 is contrast control: deep-sky observation with moon phase and transparency as primary variables. A 114mm scope supports all three phases clearly, which is why it is such a durable learning instrument.

In Phase 1, ignore difficult deep-sky objects and use bright targets only. The Moon, Jupiter, and bright clusters let you test setup quality immediately. If star points do not snap cleanly, investigate collimation and focus mechanics before moving on. At this stage, equipment reliability habits matter more than target variety. By the end of Phase 1, you should be able to set up, align, and achieve sharp focus in minutes rather than guessing for half the session.

Phase 2 begins when basic setup feels automatic. Now your goal is repeatability under changing conditions. Revisit the same five to ten objects across multiple nights and compare what changes with altitude, seeing, and moonlight. This builds pattern recognition. You stop asking "is my telescope bad?" and start asking "is tonight good for this target class?" That shift marks real progress and prevents unnecessary gear churn.

Phase 3 is where 114mm users unlock the most value. You now choose targets by contrast demand, not by popularity. Bright clusters and nebulae remain reliable in moderate sky glow, while galaxies are reserved for moonless windows. This selective strategy can double or triple your successful deep-sky nights. It also helps you evaluate upgrades intelligently: if your workflow is strong and your main limitation is faint-object contrast, then larger aperture may be justified. If your workflow is inconsistent, upgrading early usually produces less gain than expected.

Use this ladder to decide when to upgrade beyond 114mm. If you routinely confirm medium-difficulty targets, maintain clean focus at higher powers, and can adapt to seeing quickly, you are likely ready for a bigger aperture class. If not, the best upgrade is still better observing process. A disciplined 114mm user often outperforms a poorly practiced user with much larger equipment.

The long-term takeaway is simple: 114mm is not just a beginner stopgap. It is a meaningful platform for developing observational skill that transfers directly to every future telescope you own. Treat it as training with real performance, not a temporary toy, and your results compound quickly.

FAQ

Is 114mm enough to see Saturn's rings clearly?
Yes. In a properly collimated 114mm scope at around 100x to 180x, Saturn's rings are clearly separated from the planet and Titan is usually visible.

Can I see galaxies with 114mm?
Yes, bright galaxies like Andromeda and several Messier galaxies are visible, especially from suburban or dark skies. In bright city skies, galaxy contrast is significantly reduced.

Is a 114mm telescope good for beginners?
Yes. It offers a strong balance of cost, portability, and real optical performance. It is one of the most practical beginner apertures that still supports broad target variety.