Best Aperture for Beginners: 70mm, 114mm, 130mm, 150mm, or 8-inch?
Telescope Advisor Logo Telescope Advisor
Planetary observing through amateur telescopes

Beginner Telescope Guide · Aperture First

Best Aperture for Beginners

Aperture determines what your telescope can actually show. This guide compares beginner-friendly aperture classes with realistic sky outcomes so you can buy once and stay excited.

130mm

Best Value Sweet Spot

3.45x

Light Gain vs 70mm

8"

Top Visual Performance

Portability

Still Matters Most

By Telescope Advisor Editorial Team Published: Updated: Editorial Standards

Quick Answer

For most beginners, 130mm aperture is the best overall starting point when budget and portability are balanced. It delivers a major jump in planetary and deep-sky performance compared with 70mm and 90mm classes, while remaining manageable for routine setup.

If maximum visual performance is the goal and transport/storage are easy, an 8-inch Dobsonian outperforms smaller options. If portability and simplicity are top priority, 70mm to 102mm can still be excellent for Moon, bright planets, and beginner confidence building.

🔭

Not sure which telescope actually fits your goals?

Answer 5 quick questions about your budget, observing targets, and experience level — our Telescope Finder Tool recommends a specific model in under 2 minutes.

Find My Telescope →

Beginner Aperture Comparison Table

ApertureBest ForMain LimitationBeginner Verdict
70mmMoon, bright planets, portabilityLimited deep-sky reachGood starter if budget is tight
114mmNoticeable all-around improvementMount quality can varySolid budget-mid option
130mmBest value balanceLess ultra-portable than 70mmTop recommendation for most
150mmStronger deep-sky and planetary detailBulk and storage footprintGreat if transport is easy
8-inch (200mm)Best visual impactSize and handlingBest performance, not always best fit

Why Aperture Matters More Than Marketing Specs

Aperture controls light-gathering and resolution. Bigger aperture gathers more photons and resolves finer detail. That is why two telescopes with similar magnification claims can produce dramatically different views. Magnification without aperture often produces empty blur. Aperture with sane magnification produces useful detail.

The practical takeaway: choose the largest aperture you will actually use regularly. A huge telescope left indoors loses to a smaller telescope used often.

Recommended Beginner Aperture Picks

Editor's Pick — Best Aperture Value
Sky-Watcher Heritage 130P

Sky-Watcher Heritage 130P (130mm)

The best beginner aperture balance for visual results, cost efficiency, and manageable size.

Celestron AstroMaster 70AZ

70mm Portability Starter

Sky-Watcher Heritage 150P

150mm Performance Step-Up

Sky-Watcher Classic 200P

8-inch Visual Power Option

Deep Dive: Choosing Aperture by Lifestyle, Not Spec Sheets

The best beginner aperture is not a universal number. It is a fit decision between optical capability and real-world usage. Many buyers focus on maximum aperture they can afford, then discover setup friction, storage friction, and transport friction reduce session frequency. Fewer sessions mean slower learning and lower satisfaction, even if the telescope is technically powerful.

A practical aperture choice starts with observing context. Apartment balcony users, quick weeknight observers, and families with limited setup time often benefit from 70mm to 130mm classes because deployment is faster and session overhead is low. Backyard users with garage storage and easy movement paths can exploit 150mm to 8-inch apertures more consistently and therefore realize the optical advantage in real life.

Another key variable is mount behavior. A larger aperture on an unstable mount can underperform a smaller aperture on a stable mount, especially for planetary work. Beginners commonly underestimate this. They see aperture as the only axis and ignore how vibration and tracking quality influence perceived detail. In practice, optical and mechanical systems are inseparable from a user experience perspective.

Learning curve also matters. Smaller and mid-size apertures can accelerate early success because they are easier to point, focus, and transport. Early success reinforces habit and confidence. Once habits are established, aperture upgrades become more productive because the user can exploit added capability. Jumping to a large instrument without these habits can create avoidable frustration.

Sky quality should shape aperture expectations. Under heavy light pollution, bigger aperture still helps, but gains concentrate on Moon, planets, and brighter clusters unless the observer can travel to darker skies. Under darker skies, aperture gains become more dramatic for nebulae and galaxies. The same telescope can feel average in one environment and exceptional in another.

Budget structure is another overlooked factor. Spending all budget on aperture can leave no room for essential accessories: a useful eyepiece range, stable chair, collimation tools (for reflectors), dew management, or transport cases. A balanced setup often outperforms a maximum-aperture, under-equipped setup. Beginners should budget for system completeness, not just mirror or lens diameter.

For most buyers, 130mm remains the strongest default recommendation because it preserves flexibility. It provides a meaningful optical jump from entry apertures while staying manageable for frequent use. It is large enough to keep deep-sky motivation alive and small enough for routine deployment. That combination is why 130mm appears repeatedly in long-term beginner satisfaction stories.

If your environment supports it and you value visual impact over portability, 8-inch class instruments are unmatched in beginner-accessible performance per dollar. But they are not automatically the best fit for every user. The right aperture is the one that maximizes nights observed, not nights imagined.

Treat aperture selection as a workflow decision. Ask: How often will I carry this? Where will I store it? How long can I realistically observe on weeknights? Which targets matter most to me in year one? These questions produce better outcomes than spec comparisons alone.

Beginner Aperture Decision Framework: How to Pick Once and Avoid Regret

Choosing aperture is easier when you stop treating it as a single number contest and start treating it as a usability equation. A telescope that gathers more light but rarely leaves storage will underperform a slightly smaller telescope that gets used frequently. The best beginner aperture is the one that keeps your observing cadence high while still delivering meaningful visual improvement over naked-eye and binocular viewing.

Use a four-part framework: observing goals, deployment friction, sky environment, and upgrade path. Observing goals define what "good" means for you. Deployment friction determines how often you actually observe. Sky environment determines how much of aperture potential can be realized at home. Upgrade path determines whether first purchase should be a training platform or near-final long-term instrument.

For observing goals, classify yourself into one of three practical profiles. Planet-first observers prioritize Moon, Jupiter, Saturn, and occasional Mars detail. Mixed observers want both planets and bright deep-sky targets. Deep-sky-curious observers value nebulae and clusters enough to accept larger setup footprints. This profile step prevents buying decisions based on generic internet claims that may not match your priorities.

Deployment friction should be scored honestly. Ask how many steps it takes to go from storage to first useful view. If your likely weeknight time window is short, every extra step reduces observing frequency. A smaller aperture with low friction can produce more annual observing hours than a larger aperture with high friction. Hours under stars compound skill and satisfaction more than theoretical peak performance.

Sky environment must be factored by direction and season, not only by broad light-pollution labels. If your southern sky is bright but eastern sky is darker, your target mix changes. If humidity rises quickly after midnight, your useful observing window may be early evening. Aperture decisions should reflect these local constraints. A right-sized system tuned to real sky behavior beats oversized systems selected from abstract charts.

The upgrade path question is often ignored by first-time buyers. If you expect to upgrade within a year, a flexible mid-aperture setup may be smarter than jumping directly to maximum size. If you want one purchase for many years, paying more for aperture and mount quality now can reduce long-term cost and frustration. There is no universal answer; there is only alignment between purchase strategy and your likely behavior.

A practical benchmark table many beginners use is: 70 to 90mm for convenience-first and travel-friendly use, 114 to 130mm for balanced all-round performance, and 150 to 200mm for high visual impact when storage and transport are manageable. These ranges are not strict boundaries, but they map well to real beginner experiences.

Mount quality can override aperture gains surprisingly often. A shaky mount makes focusing difficult, reduces confidence at high power, and shortens sessions due to fatigue. Beginners who allocate budget to mount stability usually report higher satisfaction than those who maximize aperture but compromise support hardware. Stable viewing builds trust in what you see, which accelerates learning.

Accessory strategy should be planned with aperture. A useful beginner kit includes sensible magnification coverage, comfortable observing position, and basic maintenance tools when required. Without these, aperture potential remains underused. A complete, balanced system can outperform a larger but incomplete setup in real nightly conditions.

Consider household context too. If multiple people will use the telescope, simplicity and quick setup are performance multipliers. Shared equipment succeeds when everyone can operate it confidently. In family settings, slightly smaller but easier systems often produce more engagement and better long-term retention in astronomy.

For apartment or small-space living, measure storage and doorway constraints before purchase. Many beginners underestimate how size affects daily practicality. A telescope that is awkward to move through your routine environment quickly becomes occasional-use equipment. Aperture gains are real, but only when the instrument is comfortably deployable.

If your primary objective is planetary detail and you observe frequently, favor designs that balance contrast and handling. If your objective includes deep-sky progression, prioritize aperture while protecting usability with a stable mount and efficient workflow. Match design and aperture to behavior, not aspirations alone.

One reliable way to avoid regret is to run a mock observing night plan before buying. Simulate where the scope will be stored, how it will be carried out, where it will be placed, and how long setup will take. This practical rehearsal reveals friction points early and helps you choose an aperture you can actually enjoy on typical nights.

Long-term satisfaction usually comes from predictable success, not occasional spectacular sessions. Predictable success is built on fit between aperture, mount, sky conditions, and lifestyle. When these fit, you observe more, learn faster, and make smarter upgrades later.

For most first-time buyers, 130mm remains the strongest default because it balances performance and practicality. But defaults are starting points, not rules. If your routine strongly favors portability, 70 to 114mm can be excellent. If your routine supports larger gear and your goals include deep-sky growth, 6-inch or 8-inch class can be a powerful long-term choice.

The correct beginner aperture is the one you will deploy often, use confidently, and still value after your first six months of learning. Use this framework, make an honest decision, and you are far more likely to buy once and enjoy the hobby immediately.

First-Year Aperture Roadmap: Matching Telescope Size to Learning Stages

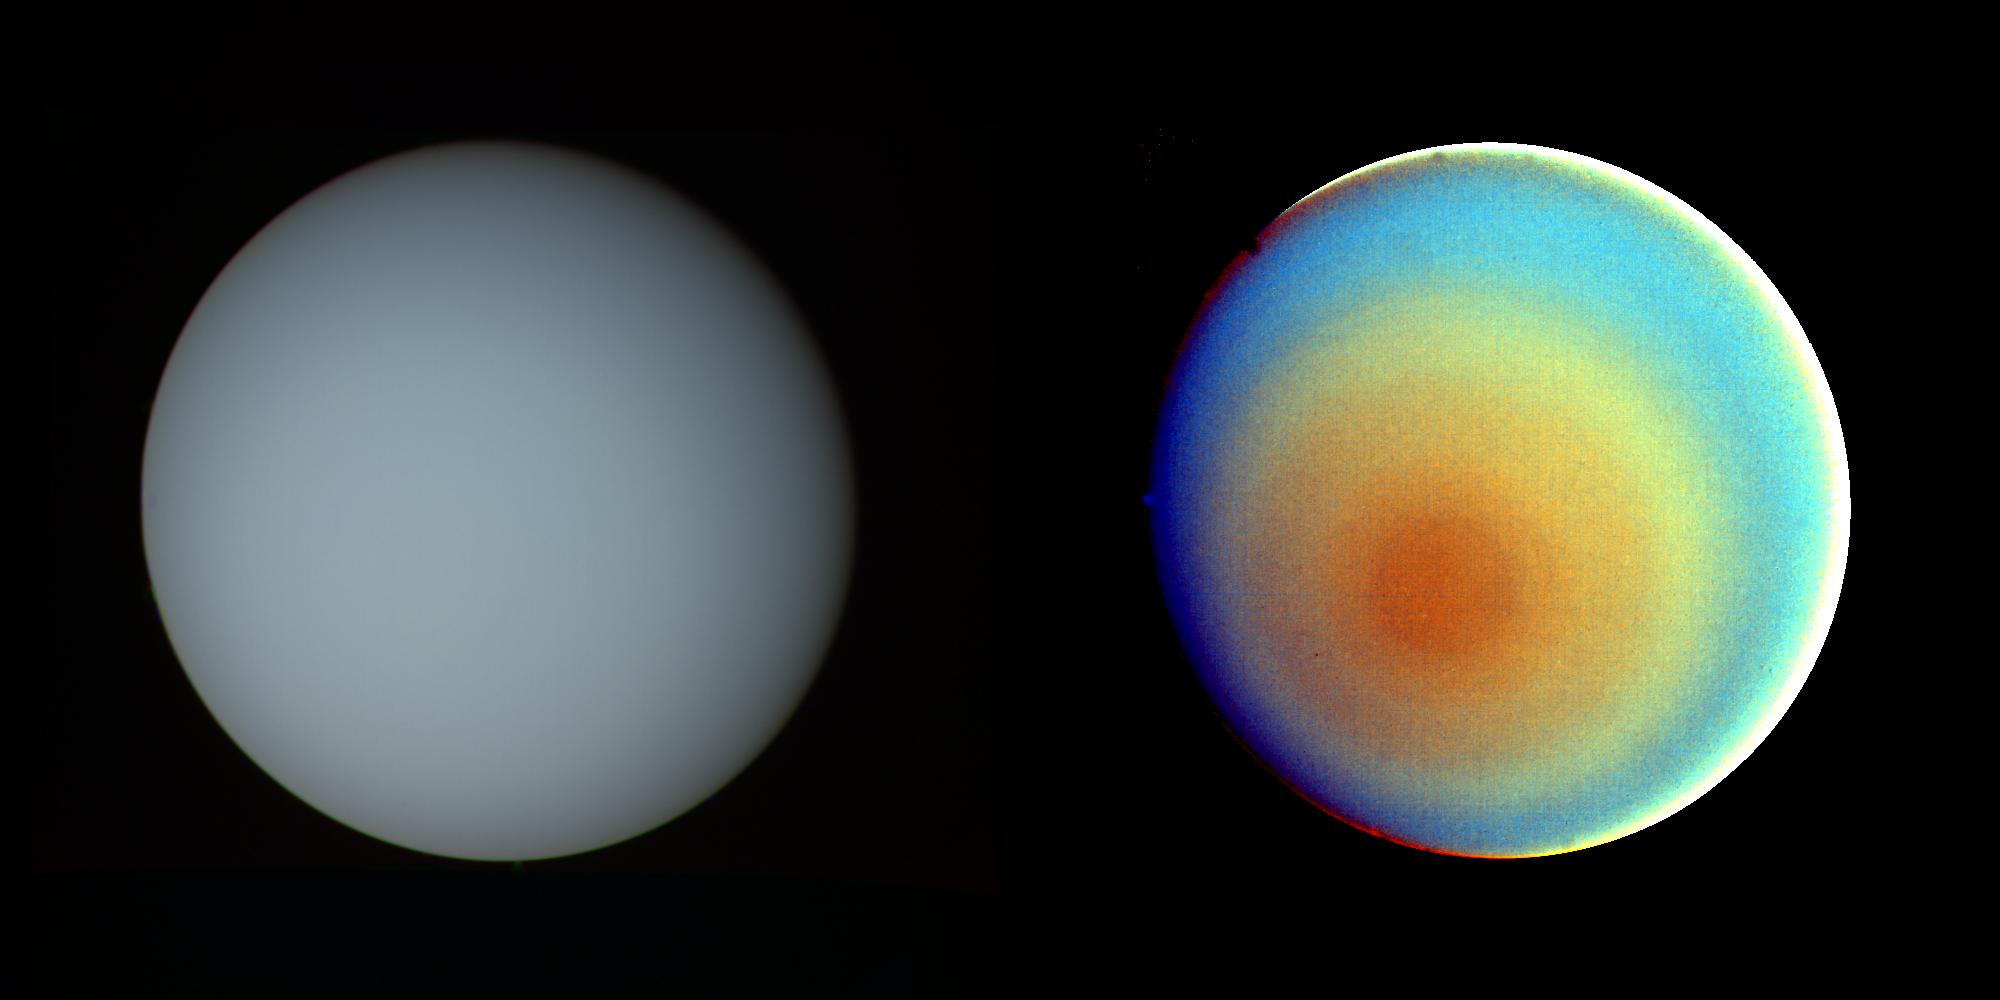
A practical way to choose beginner aperture is to map it against what your first year in astronomy usually looks like. In month one, most observers focus on Moon, Jupiter, and Saturn because they are easiest to validate. In months two to four, curiosity expands toward bright clusters and nebulae. By months five to twelve, many observers want either deeper deep-sky reach or more convenience for frequent short sessions. Your aperture choice should support this progression.

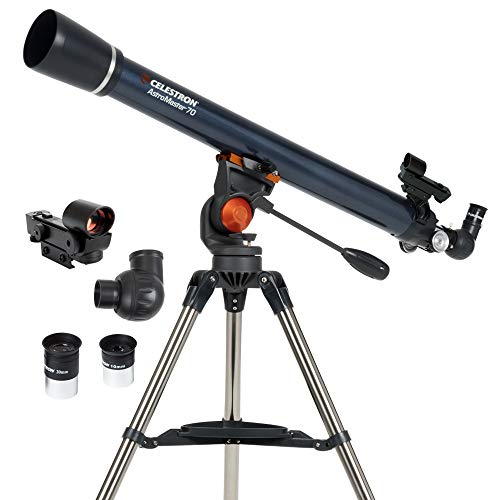
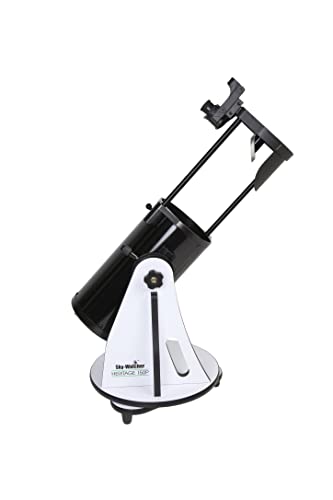
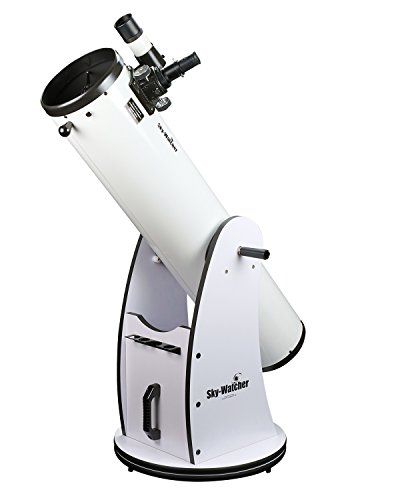
For month-one success, setup simplicity is crucial. If your first sessions are difficult, motivation drops quickly. Smaller and mid-size apertures with stable mounts often deliver better early experience because they reduce friction and increase confidence. Early wins matter disproportionately because they shape whether the telescope becomes part of your routine.

During months two to four, observers begin noticing aperture limits and strengths. This is the ideal period to assess whether your scope is well-matched. If you are consistently satisfied with planetary and bright deep-sky targets and setup is easy, your aperture fit is strong. If you crave deeper objects but avoid setup due to size, your challenge may be workflow, not raw aperture.

In months five to twelve, consistency becomes the key metric. Ask how many sessions per month you complete and how often targets are found quickly. A scope used eight times monthly at moderate aperture usually outperforms a larger scope used once monthly for skill growth and enjoyment. Frequency compounds skill, and skill reveals more detail from any aperture.

A useful decision checkpoint is quarterly review. At each quarter, evaluate three numbers: average setup time, average session length, and target success rate. If setup time is too high, consider portability upgrades rather than only aperture upgrades. If success rate on desired targets is low despite regular use, aperture increase may be justified.

Budget planning should mirror this roadmap. Reserve part of budget for accessories that improve real-world use: practical eyepiece spread, observing chair, dew control, and transport aids. These items often produce larger quality-of-life gains than small aperture increases alone. A beginner system that is complete and comfortable is easier to stick with.

Storage and transport realities should be reviewed before choosing larger apertures. If you must navigate tight hallways, stairs, or vehicle limits, practical constraints can reduce observing frequency. Selecting an aperture that fits your physical routine is not settling. It is optimizing for long-term usage and satisfaction.

If you are unsure between two apertures, choose the one with lower friction unless your observing goals clearly demand more light-gathering now. Most beginners benefit more from reliable deployment than occasional peak performance. The habit of observing regularly creates better outcomes than spec-driven overreach.

As your skills grow, you can always add complementary instruments. Many advanced observers keep both a fast-deploy scope and a larger high-impact scope. Thinking in systems instead of one "perfect" telescope reduces decision pressure and supports steady progression.

This roadmap keeps aperture decisions grounded in real behavior over time. Choose the size that supports your first-year rhythm, and you are much more likely to stay engaged, improve quickly, and make confident upgrades only when they truly solve a proven bottleneck.

If two aperture options still feel tied, decide using the "ten-session rule": choose the scope you can realistically deploy ten times in the next two months. The option you can use more often is usually the better beginner choice regardless of small specification differences.

Another practical tie-breaker is recovery time after a missed night. If setup complexity makes you skip multiple future nights after one tiring session, aperture is too ambitious for your current routine. Sustainable momentum is more important than occasional peak performance.

When buying for a household, prioritize ease-of-use features that reduce dependency on one expert operator. Shared confidence in setup and operation increases total observing time and preserves long-term enthusiasm.

Aperture selection is ultimately a behavior design decision. The right choice is the one that fits your life so well that observing becomes routine rather than an exception.

If you follow that principle, your first telescope becomes a platform for growth instead of a compromise you outgrow too quickly.

Before final purchase, write down your three most likely observing scenarios: quick weeknight session, weekend deep-sky session, and outreach or family session. Choose aperture and mount combination that performs acceptably in all three, not just best in one ideal scenario.

This scenario method prevents common buyer regret because it aligns your telescope with real use cases rather than theoretical maximum performance. A balanced fit across scenarios is usually the strongest predictor of long-term satisfaction.

The best beginner aperture is therefore not just "bigger" or "smaller". It is the aperture that keeps you observing consistently while still showing enough sky detail to sustain curiosity month after month.

When that consistency is present, skill growth accelerates and every future equipment decision becomes easier and more cost-effective.

A smart final check is to ask whether your chosen setup will still feel practical on an average Tuesday night after a long day. If the answer is yes, you have likely selected the right beginner aperture. Real-life usability is what turns astronomy from an occasional project into a lasting habit.

That habit is where aperture value compounds. Frequent sessions produce faster learning, better target selection, and more satisfying results with the same instrument.

Steady use always beats occasional overreach.

FAQ

What aperture should a complete beginner buy first?
For most users, 130mm is the best first aperture balance of performance, price, and usability.

Is 70mm too small for beginners?
No. 70mm can be a good start for portability and budget-conscious users.

Is 8-inch too much for beginners?
Not always. It is excellent if storage and transport are easy and you accept the larger footprint.

Does bigger aperture always mean better?
Optically yes, but only if you use the telescope frequently and can manage setup friction.

Should I prioritize aperture over mount?
No. A stable mount is essential; aperture and stability must be balanced.