Best Telescope for Astrophotography Under $1,500 (2026): Complete Kit Guide
Telescope Advisor Logo Telescope Advisor
Orion Nebula astrophotography showing what is possible with a well-planned imaging setup

Astrophotography Guides • 2026

Best Astrophotography Setup Under $1,500

You can capture stunning deep-sky images with a $1,500 budget if you follow the mount-first rule. Here are the best kit combinations for starting astrophotography in 2026, from wide-field star trackers to all-in-one smart telescopes.

By Telescope Advisor Editorial Team Published: Updated: Editorial Standards

Quick Answer

The most important rule in astrophotography at any budget is mount-first. Spend 50 to 60 percent of your $1,500 on the tracking mount. The mount determines how long your exposures can be before stars trail into streaks. A $900 mount with a $300 camera lens will produce cleaner images than a $300 mount with a $900 telescope, every time. At $1,500, three strong approaches emerge: a star tracker with a DSLR and lens for wide-field imaging, an all-in-one smart telescope for zero-learning-curve results, or a heavier equatorial mount with a small refractor for a growth path into guided deep-sky imaging.

For the absolute fastest path to your first successful deep-sky image, the ZWO Seestar S50 at approximately $500 captures nebula color and galaxy structure with no setup, no laptop, and no guiding. For the classic mount-first approach, a Sky-Watcher Star Adventurer 2i paired with a used Canon DSLR and telephoto lens is the most proven beginner astrophotography setup in 2026.

Where Your $1,500 Should Go: The Mount-First Budget Split

New astrophotographers often make the mistake of spending most of their budget on optics and skimping on the mount. This is exactly backwards. An f/10 Schmidt-Cassegrain on a wobbly mount produces blurry 30-second exposures. A camera lens on a solid equatorial mount produces sharp 3-minute exposures. The budget split below reflects the priorities that produce better images sooner.

ComponentBudget ShareDollar RangeWhy It Gets This Much
Mount50–60%$750–900Tracking accuracy limits exposure time. No other component matters more.
Camera20–25%$300–375A used DSLR or entry astro-camera performs well on a stable mount.
Optics/Lens15–20%$225–300Start with a camera lens or small refractor. Upgrade optics later.
Accessories~10%~$150Intervalometer, cables, adapters, dew prevention.

Three Best Kit Combinations Under $1,500

Editor's Pick — Best Beginner Kit
DSLR camera for beginner astrophotography setup

Kit 1: Star Adventurer + DSLR + Lens

The Sky-Watcher Star Adventurer 2i mount, a used Canon or Nikon DSLR body, and a vintage 135mm or 200mm prime lens create the most forgiving first imaging setup. Wide fields at 135mm tolerate minor tracking errors. This kit excels at large nebulae and bright comets. Total cost: approximately $850, leaving $650 for a guide scope and laptop.

Kit 2 — Easiest First Images
ZWO Seestar S50 all-in-one smart telescope for astrophotography

ZWO Seestar S50

The all-in-one smart telescope that removed the learning curve for thousands of beginners. It points, tracks, stacks, and processes automatically. Select a target on your phone and a color deep-sky image builds on screen within minutes. The built-in light pollution filter works from city skies. At approximately $500, this is the fastest path to your first successful astro image, guaranteed on night one.

EQ6-R

Kit 3: EQ6-R Pro Mount + Small Refractor

For imagers who know they will grow into guided deep-sky work. The EQ6-R Pro mount handles a 20 kg payload for imaging, supporting any telescope you buy for the next decade. Pair with a 60-80mm doublet refractor to begin. This is not the easiest first kit, but it is the most future-proof. At $1,500 you are effectively buying the mount and starting with a modest OTA.

Smart Telescope vs Traditional Setup: Which Path Should You Take?

This is the central decision for a beginner astrophotographer in 2026. A smart telescope like the Seestar S50 delivers color deep-sky images on your first night with zero learning curve. The images are genuinely impressive and the experience of watching them build on your phone screen is rewarding. The trade-off is that you are not learning the skills — polar alignment, exposure calculation, stacking, processing — that lead to advanced astrophotography. Your results are limited to what the Seestar's software produces.

A traditional setup (mount + camera + lens) has a steep learning curve. Your first night may produce nothing usable. Your first month may produce frustration. But every session teaches you something you carry forward. After six months, you understand tracking, exposure, calibration frames, and basic processing. After a year, you can produce images that exceed what the Seestar delivers, and you have the skills to image with any equipment.

The practical answer for most beginners at $1,500 is: start with the Seestar to build enthusiasm and confirm that you enjoy astrophotography enough to invest time in it, then add a traditional setup later. The Seestar will remain useful as a secondary wide-field instrument even after you move to a full guided rig. Many serious astrophotographers in 2026 keep a Seestar for quick sessions and travel while their main rig handles multi-night projects on specific targets.

Beginner Astrophotography Workflow: From Setup to First Image

The technical side of astrophotography intimidates many beginners, but the basic workflow is consistent across all equipment. Understanding this flow before you buy helps you choose the right kit.

1. Polar alignment (traditional setups only). Your equatorial mount must be aligned with the Earth's rotational axis. The Star Adventurer has a built-in polar scope and illuminator for this purpose. Spend 5 to 10 minutes getting alignment right because it determines your maximum usable exposure length. A rough alignment gives 30-second exposures; a precise alignment gives 2 to 3 minutes at 135mm before stars begin to trail. The Seestar handles polar alignment automatically through its internal software, which is one of the primary reasons it produces successful images on the very first night.

2. Focus. Use live view on your DSLR at maximum digital zoom pointed at a bright star. Adjust the lens focus ring until the star appears as small and sharp as possible. A Bahtinov mask, which costs about $15, makes this process objective rather than subjective by producing a diffraction pattern that visibly indicates perfect focus. Tape your focus ring in place once set. Focus drift from temperature changes is a common cause of soft images that beginners often blame on the equipment rather than the temperature.

3. Frame and expose. Center your target, set your intervalometer to take 30 to 120 light frames (exposures of the target), then let the mount track. Between light frames, your camera sensor cools slightly, reducing thermal noise. A typical beginner session captures 30 to 60 light frames at 30 to 60 seconds each.

4. Calibration frames. Take 20 dark frames (same exposure and ISO, lens cap on) to map sensor noise. Take 20 bias frames (fastest shutter speed, lens cap on) to map read noise. Take 20 flat frames (uniformly illuminated white surface) to map vignetting and dust. Calibration frames take extra time but dramatically improve final image quality. Free software like DeepSkyStacker handles the stacking automatically.

5. Stack and process. DeepSkyStacker (free, Windows) or Siril (free, cross-platform) aligns and combines your light, dark, bias, and flat frames into a single high-signal image. The stacked result is what you then process in software like Siril, GIMP, or Photoshop to stretch the histogram, adjust color balance, and reveal faint detail. Processing is a skill that develops over time; expect your first images to look simple and your sixth-month images to look dramatically better.

Best First Targets for a $1,500 Astrophotography Setup

TargetBest SeasonDifficultyWhy It Is a Good First Target
Orion Nebula (M42)WinterEasyExtremely bright. Color and detail show in 30-second exposures. The best first target.
Andromeda Galaxy (M31)AutumnEasyLarge and bright. Dust lanes visible with 60+ second exposures at 135mm.
Pleiades (M45)WinterEasyBright stars with reflection nebulosity. Beautiful even at short exposures.
Rosette NebulaWinterModerateLarge emission nebula at 135-200mm. Responds well to longer exposures.
North America NebulaSummerModerateMassive nebula best at 85-135mm. Requires dark skies for best results.
Whirlpool Galaxy (M51)SpringHardSmaller target needs 200mm+. Rewarding once you have tracking dialed in.

Free Software and Learning Resources for 2026

One of the best aspects of astrophotography in 2026 is that the core software stack is completely free. You do not need to spend any of your $1,500 budget on software. The community-developed tools below handle every step from capture to final image.

DeepSkyStacker (Windows, free): The most widely used stacking software for beginners. Load your light, dark, bias, and flat frames, and DSS automatically aligns and combines them. The interface looks dated but the results are excellent. Most beginners use DSS for their first year before moving to more advanced tools.

Siril (cross-platform, free): A modern alternative to DSS that includes basic processing tools. Siril can stack, perform background extraction, color calibration, and histogram stretching all within one program. Its learning curve is steeper than DSS but the results justify the effort. Many experienced astrophotographers now recommend Siril over DSS for new users willing to invest a few evenings in learning.

Stellarium (cross-platform, free): A planetarium program showing exactly what is in the sky from your location at any date and time. Use it to plan sessions: check when your target is highest, preview the field of view with your camera and lens combination, and avoid nights when the Moon is near your target. Session planning with Stellarium prevents wasted nights under clear skies.

GIMP (cross-platform, free): A free image editor comparable to Photoshop. After stacking in DSS or Siril, use GIMP for curves adjustment, saturation enhancement, star size reduction, and noise reduction. Countless YouTube tutorials walk through GIMP astrophotography processing step by step for each major target.

Learning path recommendation: Nico Carver (Nebula Photos) has the best beginner astrophotography tutorials covering the full workflow from setup through processing. AstroBackyard covers equipment reviews and intermediate techniques. Cuiv, The Lazy Geek covers advanced topics with clarity. All are free and provide more value than any paid astrophotography course.

Common Beginner Astrophotography Mistakes and How to Avoid Them

Most disappointing first astrophotography sessions are caused by a handful of preventable errors. Here are the top five and how to avoid each one before you waste a clear night.

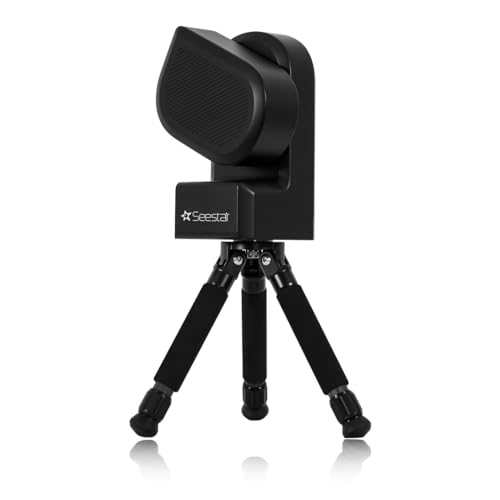
1. Skipping polar alignment to save time. Rough polar alignment on a star tracker can be done in 3 to 5 minutes and is the single most important factor determining how long your exposures can be. A 60-second exposure at 135mm requires decent alignment. If your stars are trailing, check alignment before adjusting anything else.

2. Not checking focus between targets. Temperature changes shift focus. What was sharp on Vega may be soft on M31 an hour later. Refocus whenever you change targets or after significant temperature drops. A Bahtinov mask costs $15 and makes focus objective rather than guesswork.

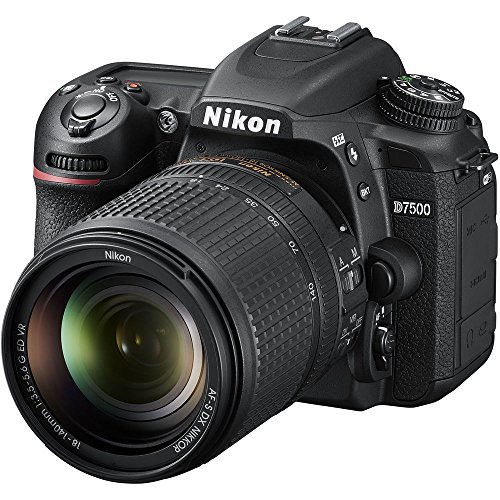
3. Overexposing light frames. Longer is not always better. With a DSLR at ISO 800 to 1600, the skyglow from light pollution saturates pixels faster than target signal builds. Use the histogram on your camera: the peak should be roughly one-third of the way from the left edge. If it is past the halfway point, reduce exposure time. Shorter clean exposures stack better than longer noisy ones.

4. Neglecting calibration frames. Dark, bias, and flat frames account for sensor noise, read noise, and optical imperfections. Stacking without calibration frames leaves behind noise patterns and vignetting that are difficult to remove in processing. Spend 10 minutes after your session capturing calibration frames and your final images will be visibly cleaner at no additional equipment cost.

5. Imaging on nights with poor transparency. A clear sky is not necessarily a transparent sky. High-altitude haze, thin cirrus, or humidity reduce contrast and increase skyglow significantly. Check transparency forecasts (Clear Sky Chart, Astrospheric) before committing to a multi-hour imaging session. A night with excellent transparency and average seeing produces far better images than a night with perfect seeing but poor transparency, because transparency controls how much of your target's faint light actually reaches your sensor through the atmosphere.

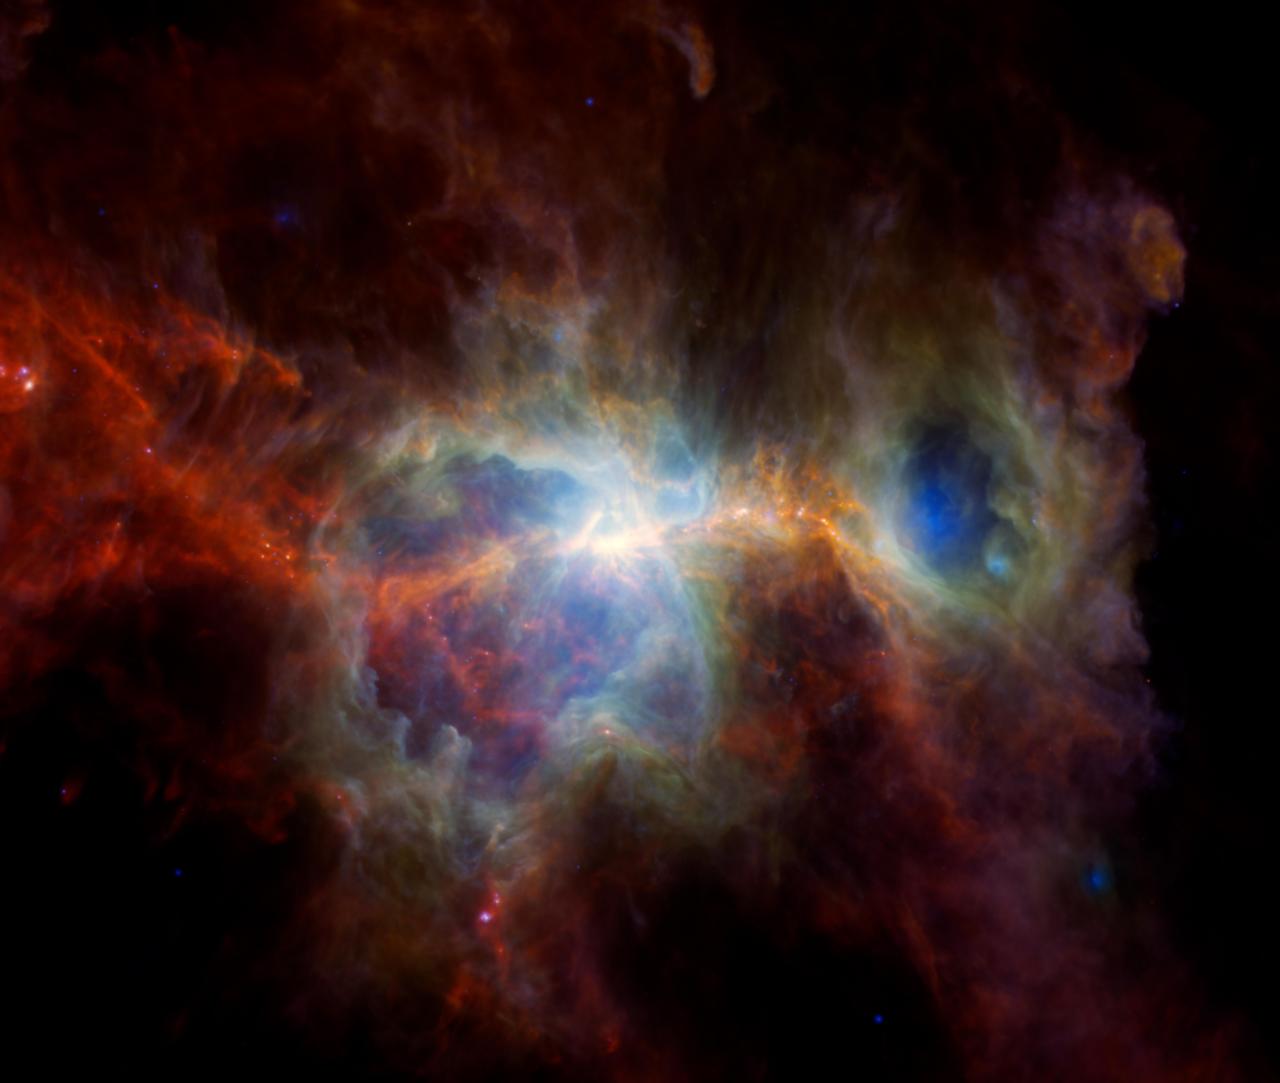
If you internalize these five lessons before your first session, you will avoid the mistakes that cause most beginners to produce no usable images on their first several attempts. Astrophotography rewards patience and systematic troubleshooting above all else. Every clear night you spend at the mount, even a night where nothing goes quite right, teaches you something that improves the next session. Your polar alignment gets faster. Your focus gets sharper. Your processing eye gets better at spotting faint signal. This is a long-term hobby where skill compounds over months and years, and the $1,500 kit you build today will serve you for years as your skills grow. The most successful astrophotographers are not the ones with the most expensive equipment — they are the ones who set up consistently, troubleshoot methodically, and treat every imperfect image as data for the next attempt. Start with the Orion Nebula on a moonless winter night, and within a year you will be imaging targets you could not have imagined capturing when you first unboxed your mount.

Frequently Asked Questions

Can I do astrophotography with a Dobsonian under $1,500?
Not for deep-sky imaging. Dobsonians do not track the sky in the equatorial manner required for long exposures. You can photograph the Moon and planets through a Dobsonian with a smartphone adapter, but galaxies and nebulae require a tracking equatorial mount or a smart telescope.
Is a star tracker or a full mount better for beginners?
A star tracker like the Star Adventurer 2i is a better first mount than a full equatorial like the HEQ5. Star trackers are lighter, simpler to set up, and more forgiving of alignment errors at wide focal lengths. Upgrade to a full mount when you are ready for guided imaging with a telescope.
Do I need autoguiding at this budget?
Not for 30-60 second exposures at 135-200mm. Autoguiding becomes necessary when you move to longer focal lengths (400mm+) and longer exposures (3+ minutes). At $1,500, spend your budget on the mount and optics rather than guiding equipment.
Should I buy a modified or unmodified DSLR?
Start with an unmodified DSLR. Modified cameras have had their infrared filter removed to better capture hydrogen-alpha light from nebulae, but they cannot be used for normal daytime photography afterward. Begin with an unmodified camera and consider modification only after you have been imaging for at least six months.