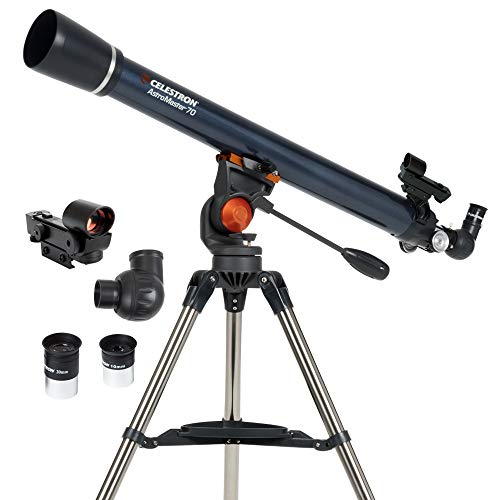
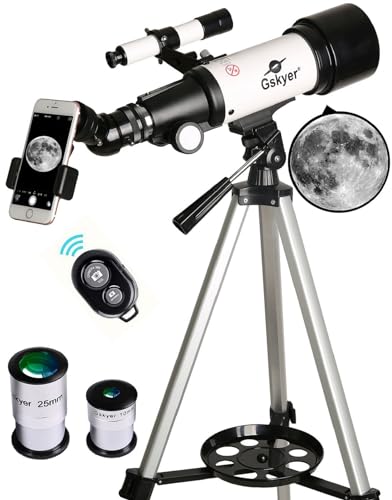
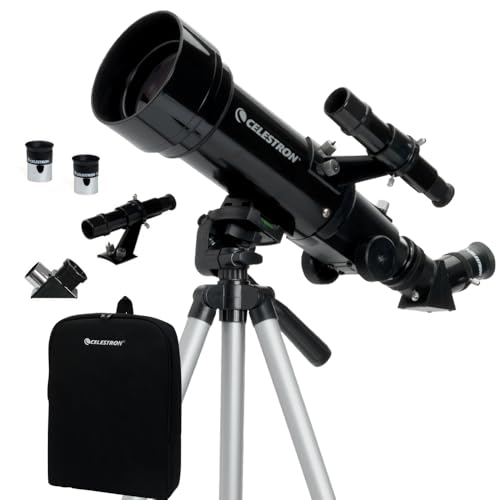
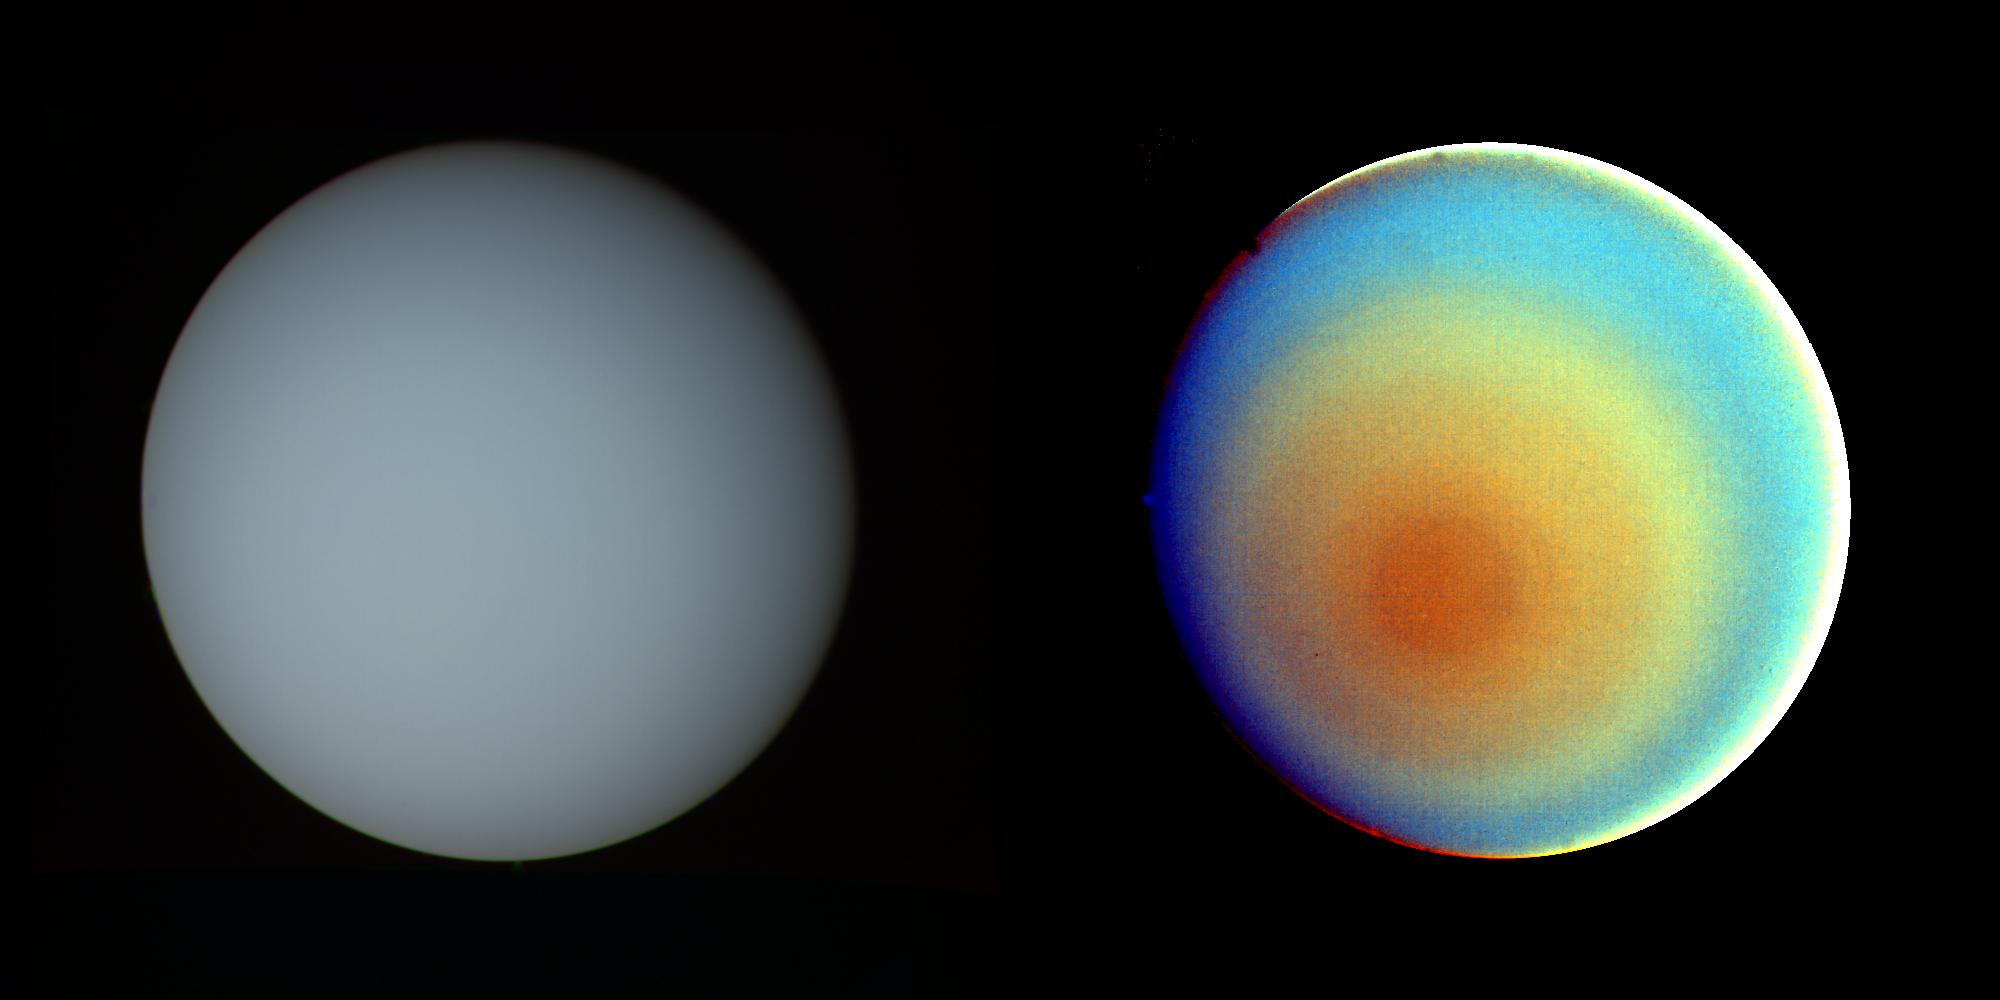
What Can I See With a $200 Telescope? Real Views by Target Type (2026)
Telescope Advisor Logo Telescope Advisor
Night sky star field visible through a $200 budget telescope with the right expectations

Telescope Q&A • Budget Guide

What Can I See With a $200 Telescope?

A $200 telescope is the most common entry point in the hobby. Here is exactly what you can see — from lunar craters and Saturn's rings to bright star clusters and the Orion Nebula — with realistic expectations set by target and by sky quality.

By Telescope Advisor Editorial Team Published: Updated: Editorial Standards

Quick Answer

With a well-chosen $200 telescope, you can see the Moon's craters and mountain ranges in sharp detail, Saturn's rings as distinct from the planet, Jupiter's two main cloud belts and four bright moons, dozens of stars in the Pleiades (M45), and the Orion Nebula (M42) as a bright green-grey cloud with four embedded stars at its heart. The single most important variable at this budget is not magnification — it is the quality of the mount, the aperture, and whether the scope needs collimation. A tabletop Dobsonian like the Heritage 130P outperforms a cheap tripod refractor at the same price by a wide margin.

At the $200 price point you are choosing between a 70mm to 80mm refractor on a lightweight tripod or a 100mm to 130mm tabletop reflector. The tabletop reflector gathers roughly three times more light and shows noticeably more detail on every target class. If your budget is exactly $200 and you can place the scope on a sturdy table or stool, the reflector is the better choice.

What You Can See: Target-by-Target

TargetWhat You See With a $200 ScopeBest Magnification
MoonCraters down to 10 km, mountain shadows along the terminator, maria, rilles in sharp detail50-120x
SaturnRings clearly separated from planet, Titan as a nearby star. Cassini Division hinted on steady nights with 130mm75-120x
JupiterTwo dark equatorial belts, four Galilean moons in changing positions. GRS possible on good nights80-130x
Orion Nebula (M42)Bright grey-green cloud, trapezium stars resolved. Faint wispy structure on the wings30-50x
Pleiades (M45)Dozens of bright blue-white stars. Hints of reflection nebulosity from dark siteLowest power, widest field
Andromeda (M31)Bright core as a soft oval glow. M32 companion visible as a fuzzy star-like pointLowest power, from dark site
Hercules Cluster (M13)Fuzzy ball resolved into edge stars with 130mm. Granular core at 100x+100-140x

Why the Specific Scope at $200 Matters So Much

At $200, two telescopes with the same price tag can deliver dramatically different views. A 70mm refractor on a lightweight aluminum tripod gathers about as much light as a 50mm pair of binoculars. The tripod shakes for several seconds every time you touch the focus knob. The finder scope is a tiny 5x24 that is difficult to use. A 130mm tabletop Dobsonian at the same price gathers more than three times as much light, sits on a stable rocker box that settles instantly, and comes with a usable red-dot finder. The difference in what you actually see — and how pleasant the experience is — is not subtle.

The Heritage 130P at around $250 in mid-2026 (sometimes on sale for close to $200) has become the standard recommendation at this budget for a reason. Its 130mm aperture resolves globular clusters into stars and shows the Cassini Division on steady nights. The collapsible tube fits on a bookshelf. The tabletop design eliminates the single biggest source of frustration at this price — the wobbly tripod. If your budget is strictly $200 and you cannot stretch to $250, look for the Heritage 100P or a used 114mm tabletop Dobsonian.

A critical spec to check at this price is the finder scope. A red-dot finder (which projects a red dot onto a clear window) is far easier to use than a tiny 5x24 optical finder. The red dot shows you where the scope is pointed against the actual sky, making it intuitive to aim. Small optical finders invert the image and magnify it, which creates confusion for beginners trying to match what they see through the finder to what they see with their eyes. Many $200 telescopes come with optical finders that are more frustrating than helpful.

The Dark Sky Factor: What Changes Away From City Lights

A $200 telescope under dark rural skies (Bortle 3-4) reveals more than a $2,000 telescope under light-polluted city skies (Bortle 8-9) for most deep-sky targets. This is not an exaggeration. The contrast between a faint galaxy and the sky background is set by the sky brightness, not by how much light your telescope gathers. A 130mm scope on a moonless night 40 miles from the nearest town will show you the Andromeda Galaxy's dust lane as a dark band crossing the bright core. The same scope from a city backyard will show only the bright central core.

If you own a $200 telescope, the single best upgrade you can make is free: drive to darker skies. A tank of gas costs about the same as a mid-range eyepiece and provides a vastly larger improvement in what you see. Start with a dark sky finder map (lightpollutionmap.info is a good free resource) and look for locations that are at least Bortle 4 or darker within a 60 to 90 minute drive of your home. State parks, national forests, and conservation areas often have parking lots or fields that are accessible at night, though always check local regulations about after-dark access.

Even moving from a Bortle 8 front yard to a Bortle 6 suburban park 15 minutes away makes a meaningful difference. The sky background darkens by about one magnitude, which translates to seeing about one stellar magnitude fainter — roughly doubling the number of visible stars and noticeably improving contrast on galaxies and nebulae.

What Not to Expect at $200 — and Why That Is Okay

Setting honest expectations prevents the most common reason beginners quit: comparing eyepiece views to Hubble images. At $200, you will not see color in nebulae beyond a faint green-grey in M42. You will not see spiral arms in galaxies. You will not see Mars as more than a small orange disk except during the weeks around opposition. You will not see the Cassini Division reliably — it will be a glimpsed feature on the best nights with 130mm, not a routine observation.

What you will see is genuinely remarkable for the price. The Moon through a $200 telescope reveals a world of jagged mountain peaks casting long shadows across crater floors, of winding rilles and layered crater walls — detail that rivals or exceeds what you see in published lunar atlases. Saturn's rings floating in three-dimensional space is a sight that has not lost its power to amaze since Galileo first glimpsed them in 1610. Jupiter's moons visibly change positions from hour to hour as you watch, demonstrating orbital mechanics in real time.

These observations are real. The light entering your eye physically left the Moon 1.3 seconds ago, left Saturn over an hour ago, left the Andromeda Galaxy 2.5 million years ago. The value of a $200 telescope is not in competing with astrophotography — it is in the experience of direct, personal observation of objects vast distances away, with your own eye and a modest instrument. That experience costs $200 and delivers for a lifetime.

Best $200 Telescopes: Specific Recommendations

Not all $200 telescopes are equal. At this price, the difference between a good scope and a frustrating one is larger than at any other budget. Here are the specific models that deliver on the expectations described above.

Editor's Pick — Best $200 Telescope Overall
Sky-Watcher Heritage 130P tabletop Dobsonian telescope

Sky-Watcher Heritage 130P

At approximately $250 (slightly above $200 but worth stretching for), this tabletop Dobsonian delivers 130mm of aperture with the most stable mount at this price. It resolves globular clusters into stars and shows the Cassini Division on steady nights. The collapsible tube fits on a shelf. If your budget is strictly $200, look for this model used or on seasonal sale.

Celestron AstroMaster 70AZ refractor telescope

Celestron AstroMaster 70AZ

A reliable 70mm refractor with a basic alt-azimuth tripod. Best for the Moon and brighter planets. The mount is not particularly stable, but the optics are good for the price. A safe choice if you prefer a tripod over a tabletop design and primarily observe the Moon.

Celestron FirstScope 76mm tabletop Dobsonian telescope

Celestron FirstScope 76mm

A 76mm tabletop Dobsonian at the lowest price point that still delivers usable views. The Moon is sharp and detailed. Saturn's rings are visible as lobes. Jupiter's moons are visible but the planet disk appears small. An entry point that works for confirming your interest before upgrading.

What to Upgrade First From a $200 Telescope

The most common upgrade mistake at this level is buying a more expensive telescope without first addressing the accessories that can transform your current views. Here is the upgrade order that produces the largest improvement per dollar spent.

Step 1: A better eyepiece ($30-50). The eyepieces included with $200 telescopes are almost always the weakest link. A 6mm or 9mm eyepiece with a wider apparent field (60 degrees or more) dramatically improves planetary views. Your scope's maximum useful magnification is determined by aperture, not by what the included eyepieces can deliver. A $40 eyepiece upgrade often produces a larger improvement than a $200 scope upgrade.

Step 2: A red-dot finder ($20-30). If your scope came with a small optical finder, replace it with a red-dot or reflex sight. The difference in ease of use is transformational. A red-dot finder shows you exactly where the scope is pointed against the real sky, making target acquisition intuitive rather than frustrating.

Step 3: A collimation tool ($20-40). If you own a reflector, a laser collimator or Cheshire eyepiece ensures your mirrors are properly aligned. A miscollimated reflector loses sharpness and contrast whether you realize it or not. Check collimation before every session as a two-minute habit.

Step 4: Darker skies ($20 in gas). The single best upgrade is free: drive to darker skies. A $200 telescope from a dark site reveals more than a $2,000 telescope from a city. Use lightpollutionmap.info to find Bortle 4 or better sites within your driving range.

Seasonal Observing Calendar for a $200 Telescope

One of the best ways to get value from a $200 telescope is knowing what is available each month. Here is a seasonal guide to the best targets visible through a 70-130mm scope at this budget level throughout the year.

SeasonPlanetsBright Deep-SkySpecial Events
Spring (Mar-May)Jupiter (evening), Mars (small disk)M13, M51, M81/M82, M44Galaxy season — best time for M81/M82
Summer (Jun-Aug)Saturn (late), Jupiter (late)M13, M57, M8, M20, M27Saturn opposition Oct 4 — rings at 7.5 degrees tilt
Autumn (Sep-Nov)Saturn, Jupiter (evening)M31, M33, M15, Double ClusterBest Saturn views around October opposition
Winter (Dec-Feb)Jupiter, Mars (closest)M42, M45, M35, M41Orion Nebula at its best — the showpiece object

Common Beginner Mistakes at the $200 Level

Most disappointing first sessions with a $200 telescope are caused by user error, not equipment failure. Here are the five most common beginner mistakes and how to avoid them.

1. Using the highest magnification first. The 10mm eyepiece (often labeled as "high power") and the Barlow lens that came with your scope are not where you should start. Begin every session with your lowest-power eyepiece (largest number in mm). Find your target at low power, center it, focus it, and only then increase magnification if the image remains sharp.

2. Not letting the telescope cool down. A telescope brought from a warm house into cold night air needs 10 to 20 minutes to reach thermal equilibrium. During this time, tube currents inside the scope distort the image. Set up your scope, then go inside for 15 minutes. When you return, the views will be noticeably sharper.

3. Observing over rooftops or pavement. Buildings and pavement radiate heat absorbed during the day, creating rising air currents that destroy fine detail. Set up on grass or dirt whenever possible, and avoid pointing your scope over a neighbor's roof or a parking lot.

4. Not checking collimation on reflectors. If you own a Newtonian reflector (including tabletop Dobsonians), the mirrors can shift during transport. A two-minute collimation check before each session using a simple Cheshire eyepiece or laser collimator transforms soft, blurry images into sharp, detailed ones.

5. Trying to observe too many targets in one night. A satisfying session at this budget typically involves 3 to 5 targets observed over 60 to 90 minutes. Spending 15 to 20 minutes on a single object, using averted vision and varying magnification, reveals far more detail than rushing through a checklist of 15 targets where each one is barely glimpsed. The human eye-brain system needs time to adapt to low light levels and learn to extract subtle contrast from faint astronomical objects. After 15 minutes on a single globular cluster, you will typically notice structure that was invisible in the first 30 seconds. This improvement is not imagination — it is how the visual system accumulates contrast information over time under low-light conditions, and it is one of the fundamental skills that separates experienced observers from beginners using the same equipment.

The best $200 telescope is the one that gets used. A Heritage 130P that sits on a shelf gathers zero photons. An AstroMaster 70AZ set up on the patio three nights a week reveals craters, rings, moons, and clusters that most people never see with their own eyes. At this budget, consistency of use matters far more than marginal differences in optical quality. Choose the scope that fits your space, your patience, and your schedule, and use it as often as the sky allows.

Frequently Asked Questions

What is the best $200 telescope for a complete beginner?
The Celestron AstroMaster 70AZ or a 130mm tabletop Dobsonian like the Heritage 130P (if you can stretch to $250) are the best options. The Dobsonian provides far more light gathering and stability, but the refractor requires no collimation and is simpler to use right out of the box.
Can I see Saturn's rings with a $200 telescope?
Yes. Any telescope with 60mm or more aperture at 50x shows Saturn's rings as distinct from the planet. With a 130mm scope at 100x, the rings are clearly defined and Titan is visible as a bright star nearby.
Do I need a GoTo telescope at this budget?
No. GoTo mounts at $200 are underpowered and unreliable. At this budget, manual mounts are better built and leave more of your money for optics. A Dobsonian or alt-azimuth mount with a red-dot finder is the smarter choice.
Is astrophotography possible with a $200 telescope?
Basic smartphone Moon photography through the eyepiece is possible and rewarding. Deep-sky astrophotography (galaxies, nebulae) requires tracking mounts that start well above $200. For imaging at this budget, a tripod-mounted DSLR with a lens is a better path than a telescope.